
I’ve been an exclusive PC gamer for a few years now, and I love it. I initially made the jump from console to PC gaming about two years ago...
I’ve been an exclusive PC gamer for a few years now, and I love it. I initially made the jump from console to PC gaming about two years ago, as more and more of my friends were playing popular games on PC, rather than on console.
Games like Overwatch, Destiny 2, and Borderlands 3 were some of the multiplayer-heavy games that I played with friends, and as I continued to spend less time on my PlayStation 4, I picked up future games for PC only.
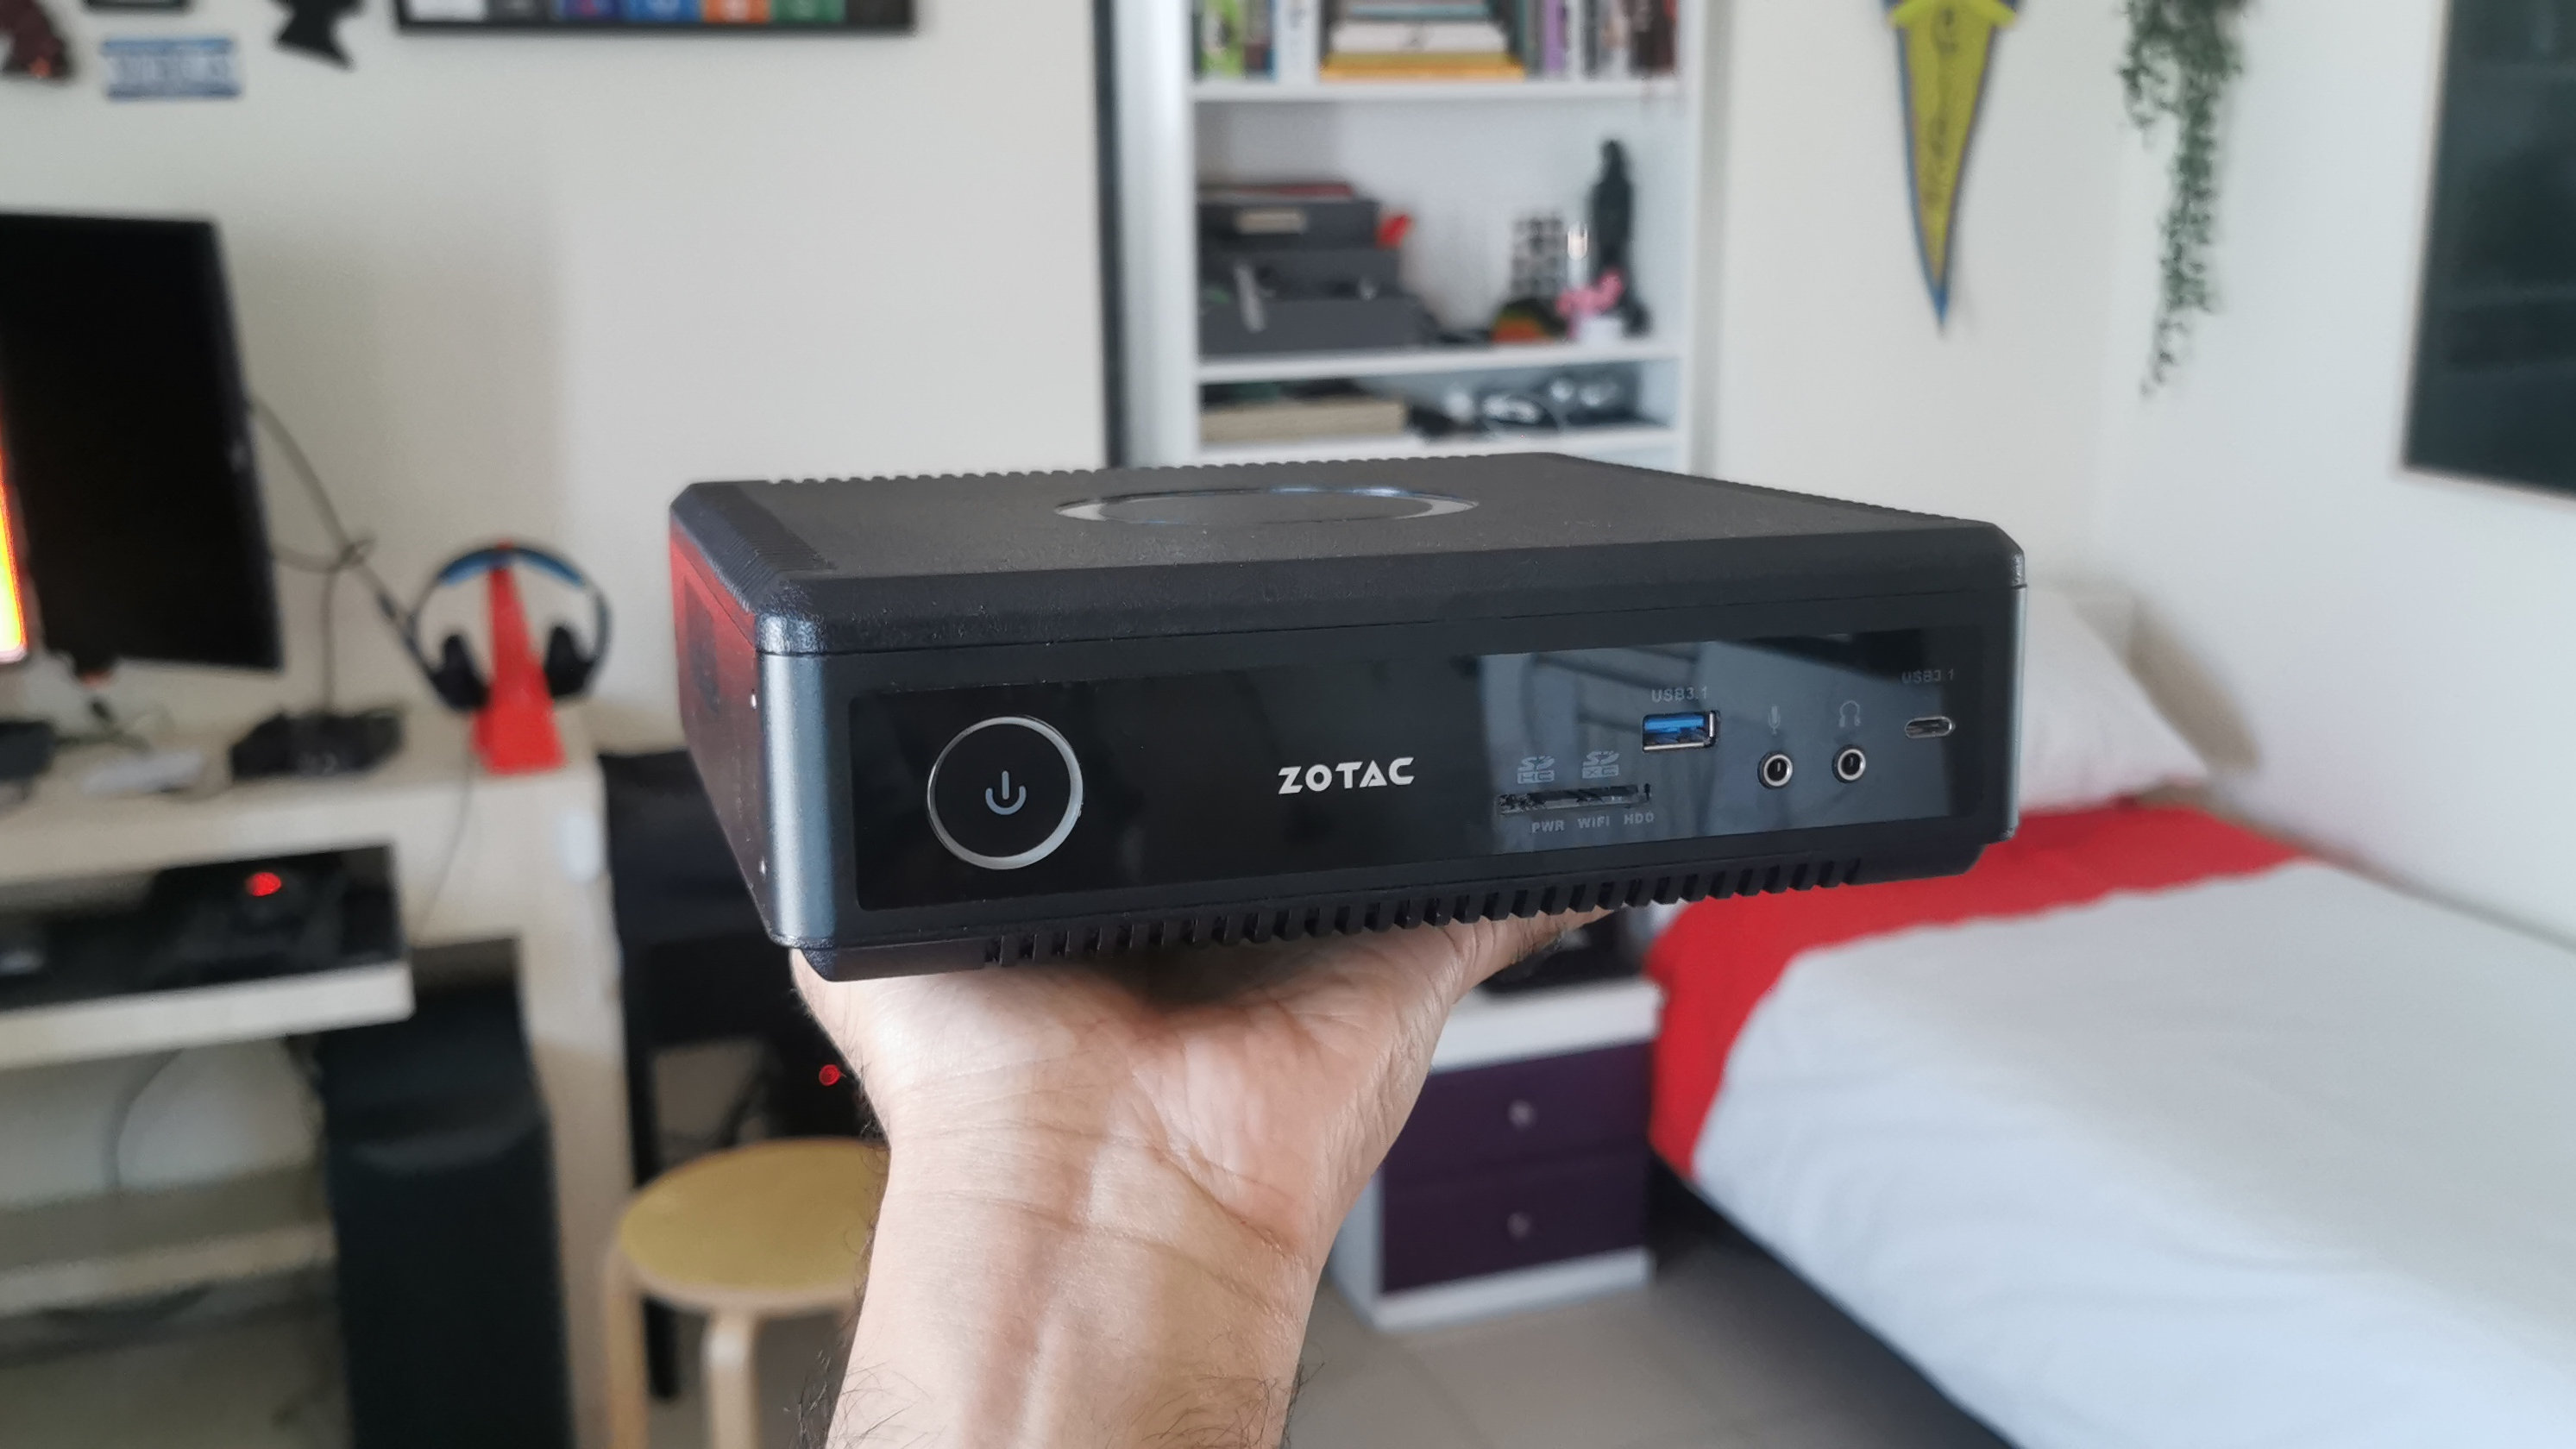
My current gaming rig is certainly something that shocks a few people. It’s a Zotac Magnus EN1060, which is a delightful compact PC with some pretty decent internals. Sporting an Intel Core i5 processor, 32GB of RAM, 1TB SSD, and a Nvidia GeForce GTX 1060 GPU, it’s seen me through a lot of my games, though capped at medium quality settings. I opted for this PC because of its tiny footprint – it barely takes up any space on my desk, yet it’s able to drive two of my monitors and has a ton of connectivity options at the back.
But as modern games become more demanding, my space-saving setup is becoming less and less adequate at keeping up. What’s further putting a strain on my current PC is the fact that I also use it to stream to Twitch, which in itself is a resource-heavy activity.
So games that I usually get around 80-100fps drop down to 40-50fps when I start streaming them. With games like Cyberpunk 2077 pushing the limits of what modern PCs are capable of, it’s time for me to put together a gaming rig that I’m personally content with, and one that I can choose to upgrade later on, should I choose to do so.
The beauty of building your own PC is that you can put whatever components you like into it, matching both your budget and your needs. The parts that I’ve chosen for my build reflect what I currently need as well as what is available to me.
You should always feel free to shop around for deals if you can, and always make sure that the components you’re buying are compatible with each other, just so you don’t end up with a PC build that doesn’t actually boot up.
So with that all out of the way, let’s move on to the actual build:
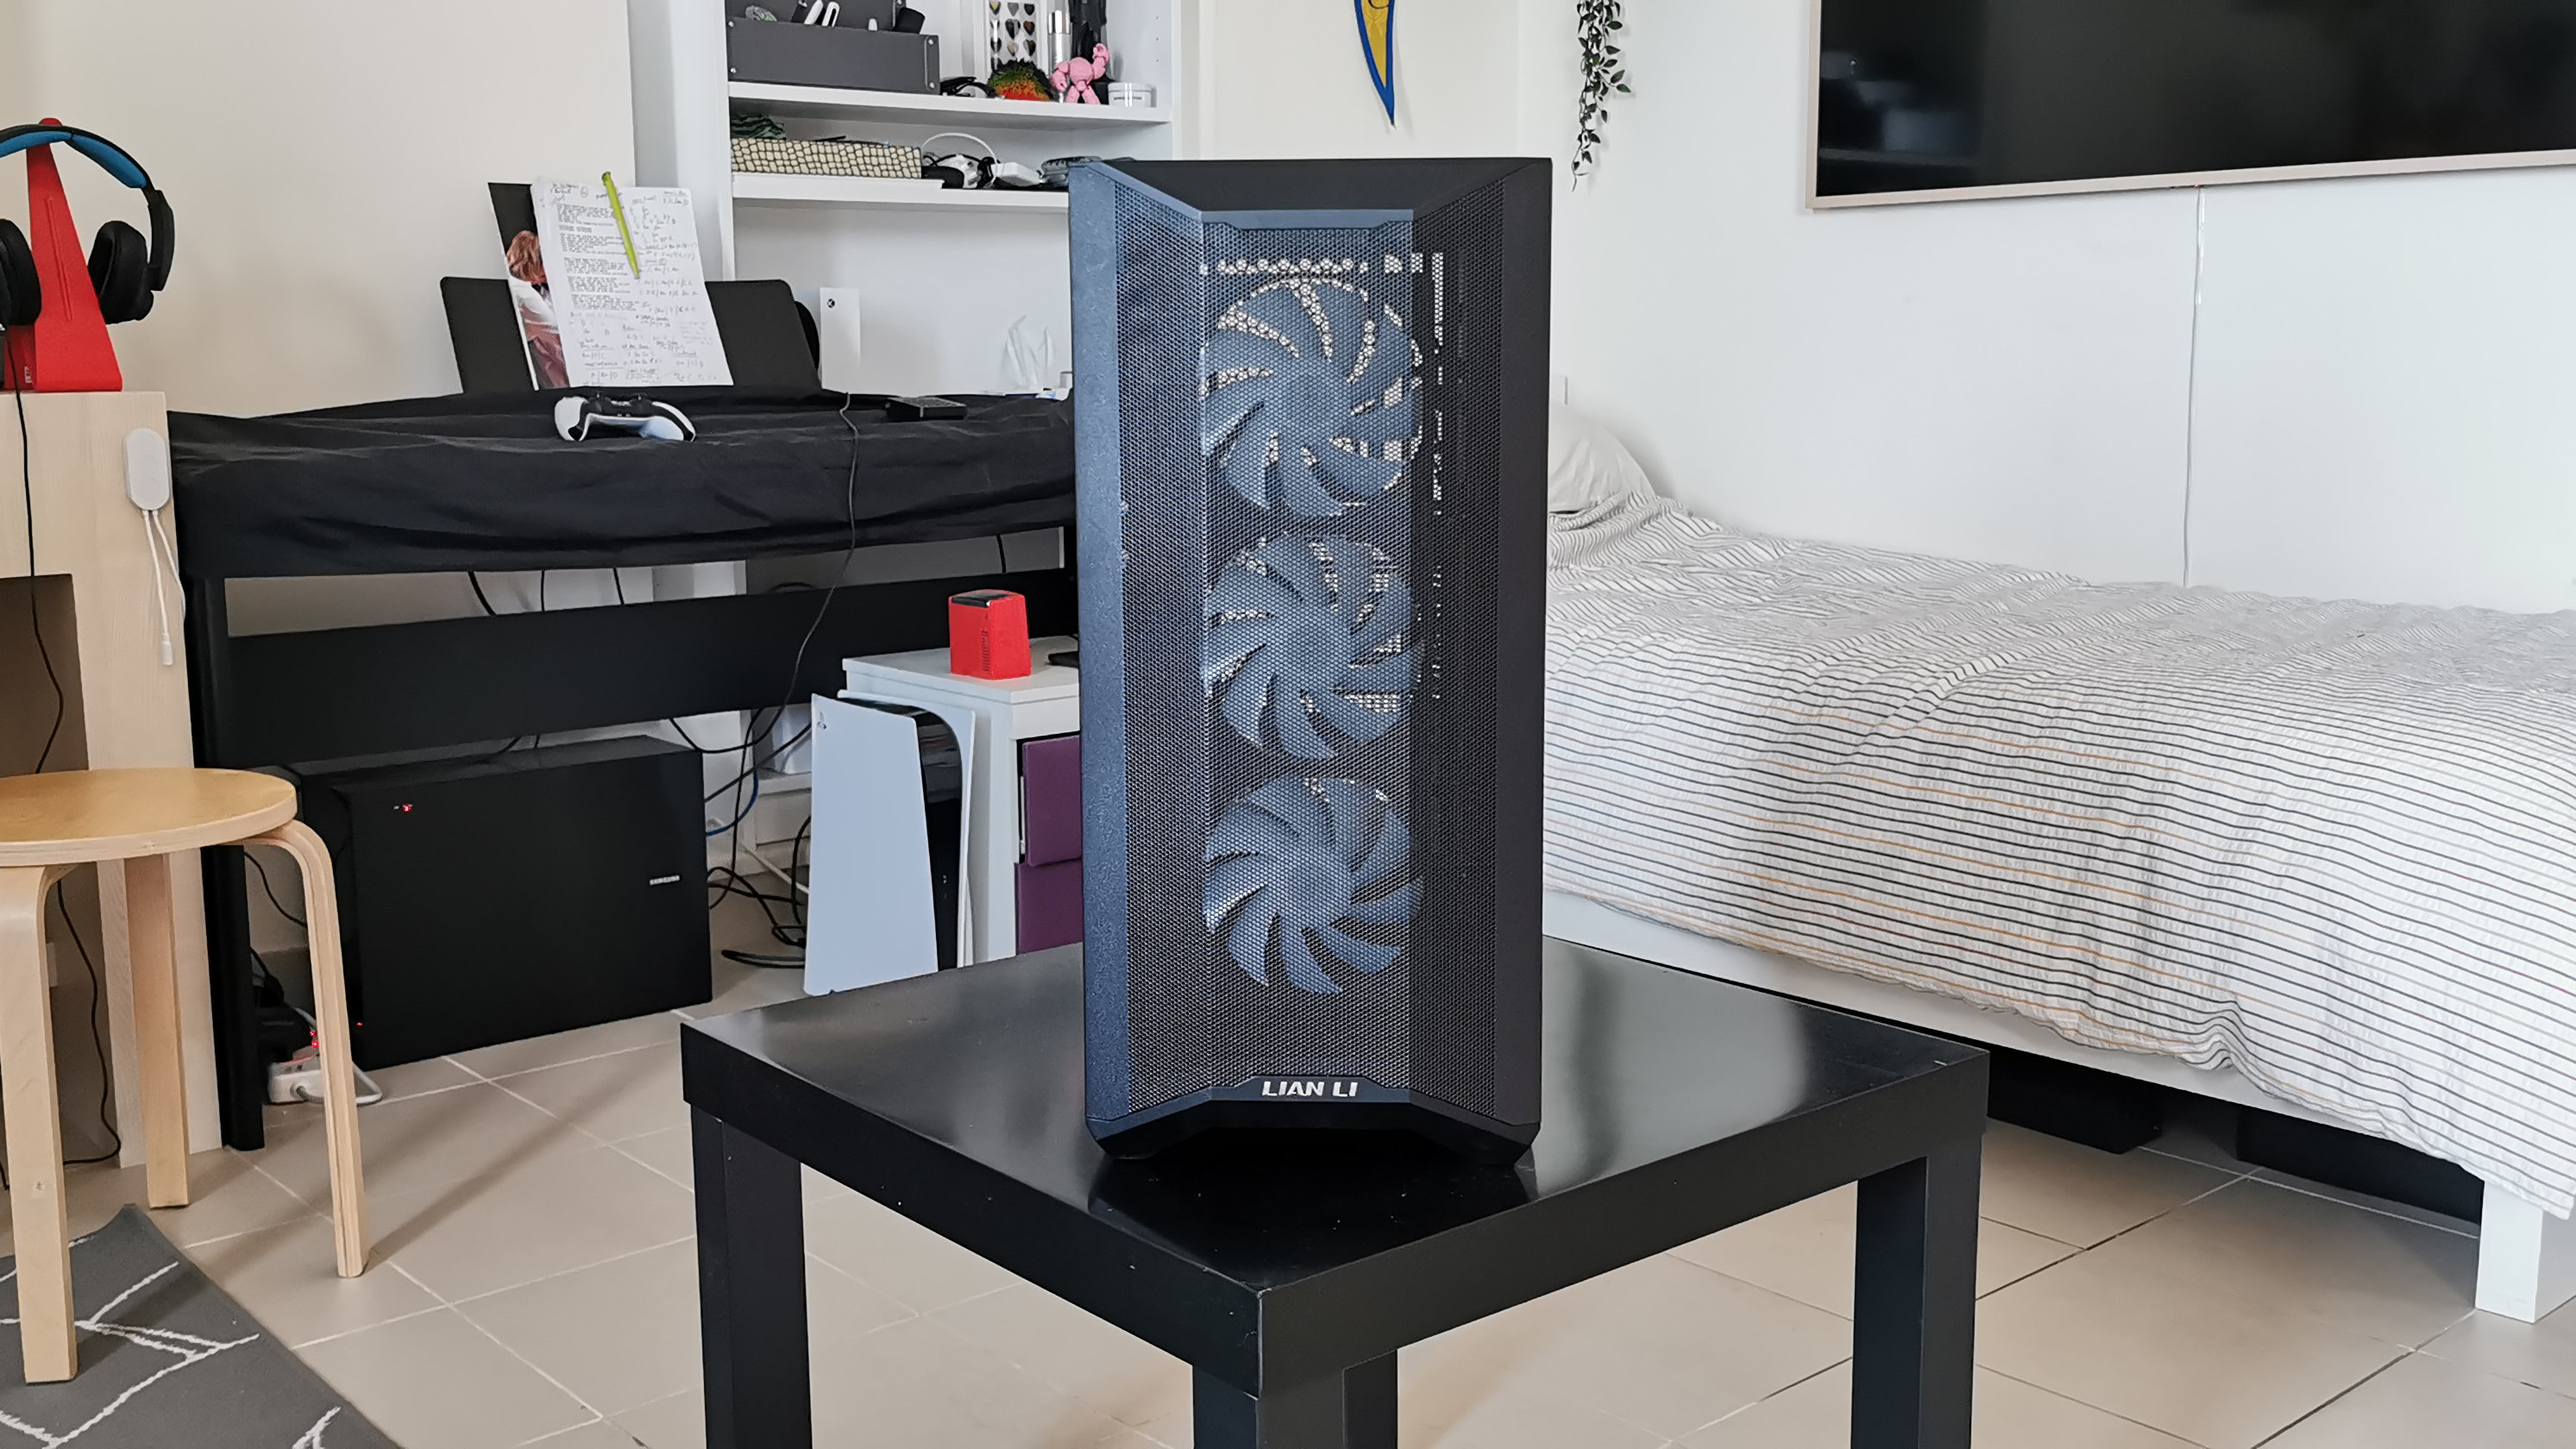
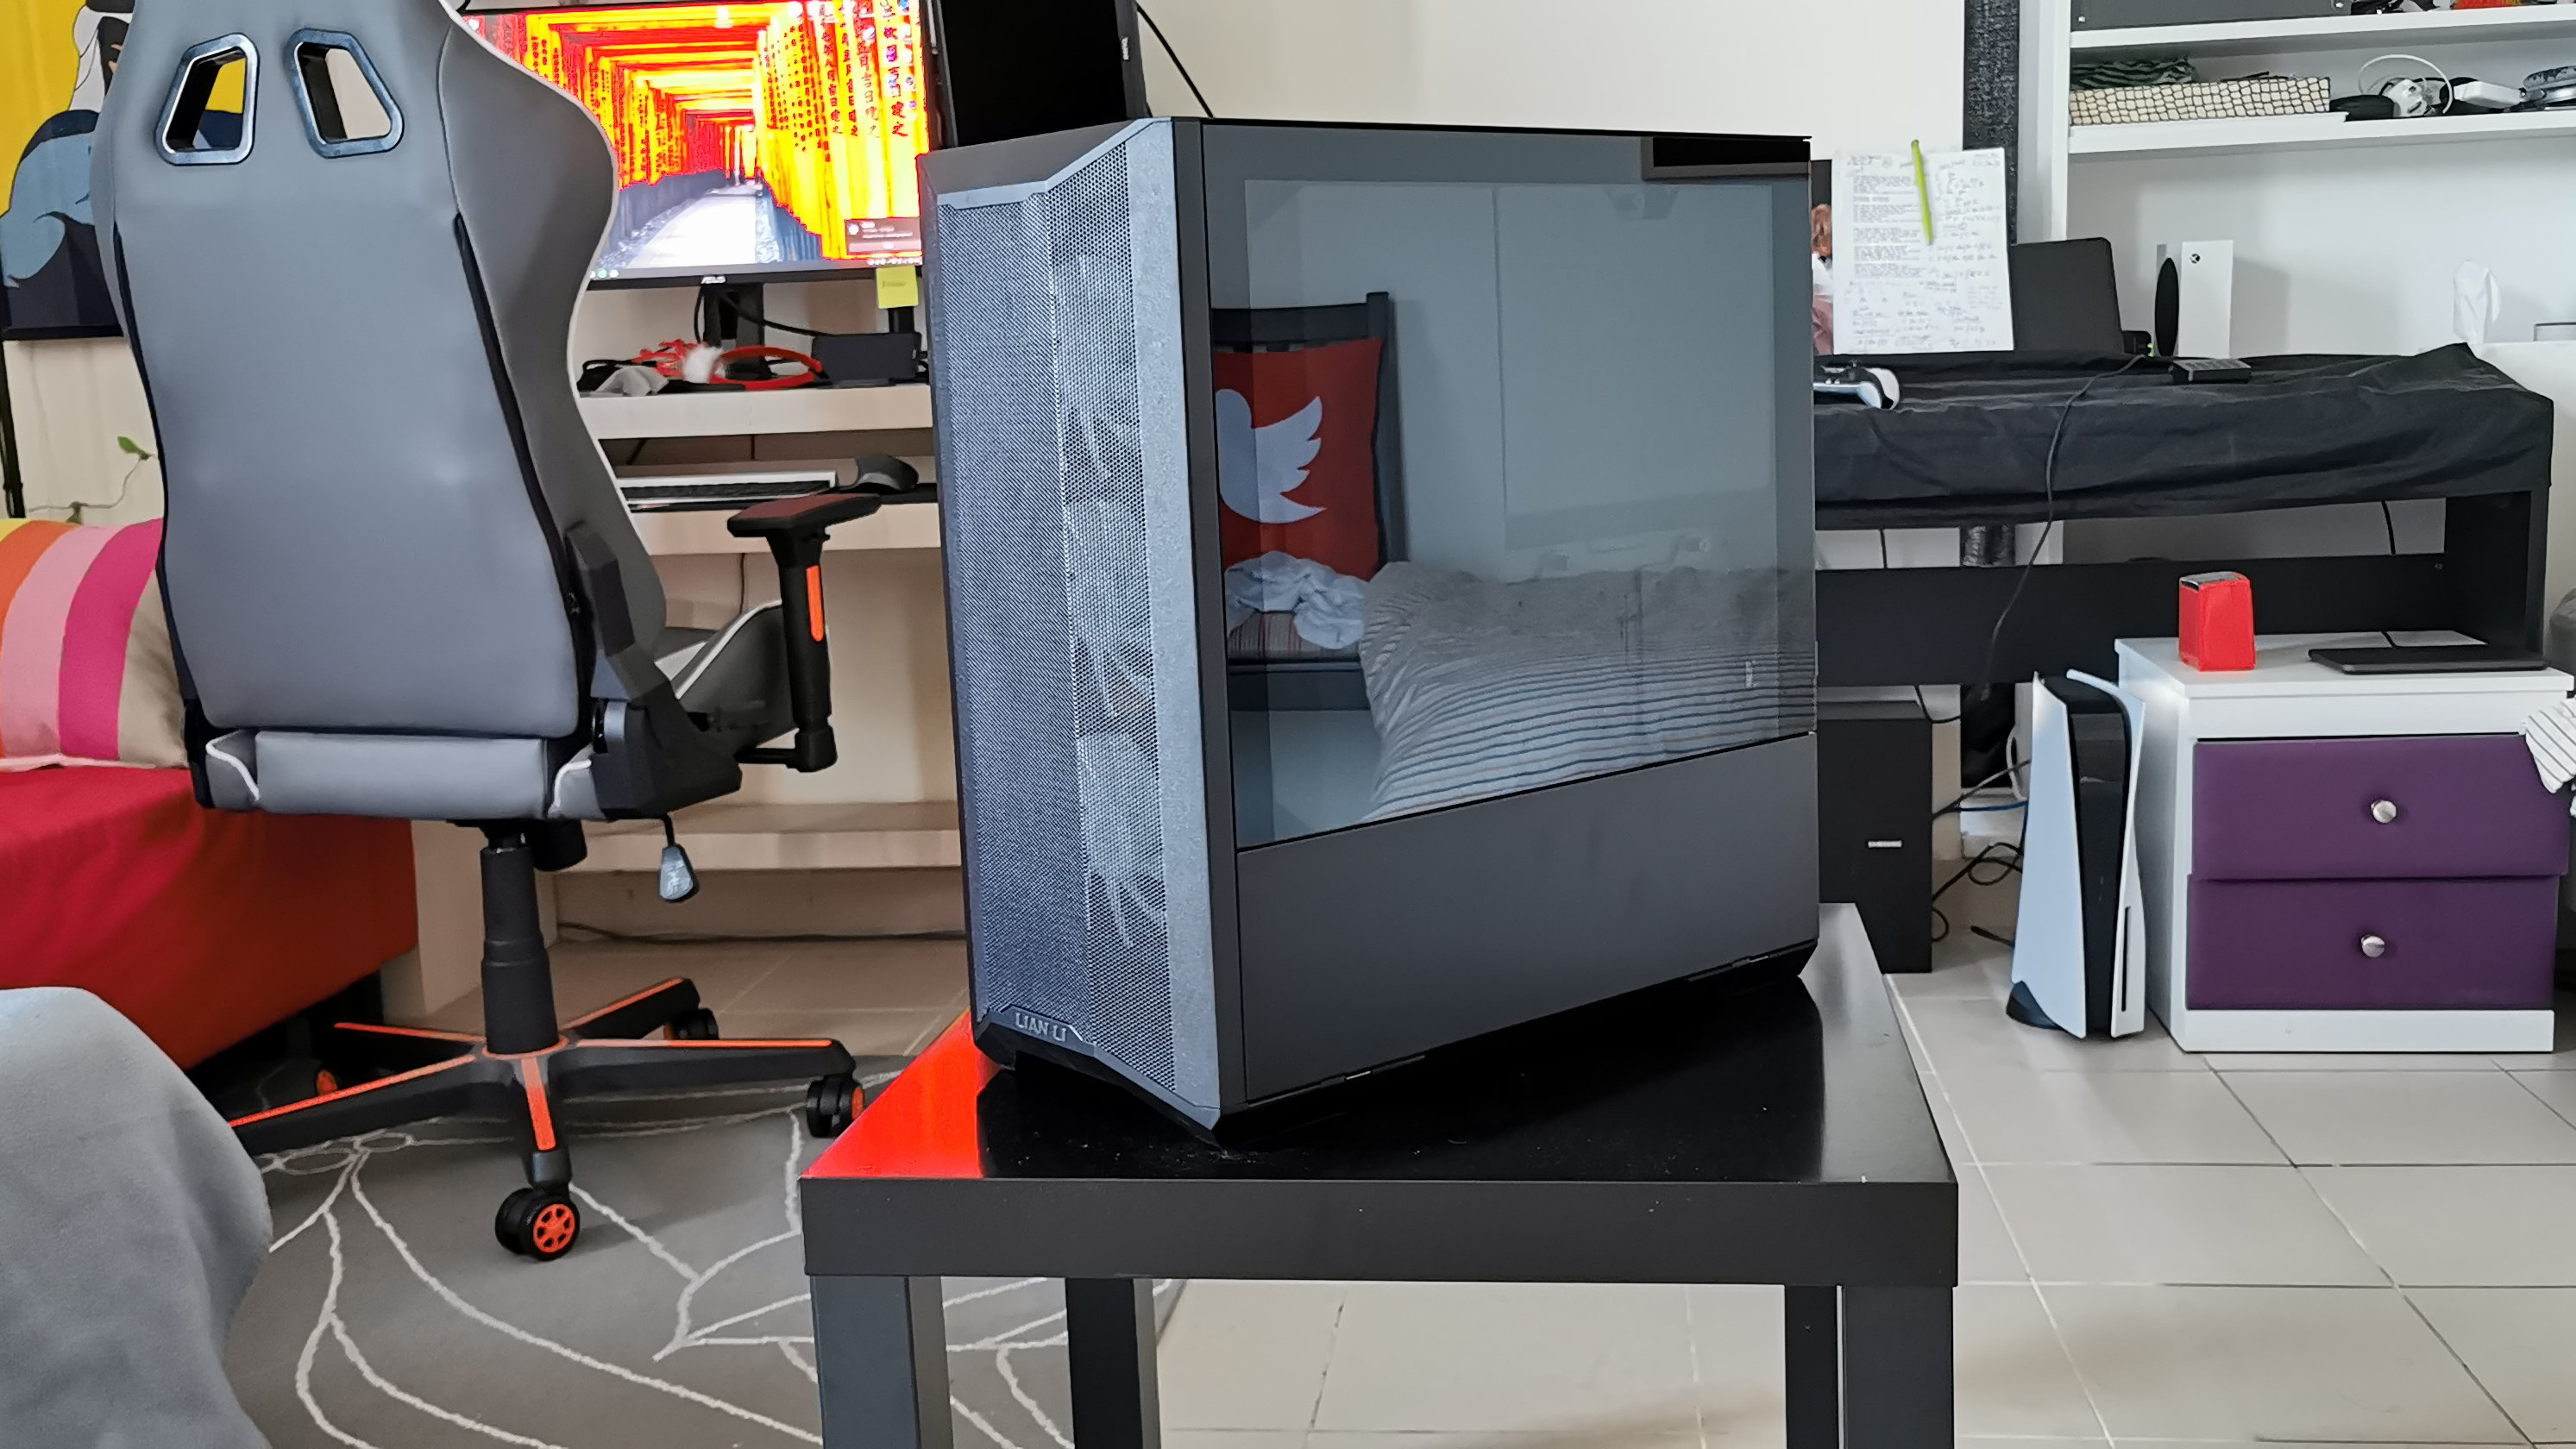
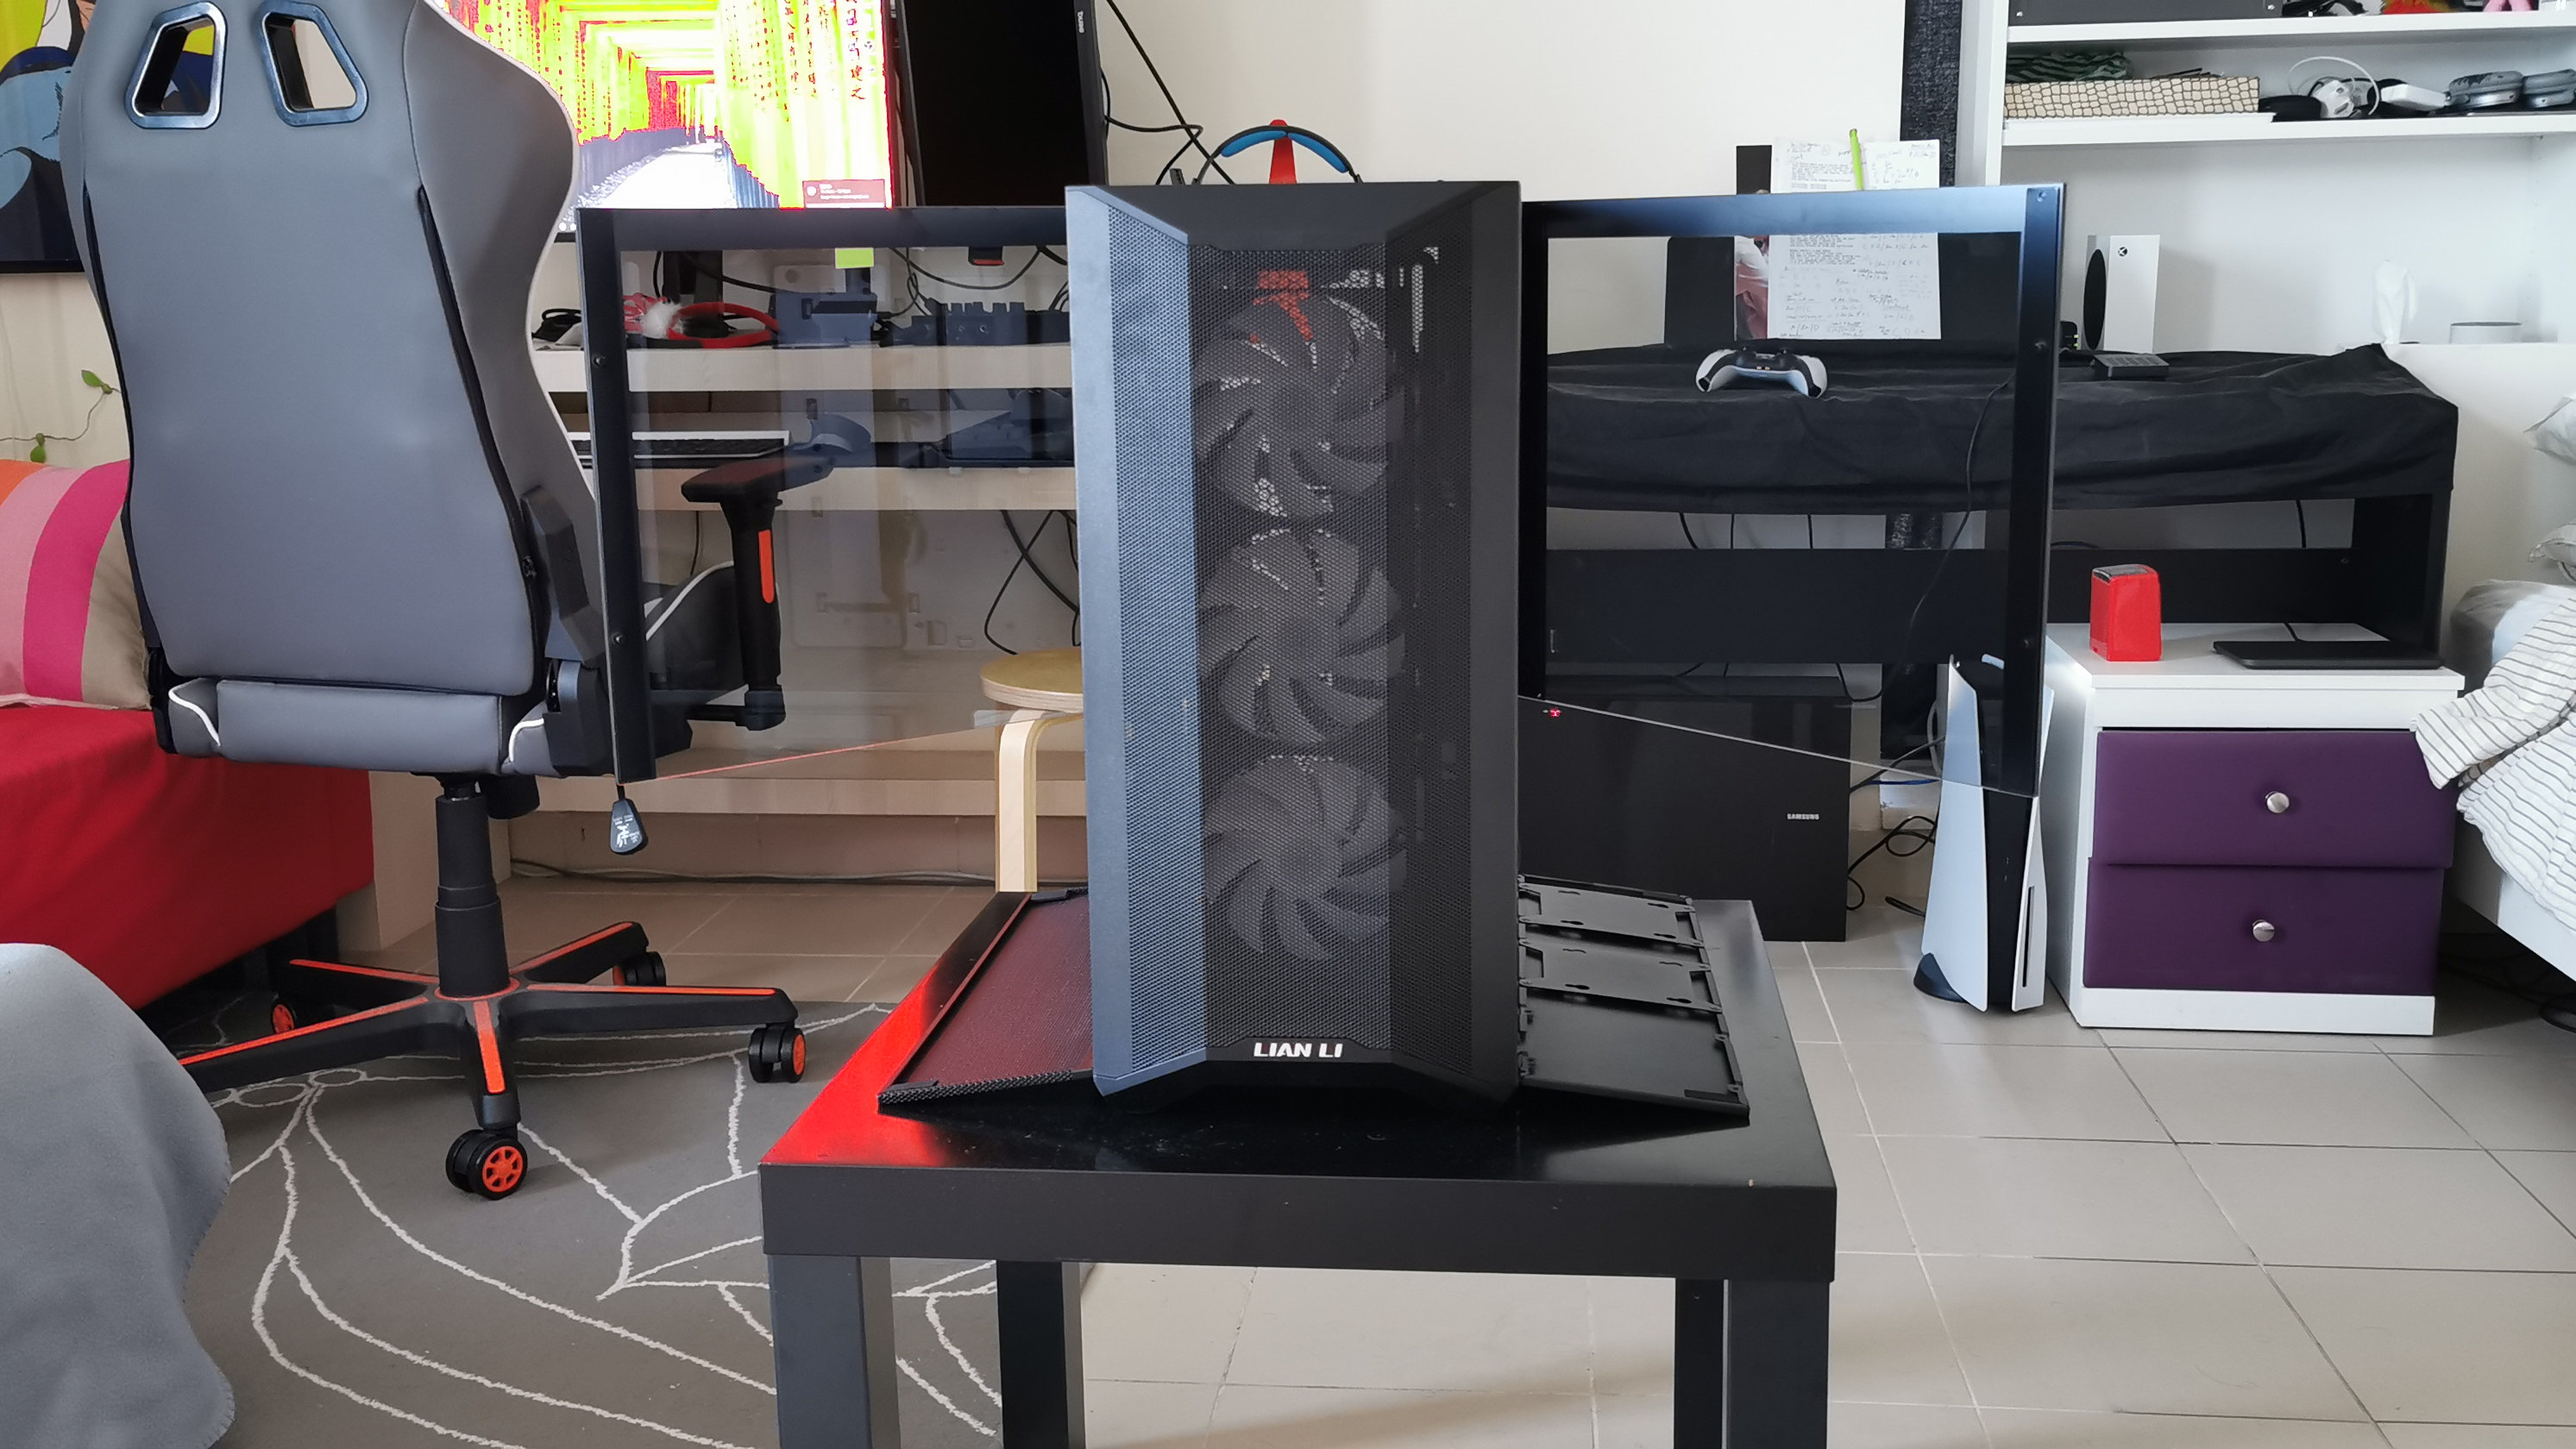
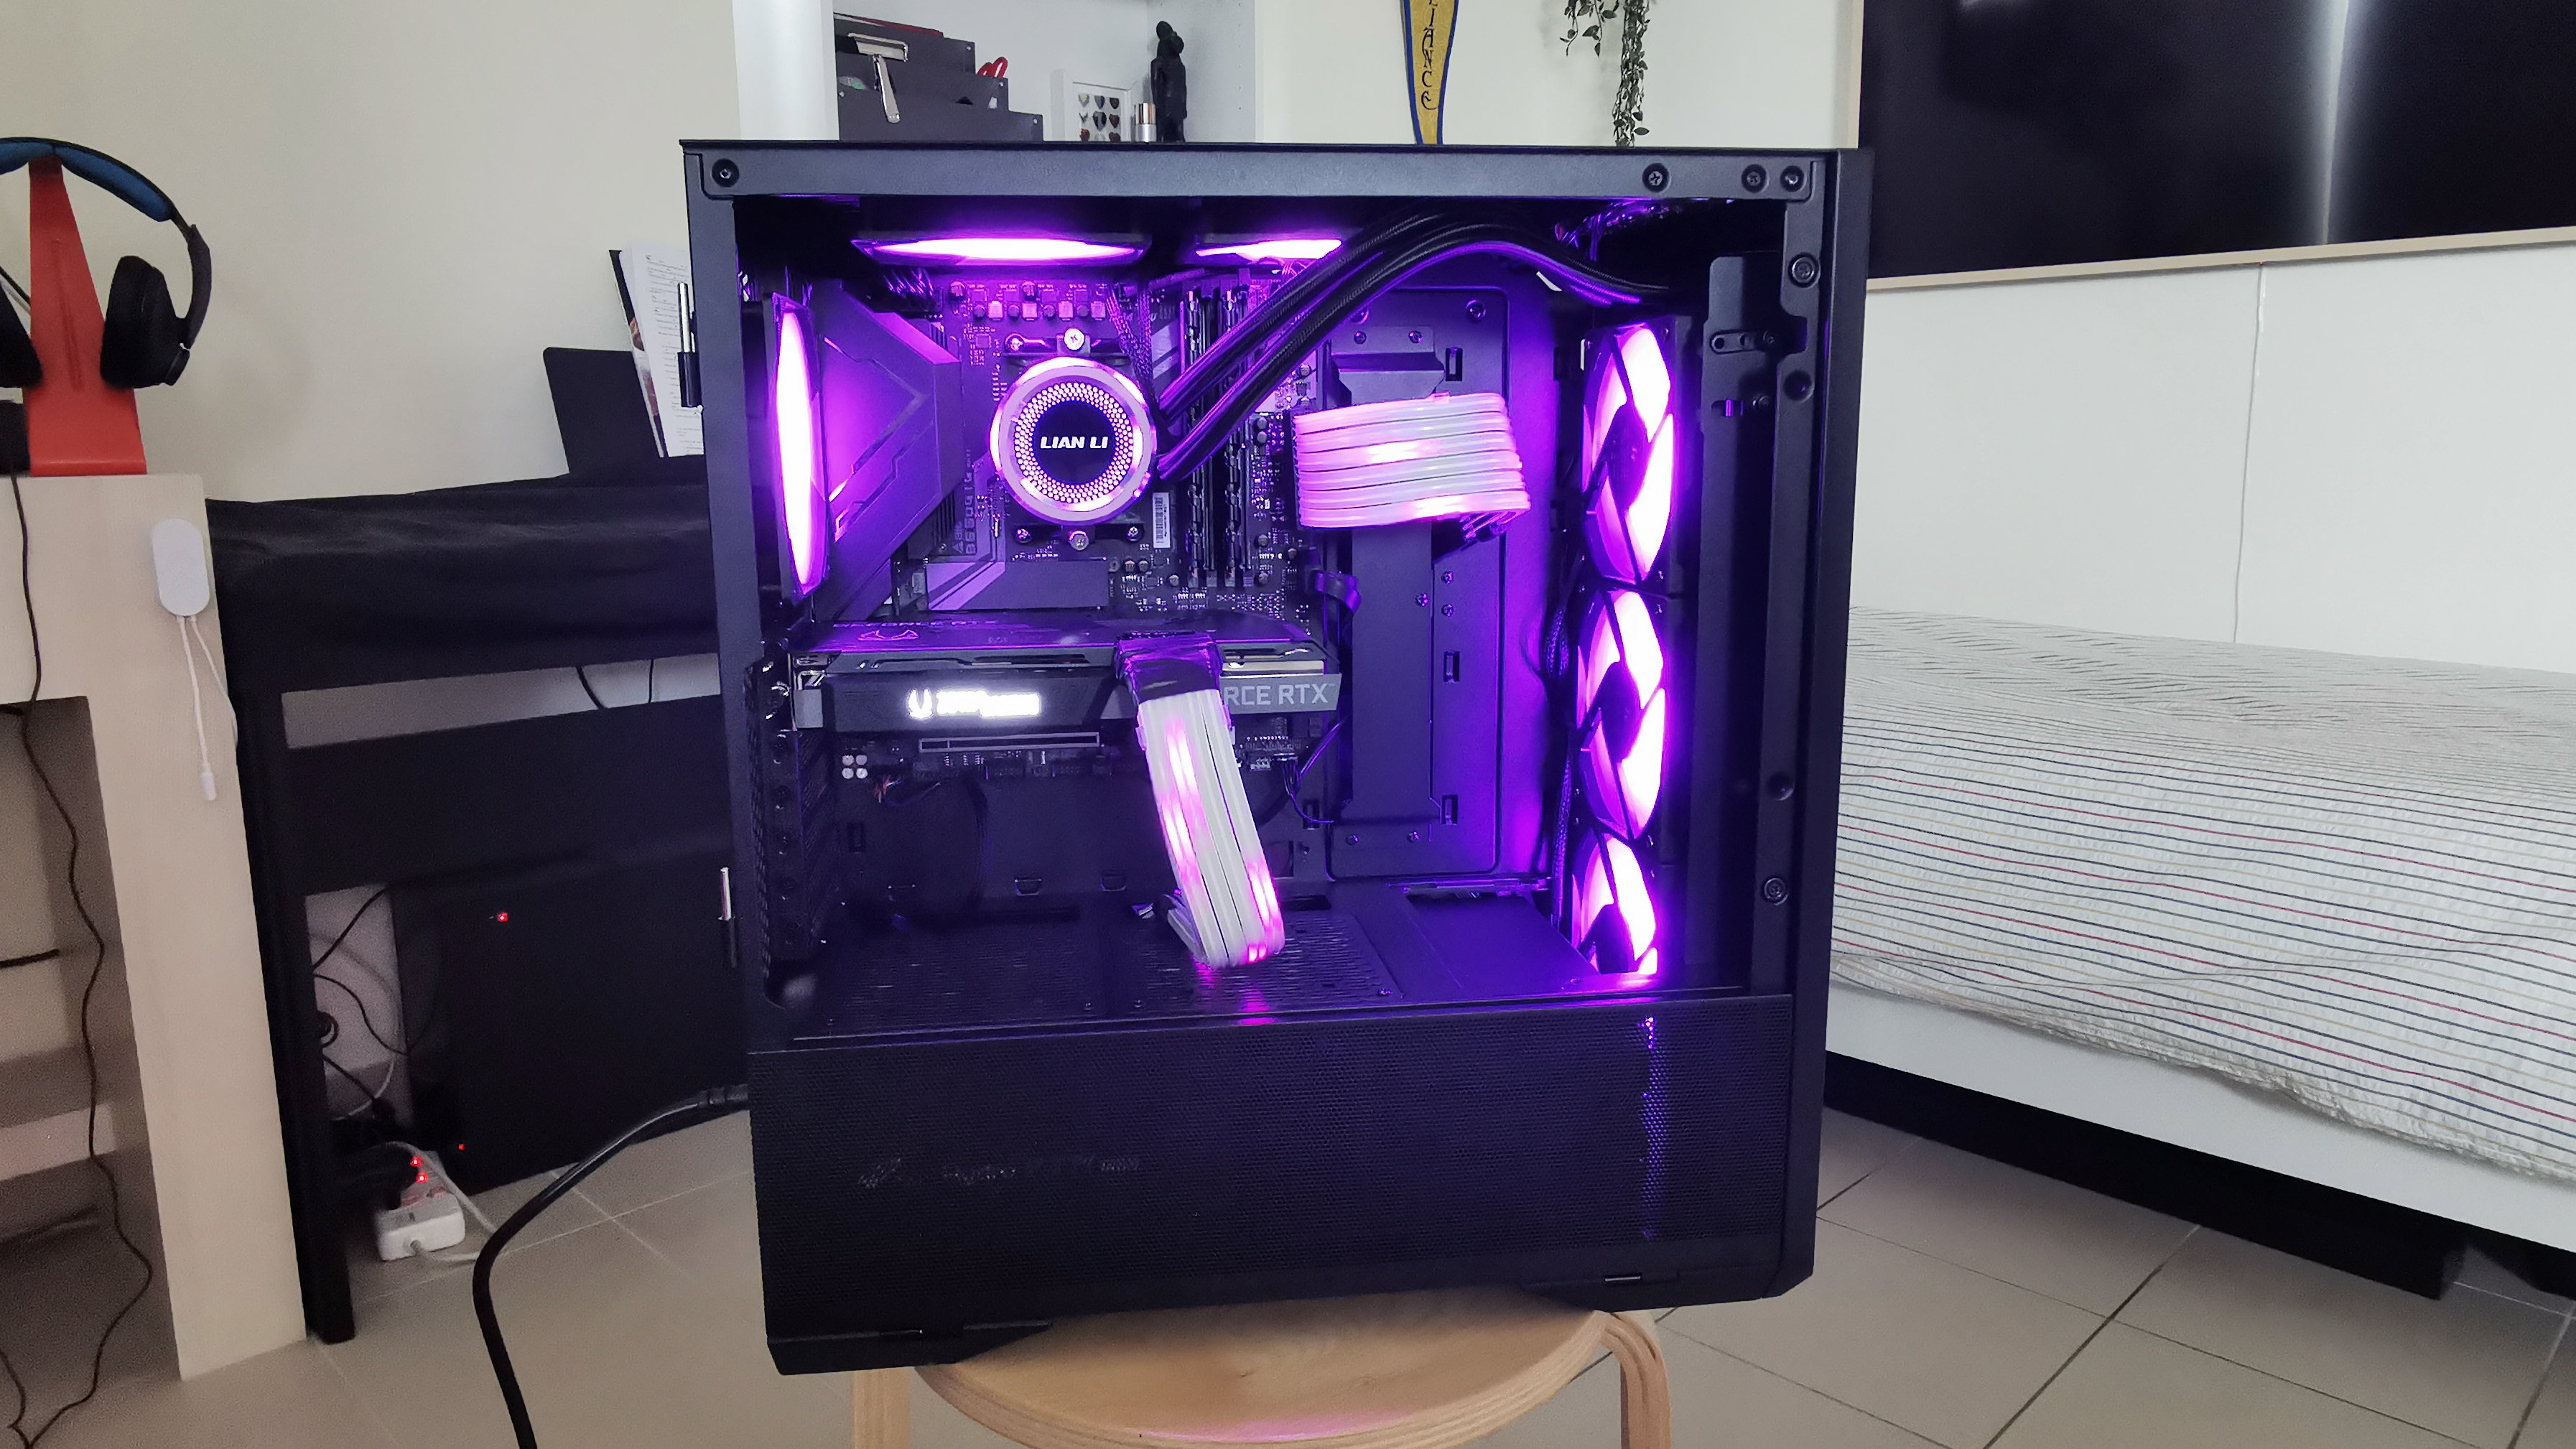
PC Case: Lian Li Lancool II Mesh Performance
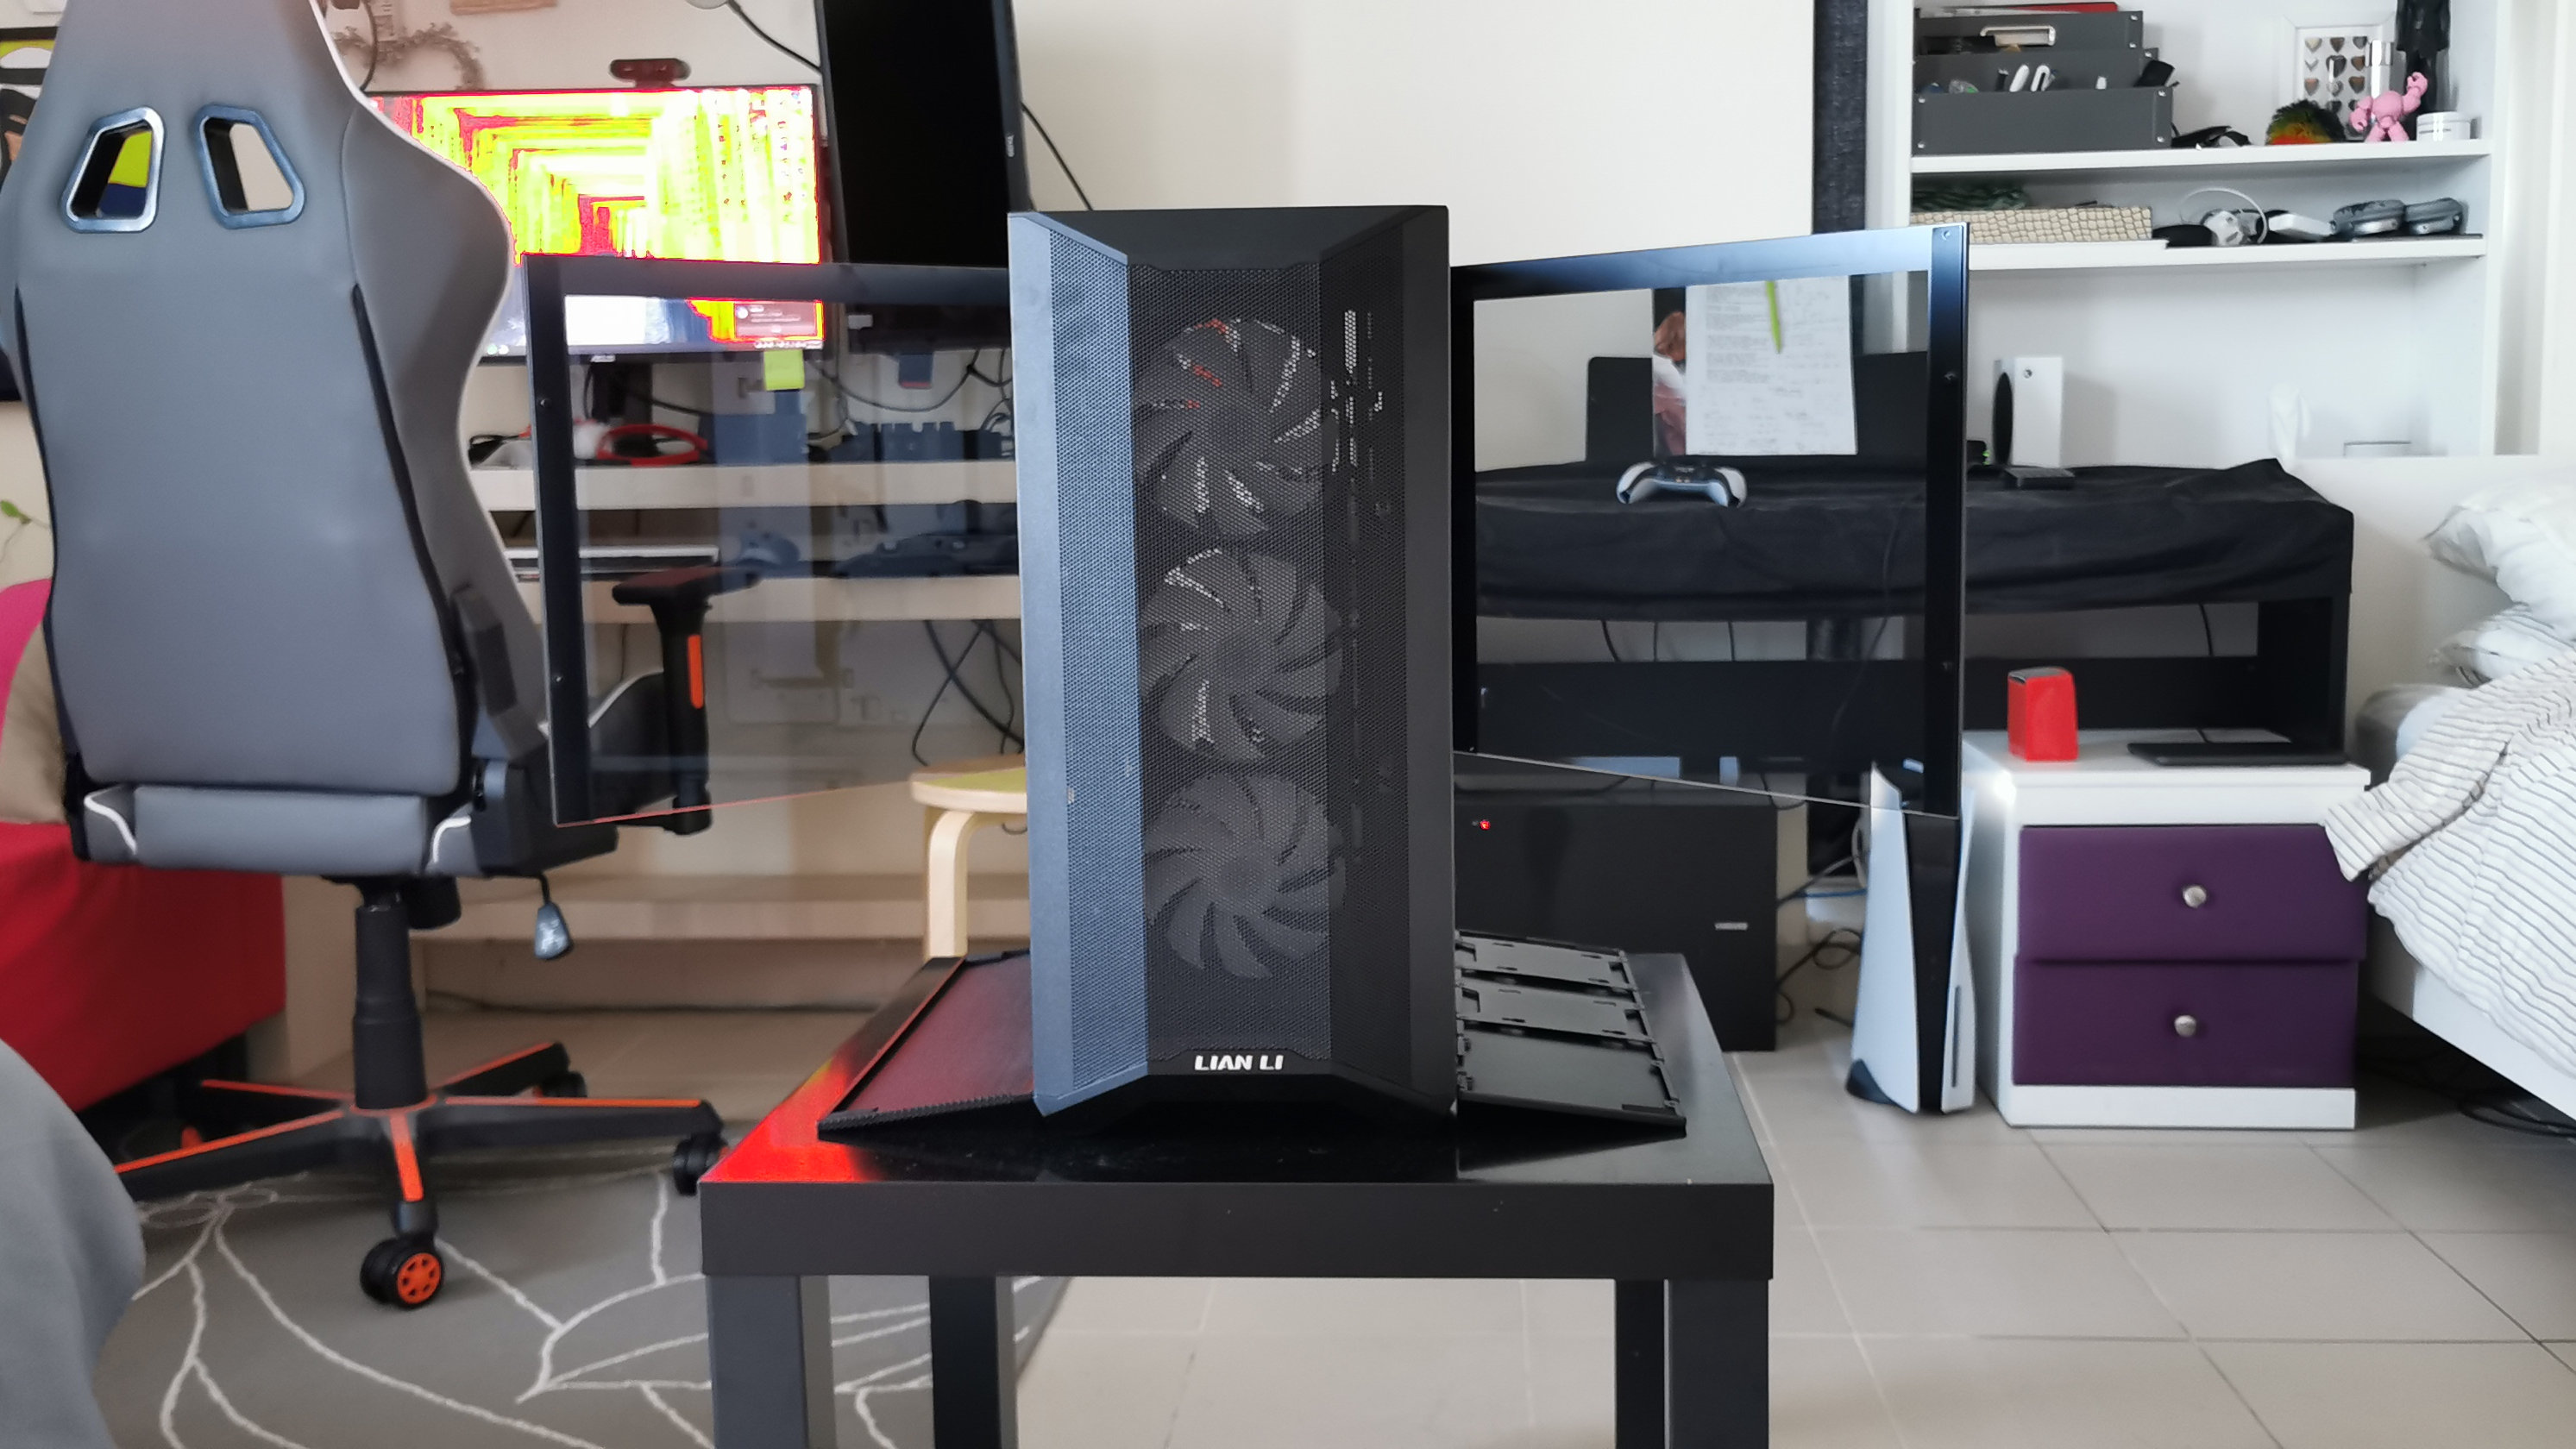
First comes the PC case, where all your components will comfortably sit. Your PC case also (to an extent) governs how much you can upgrade your PC in the future, especially when it comes to being able to fit larger components such as modern GPUs.
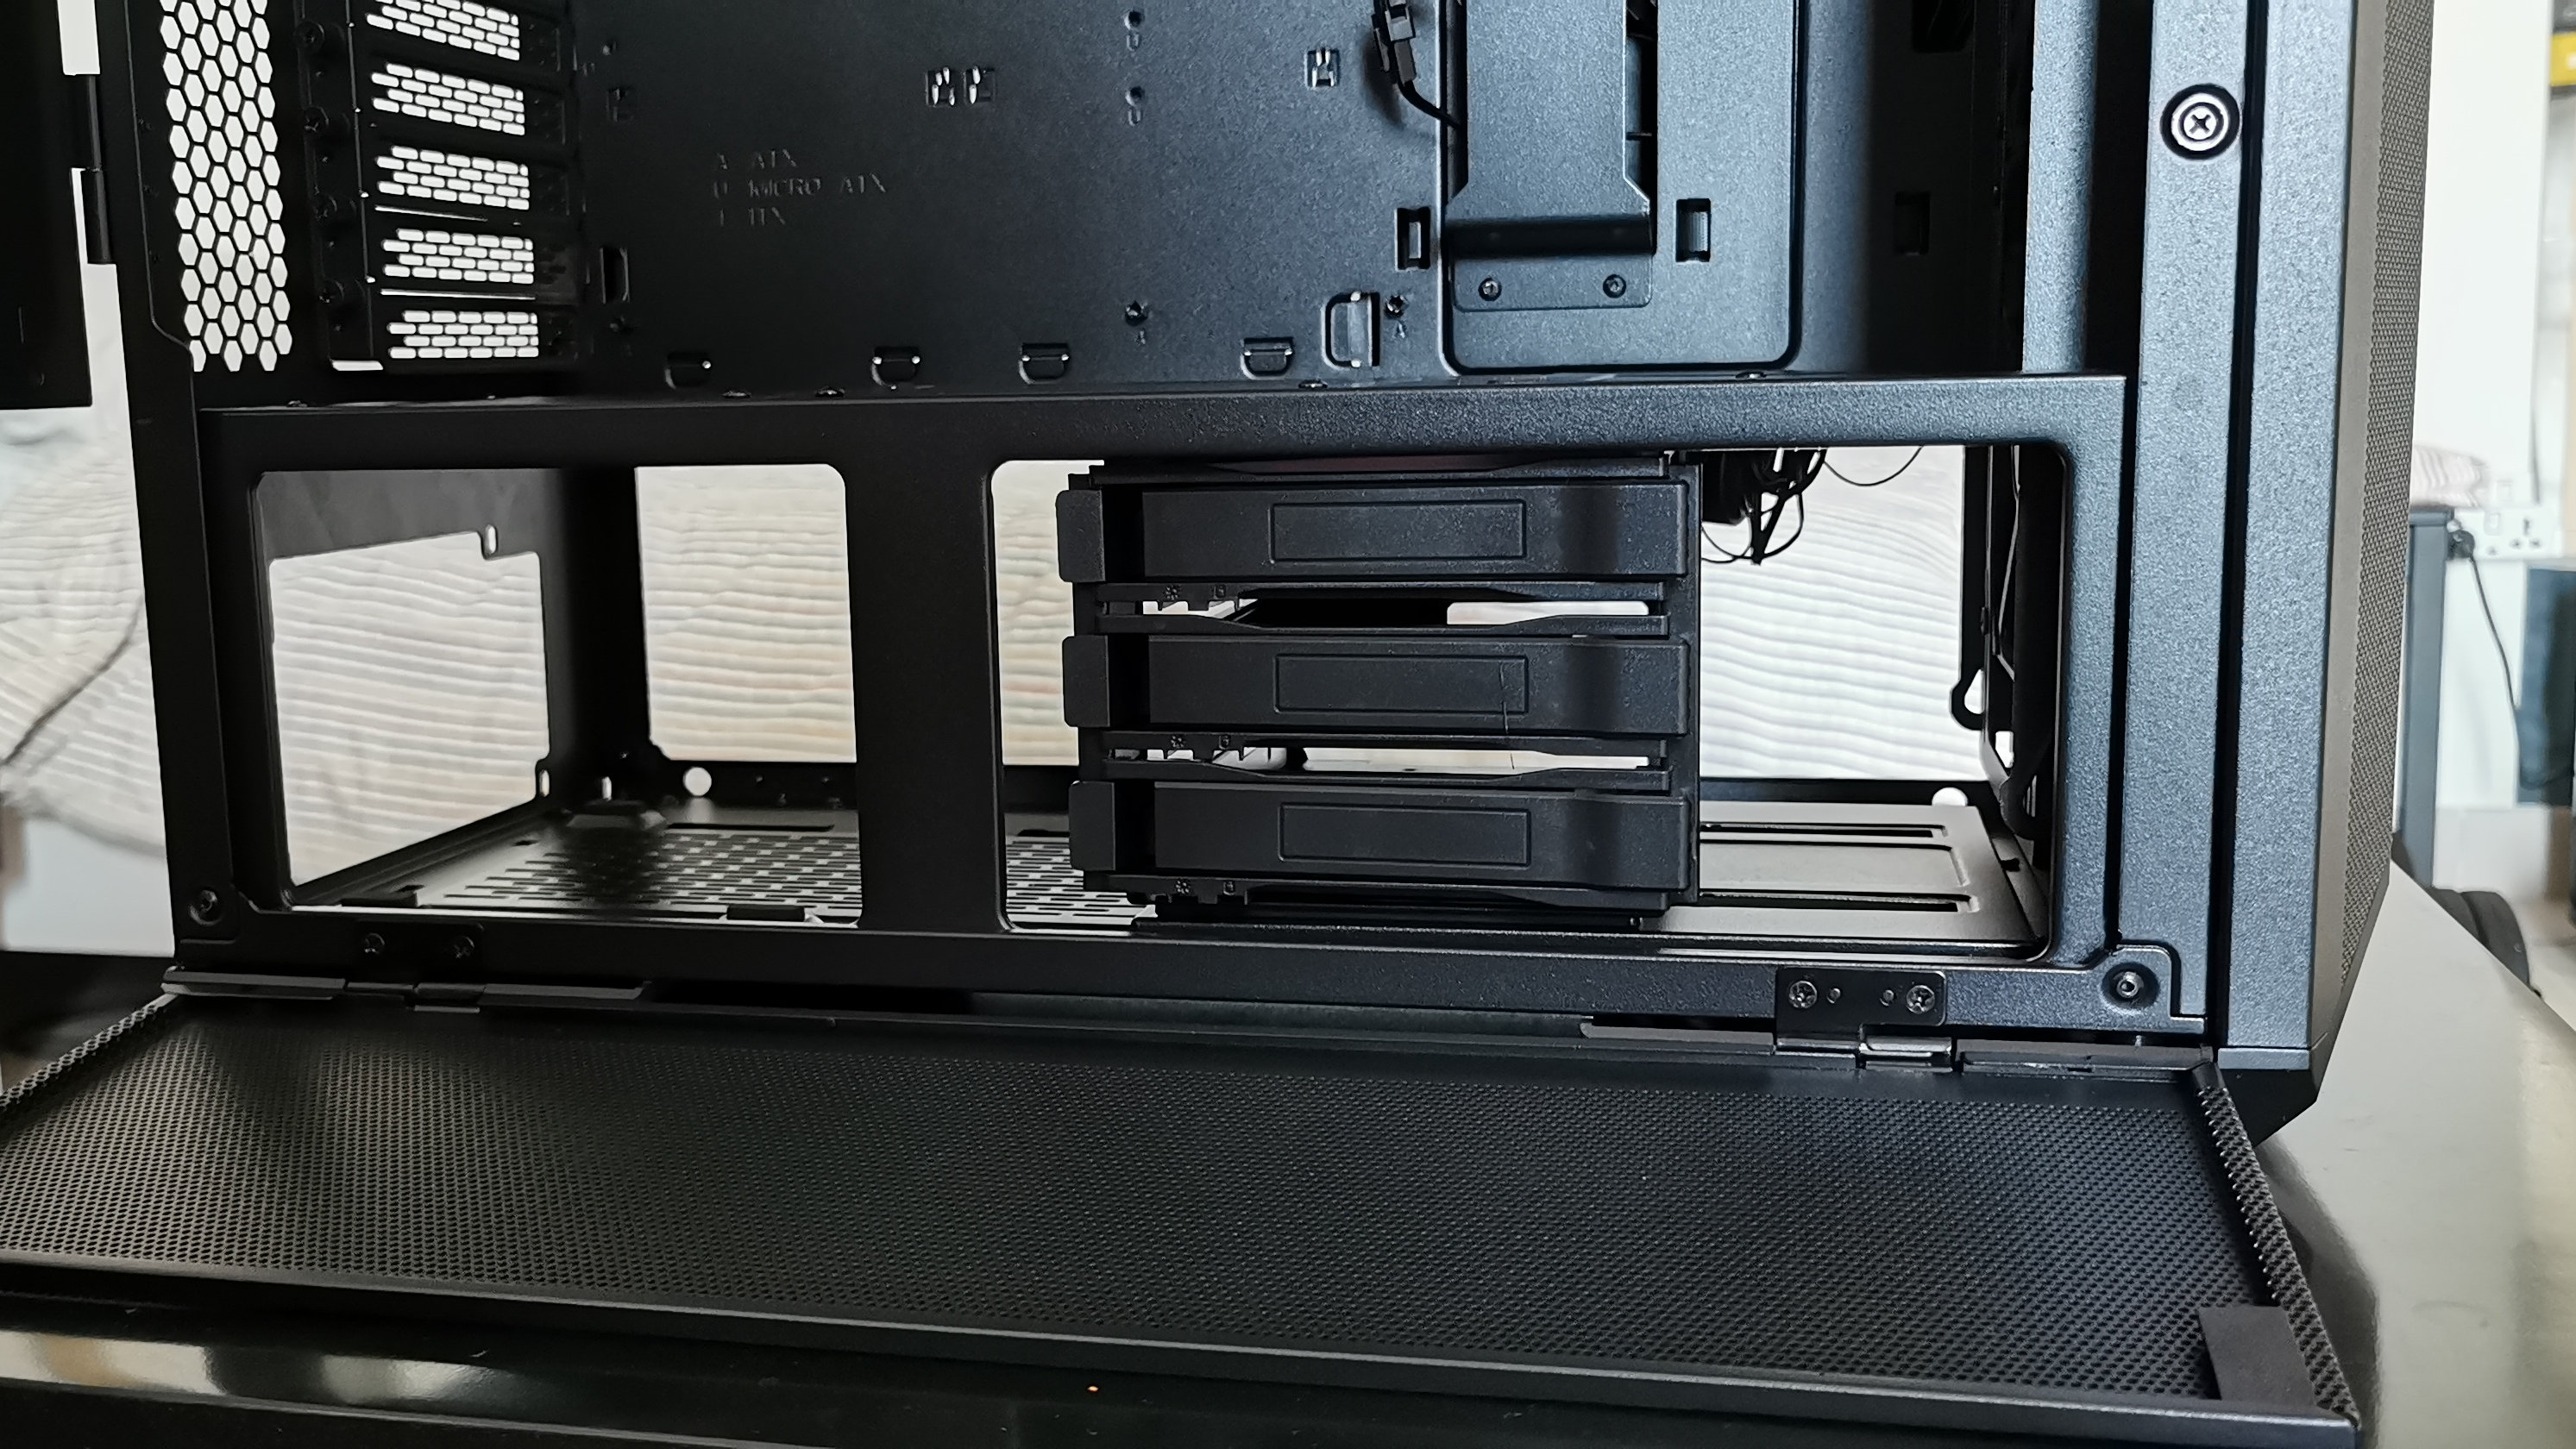
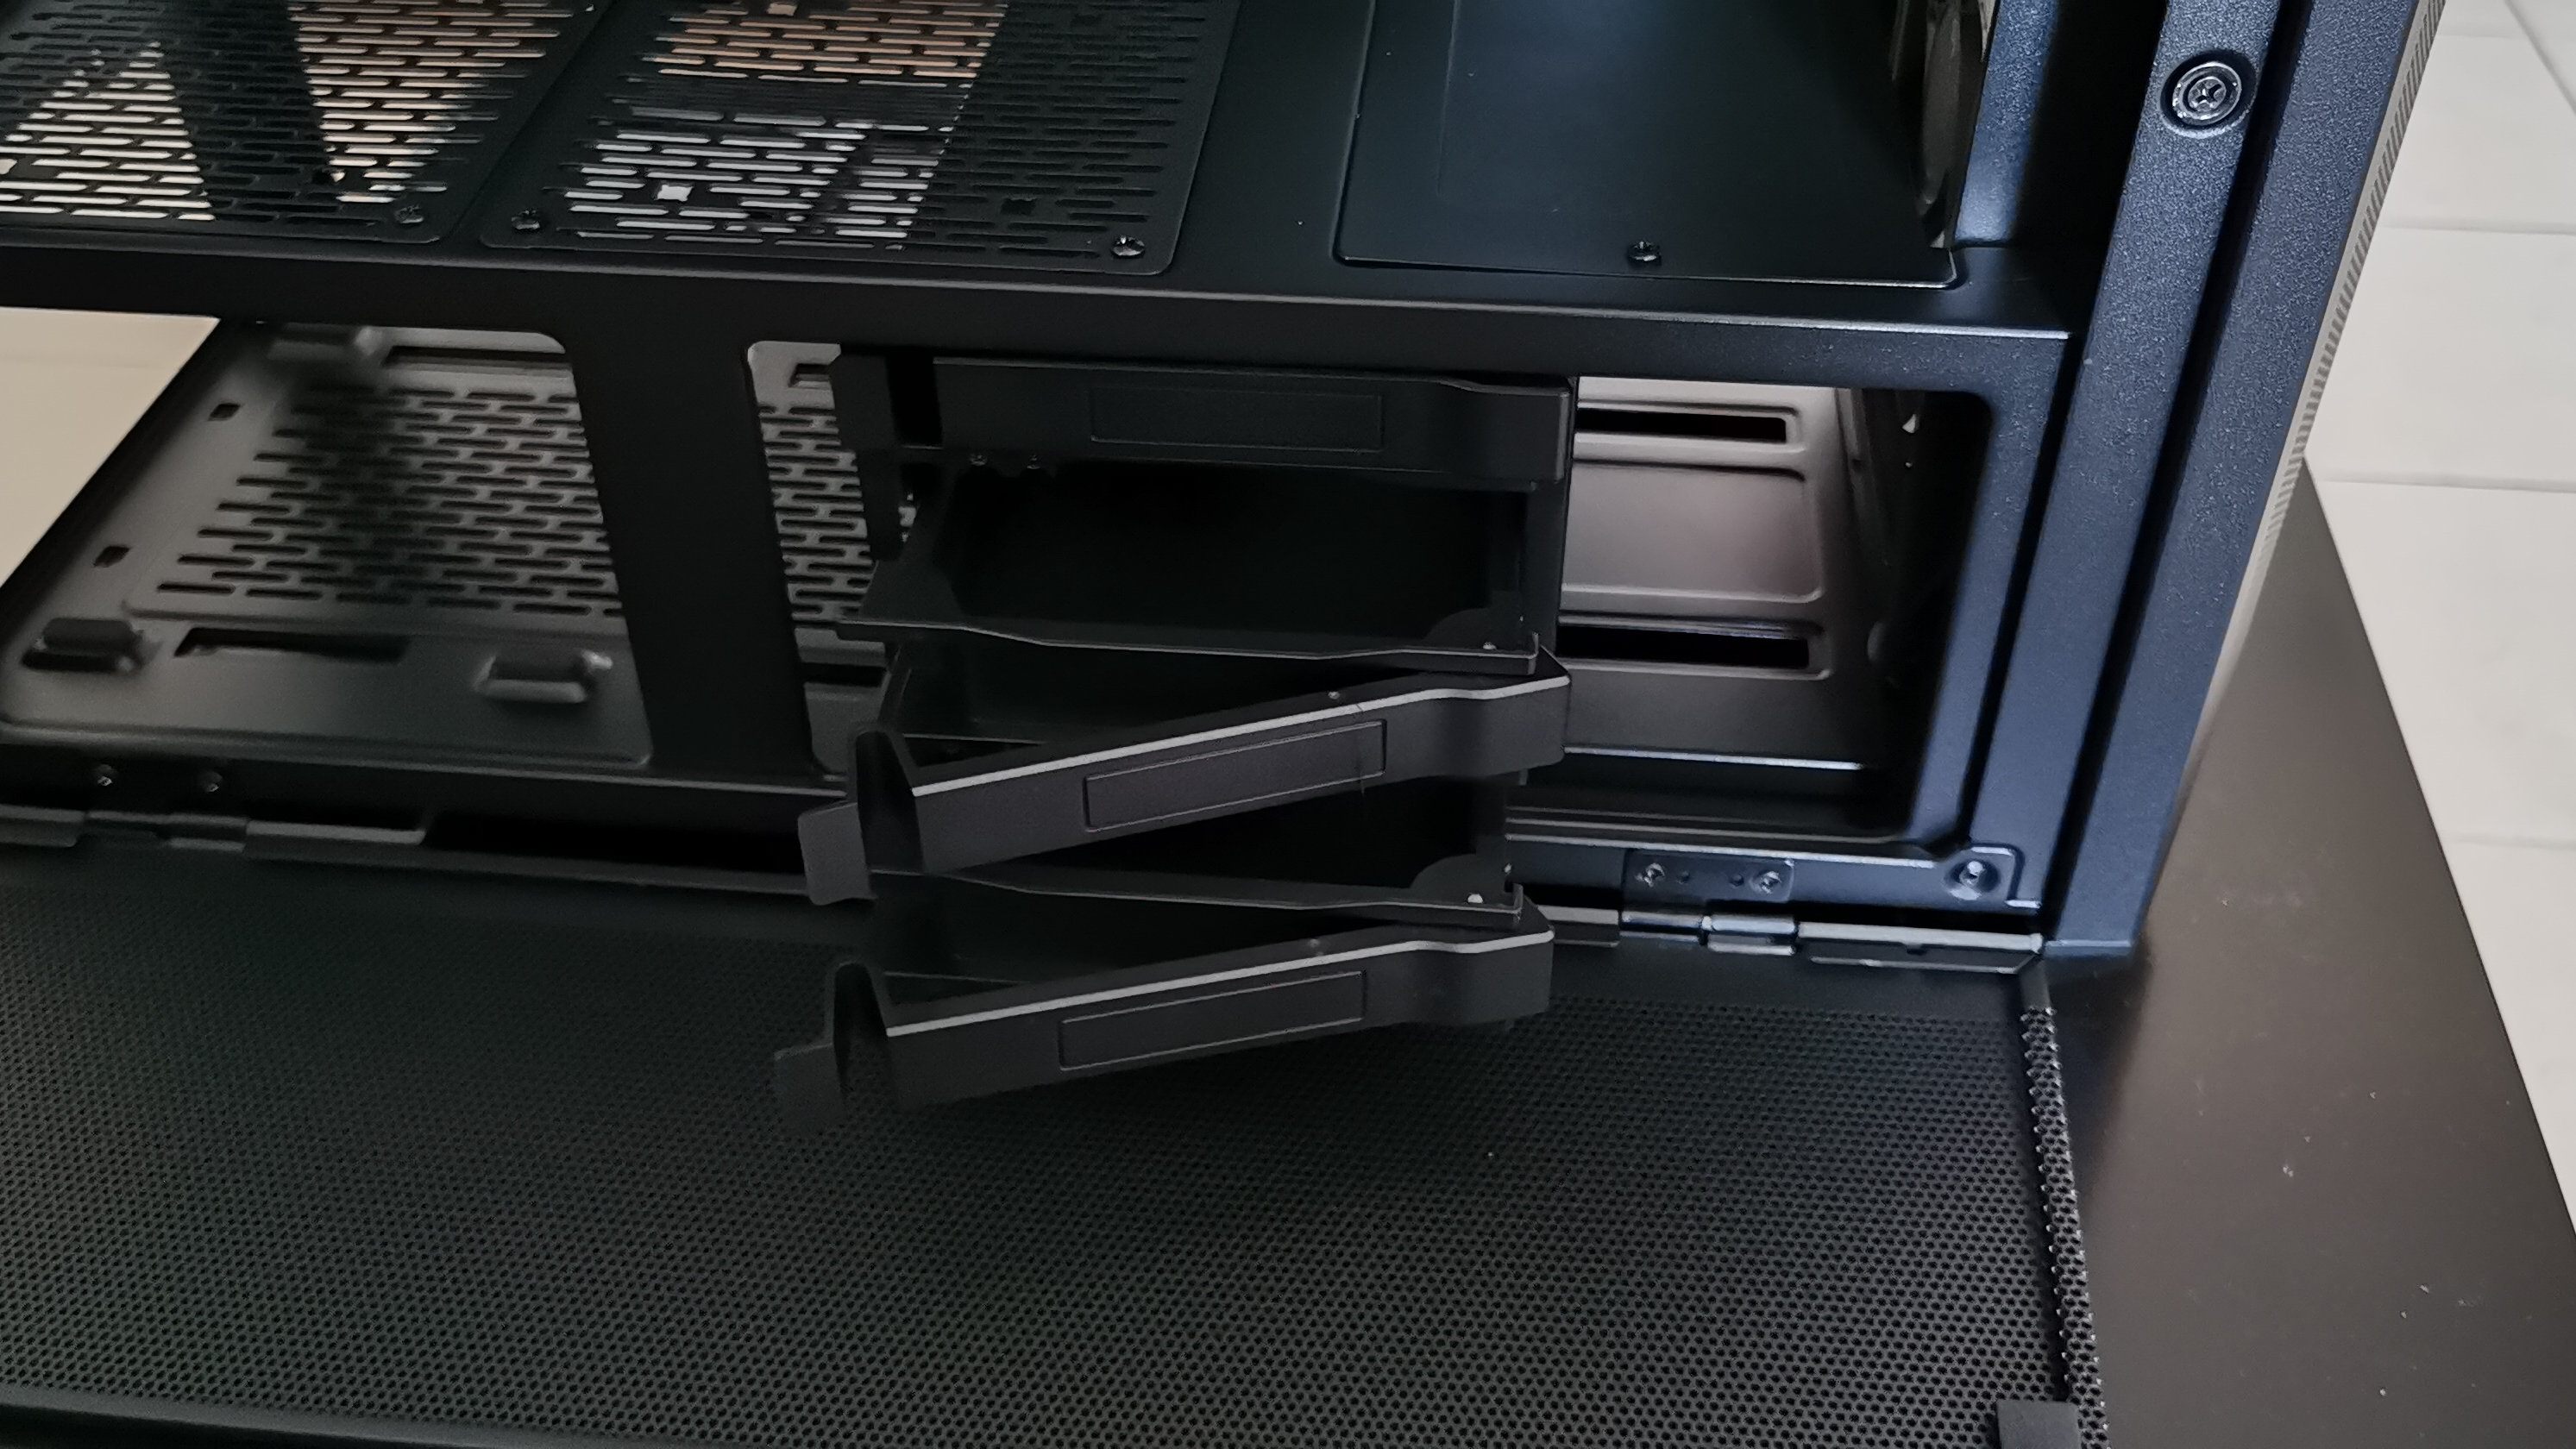
The case being used here is the Lian Li Lancool II Mesh Performance, which offers an incredible amount of flexibility. In addition to supporting different motherboard sizes, the case also offers a lot of storage options, as well as easy access to almost any component via its side panels.
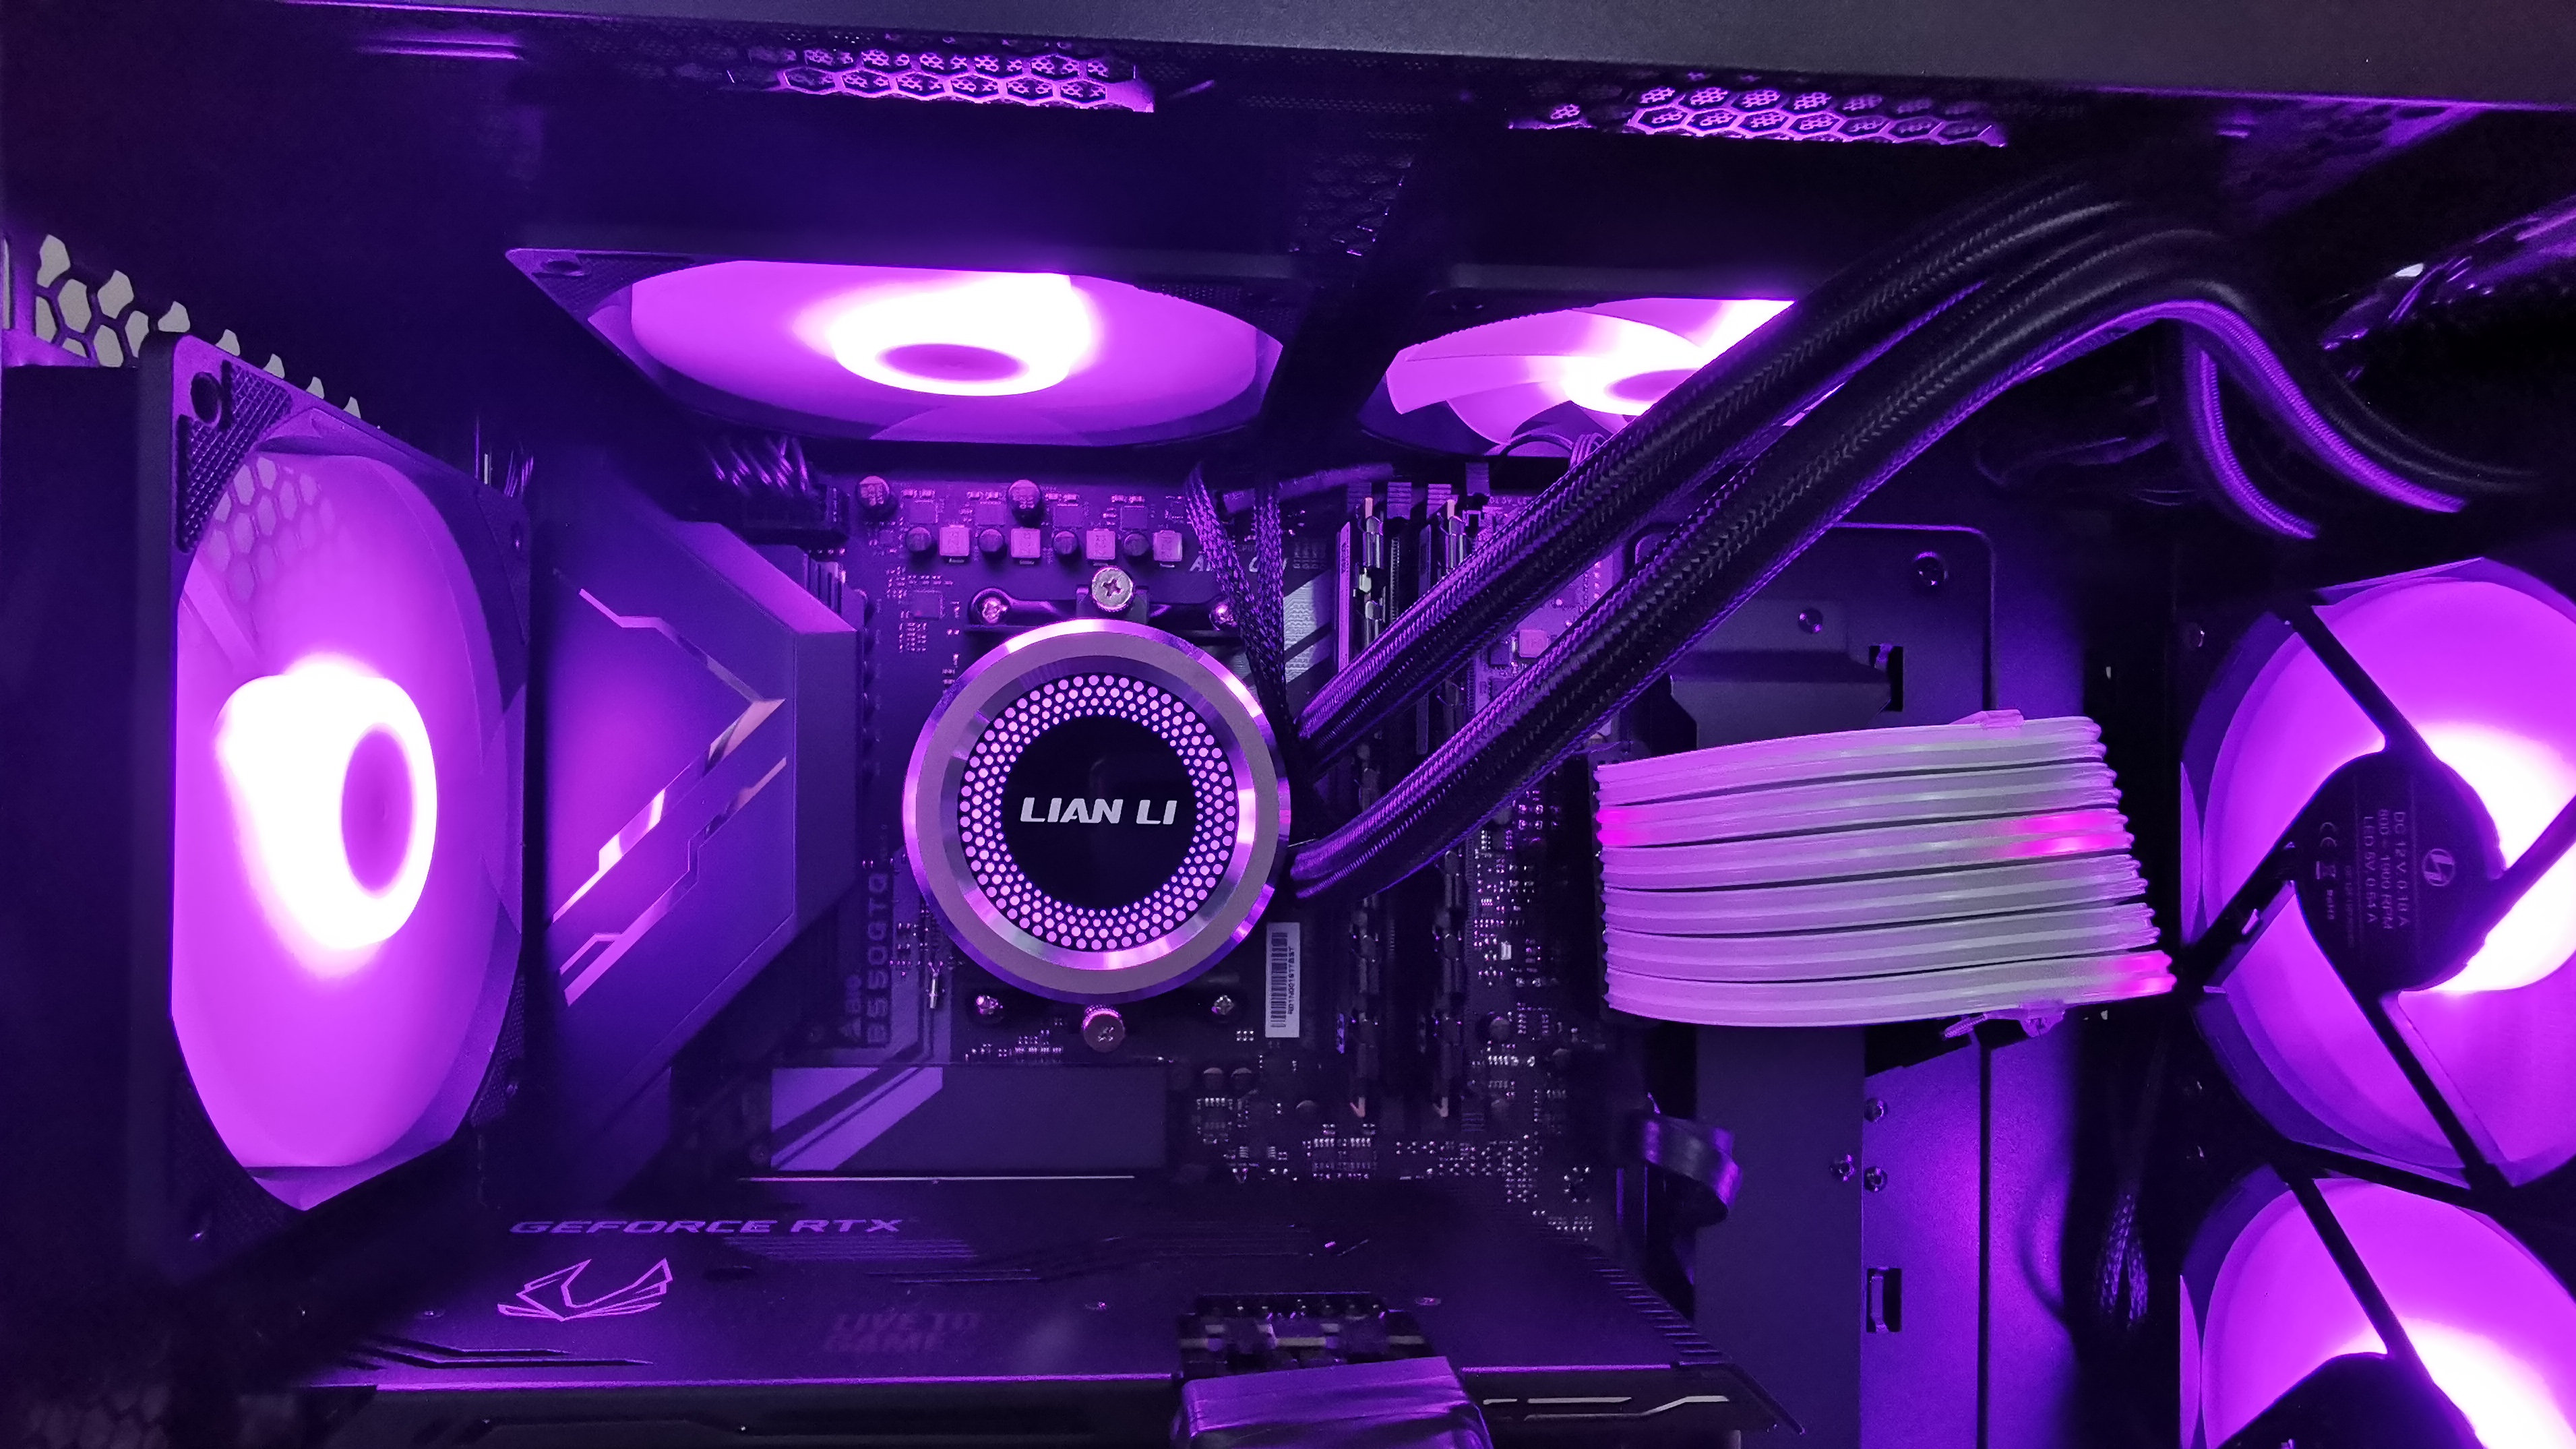
Airflow is another important factor of this case, as you have a number of options available to install fans, radiators, or even water cooling options. I’ll be sticking with the three fans that come with the case, and relocating two of them to the top and one to the rear.
Motherboard: Biostar B550GTQ
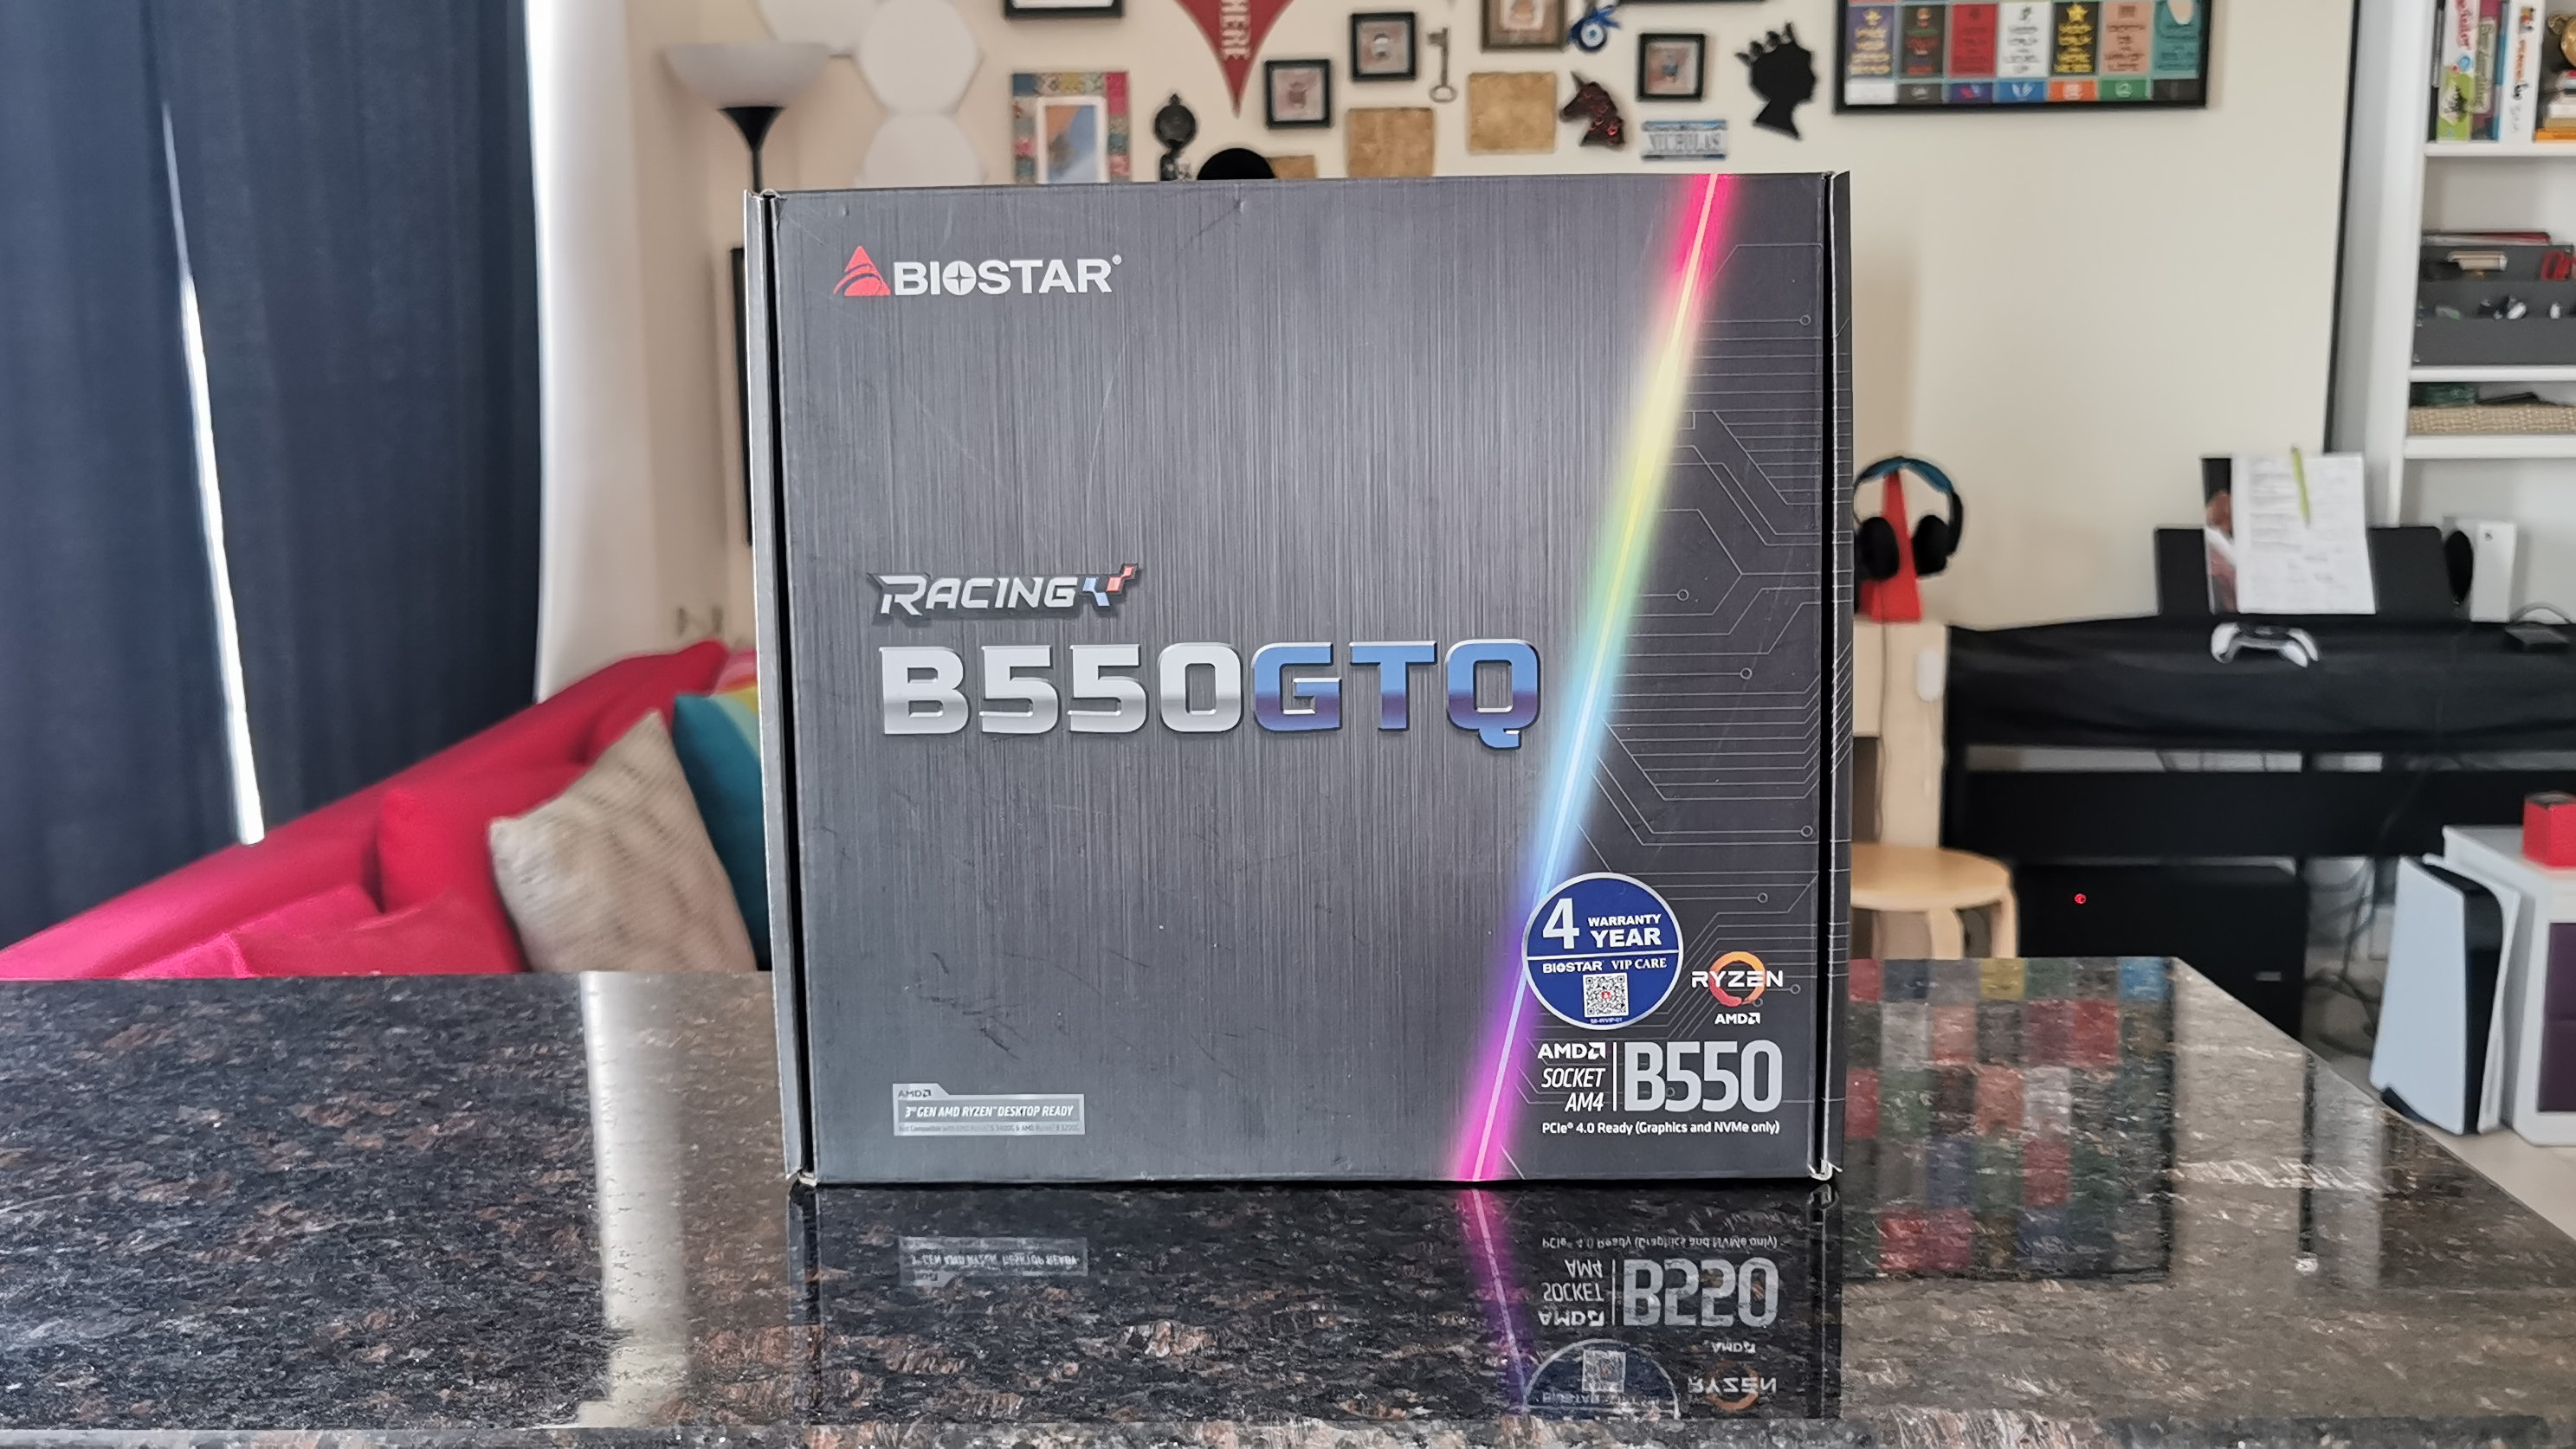
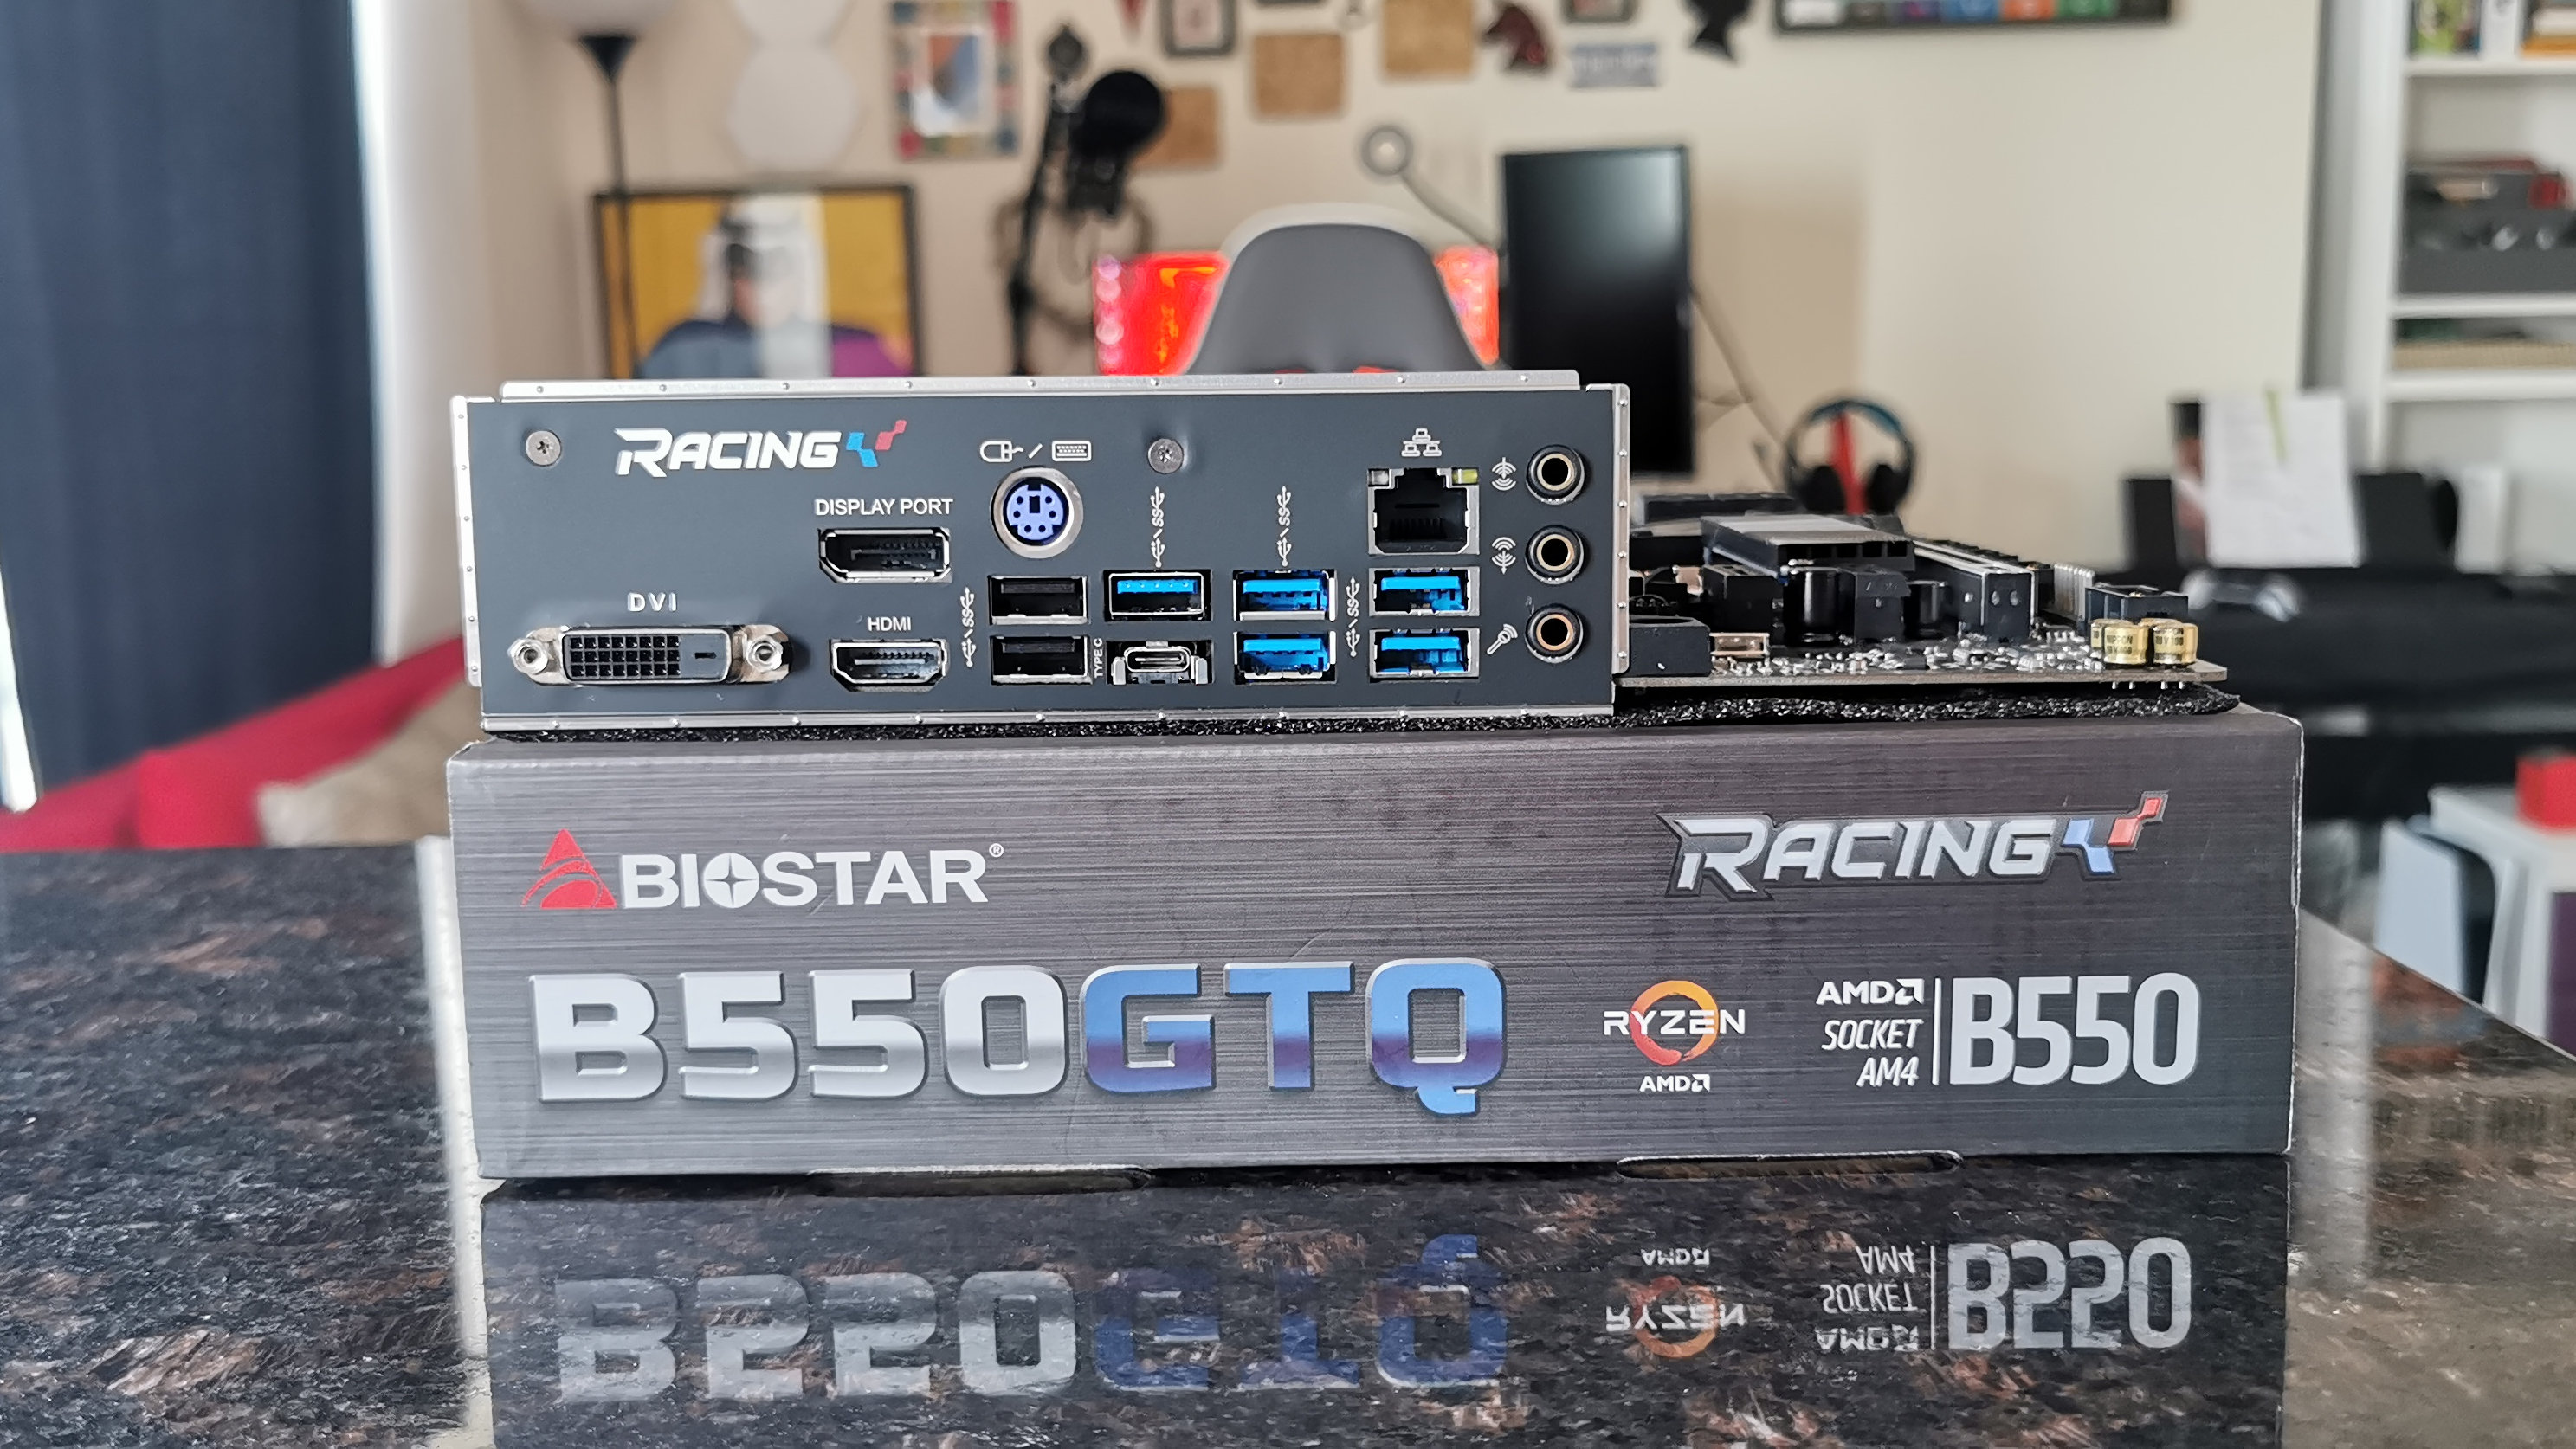
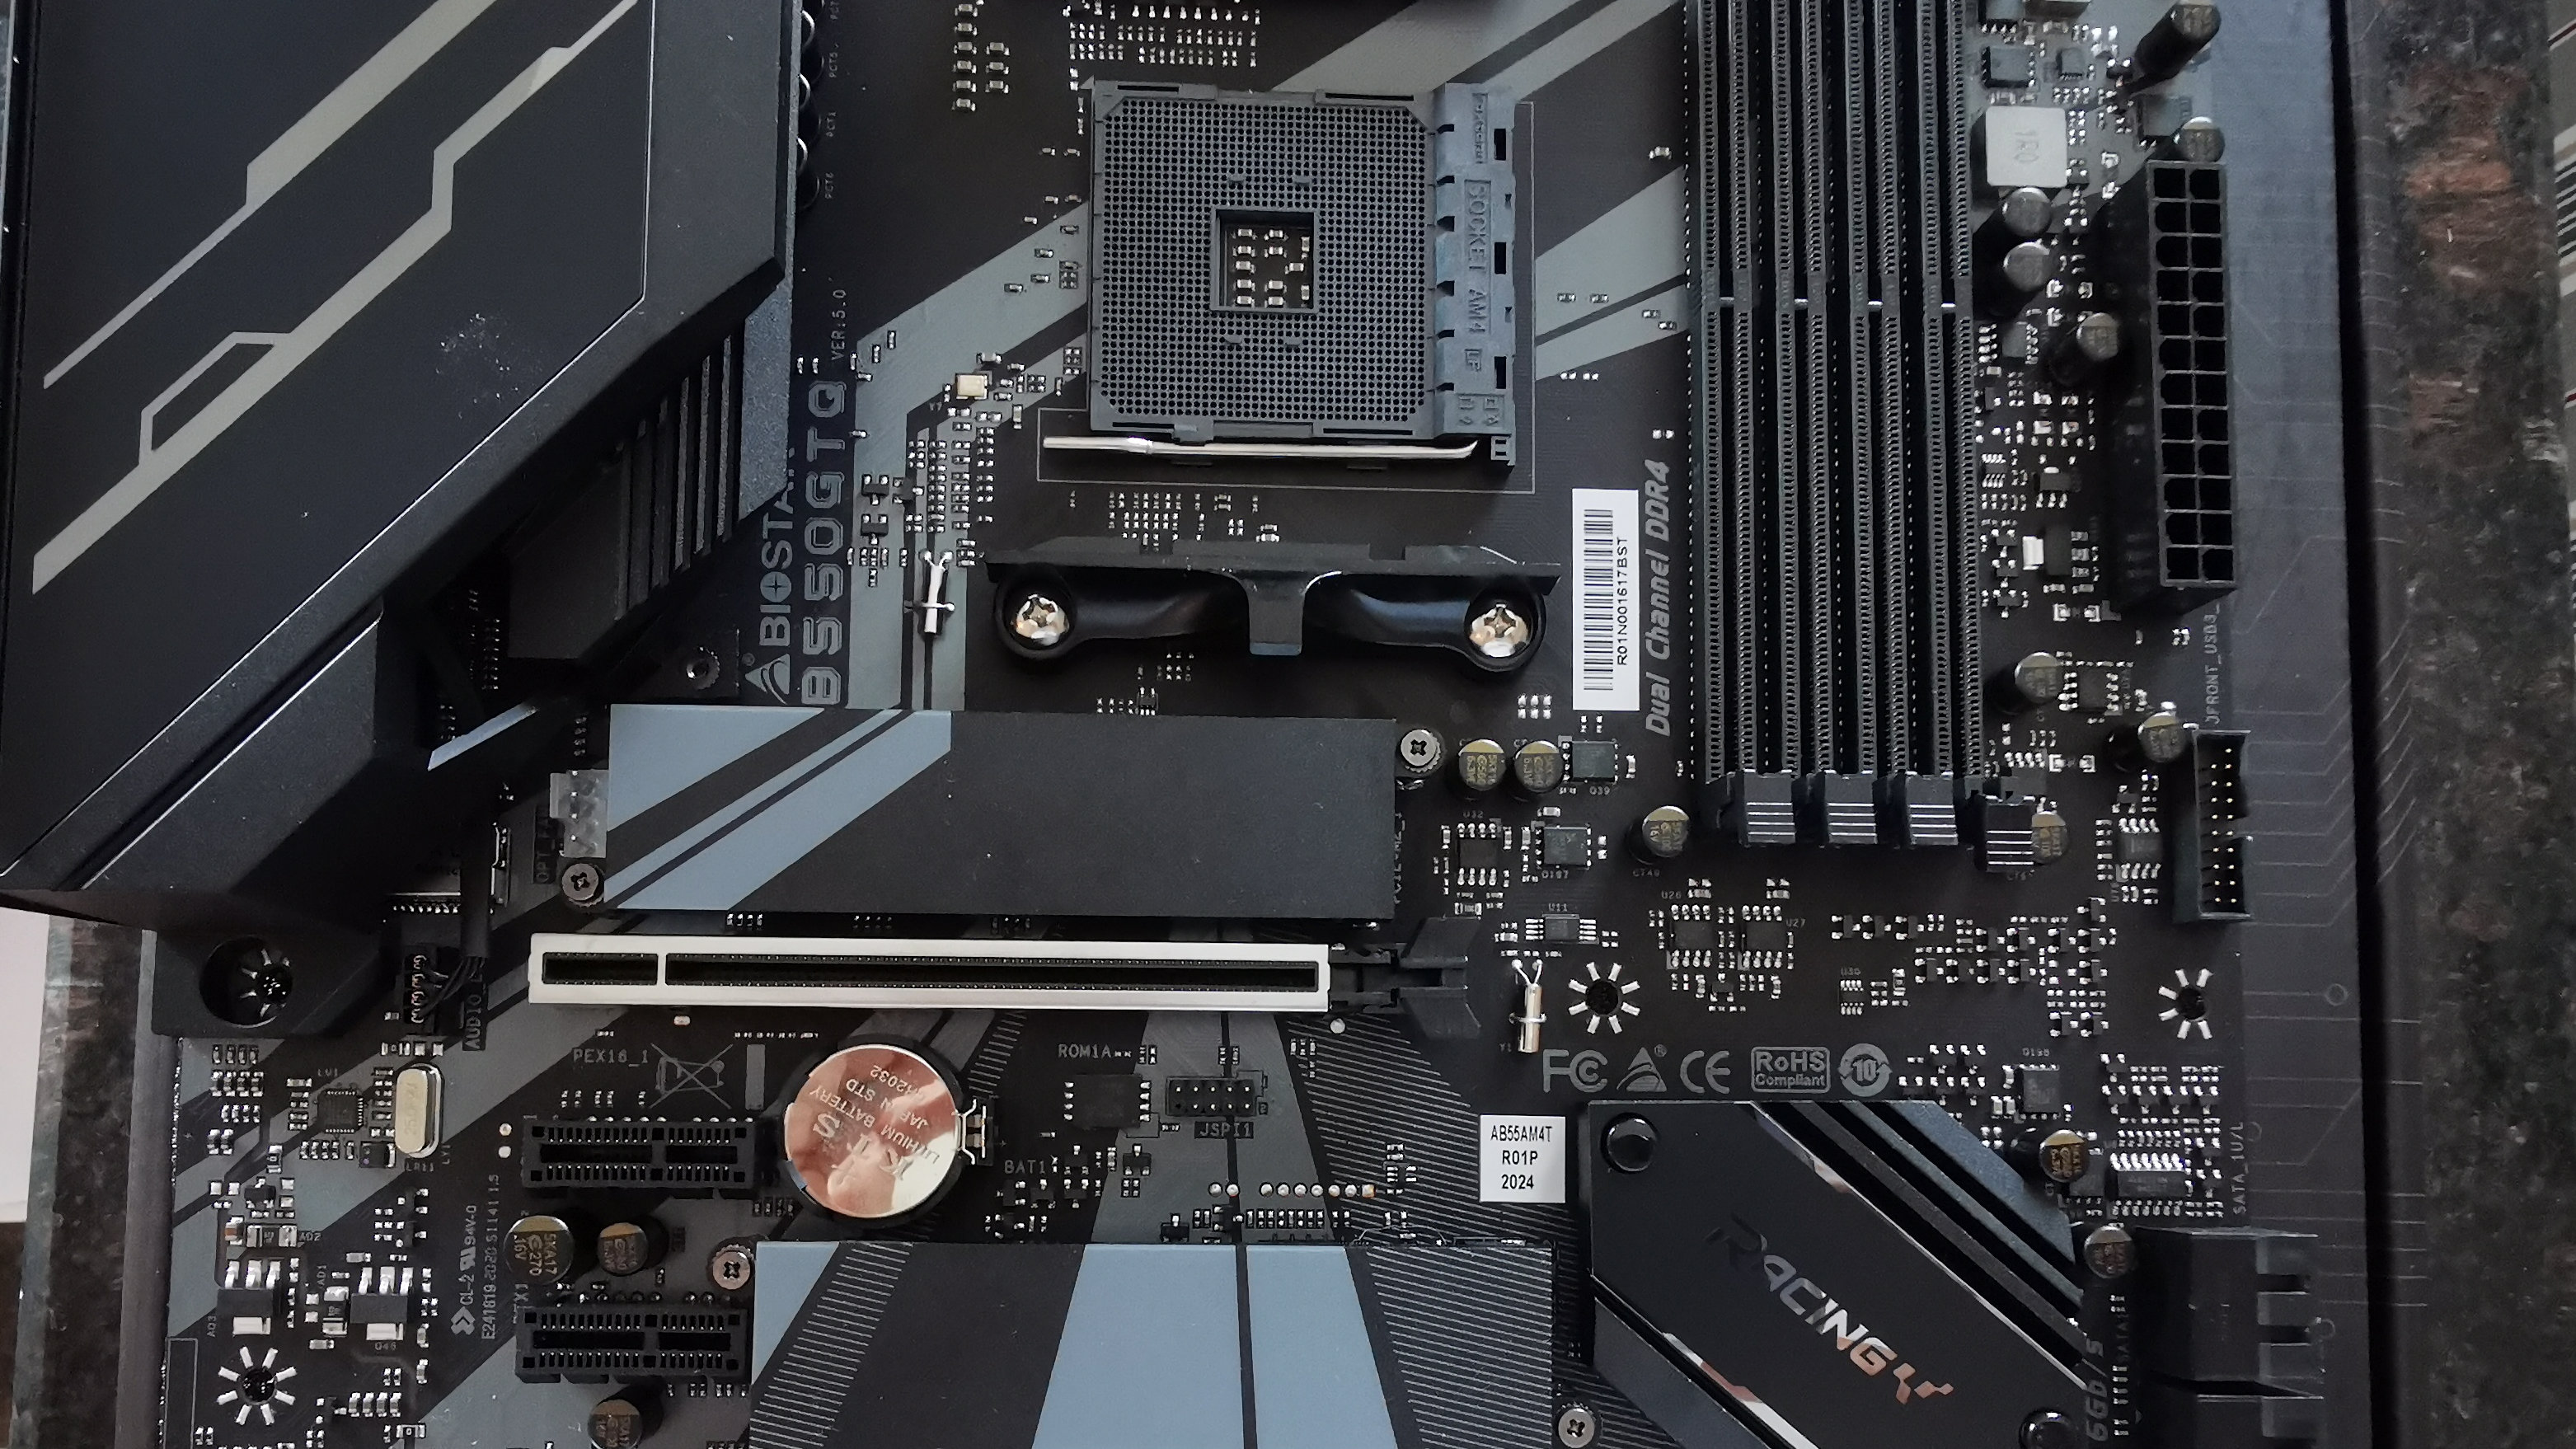
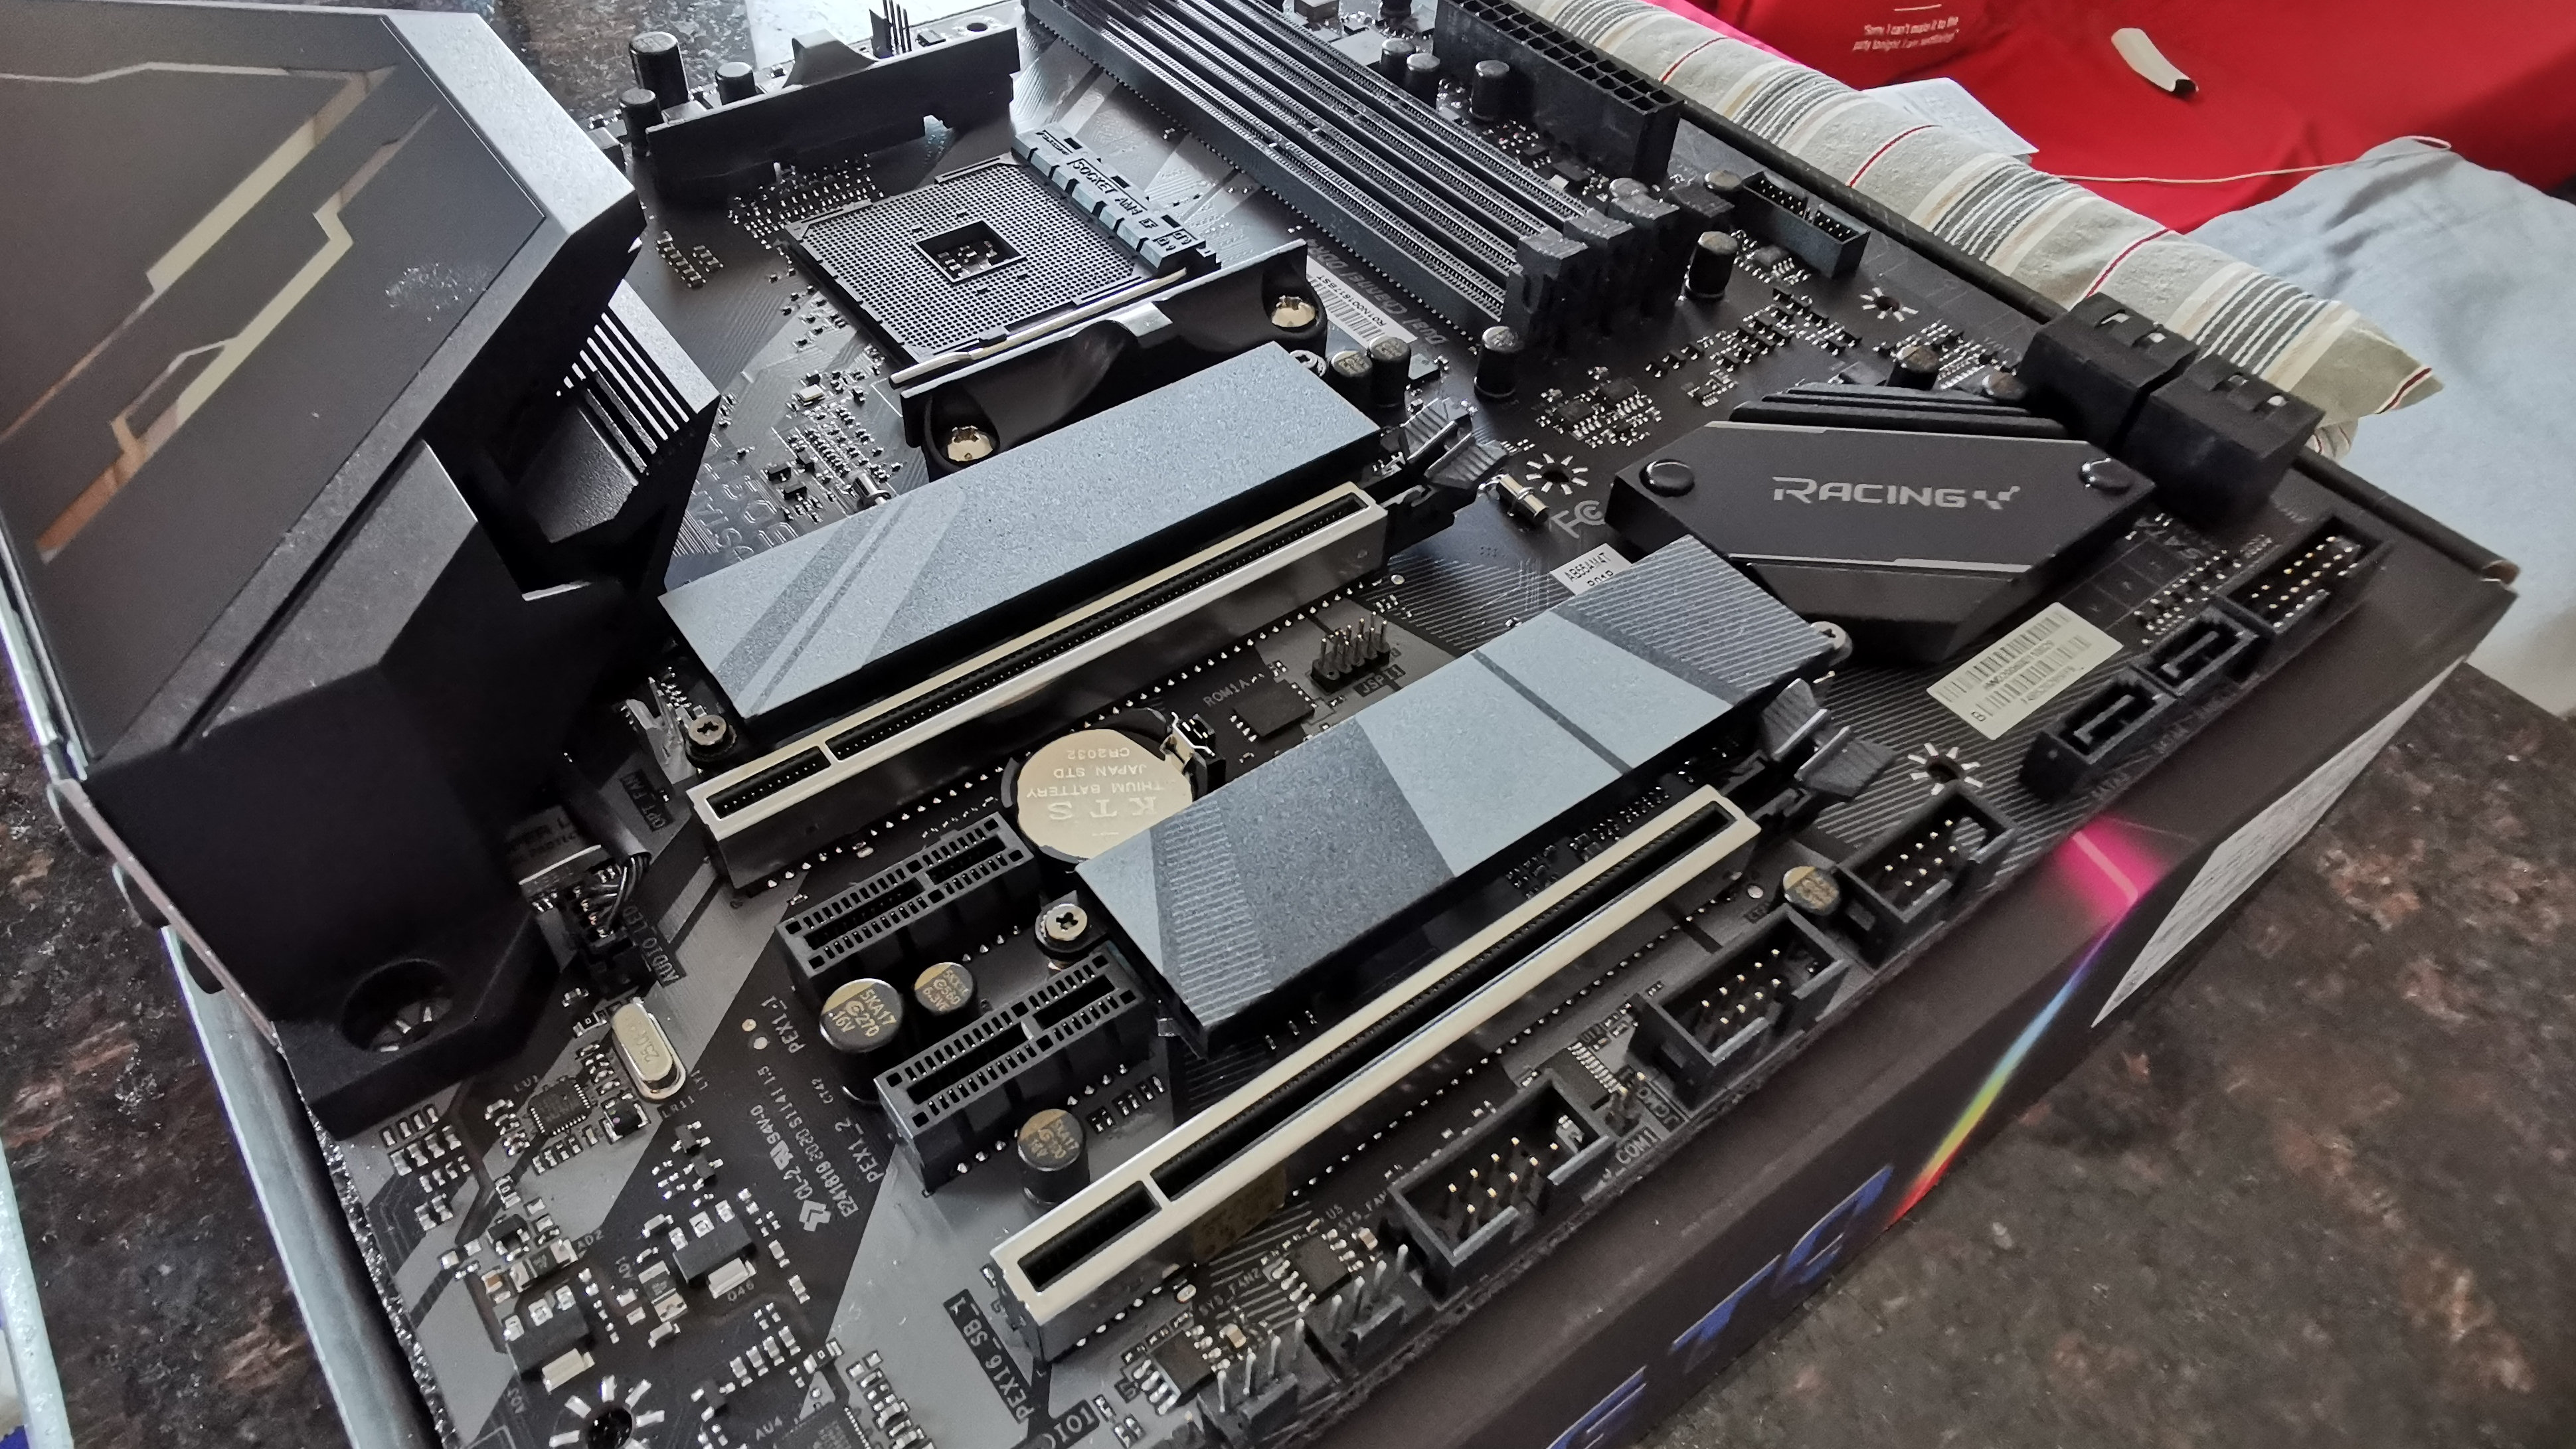
To bring everything together, I’m opting for the Biostar B550GTQ motherboard. It’s an affordable, entry-level board that has some great features including supporting up to 128GB of memory, should I ever need such a phenomenal amount of RAM.
More importantly, it offers plenty of storage options for M.2 and SSD/HDD drives. As a bonus, it also includes both 5V and 12V LED headers, to control any RGB lighting I add to the case.
CPU: AMD Ryzen 7 3700X
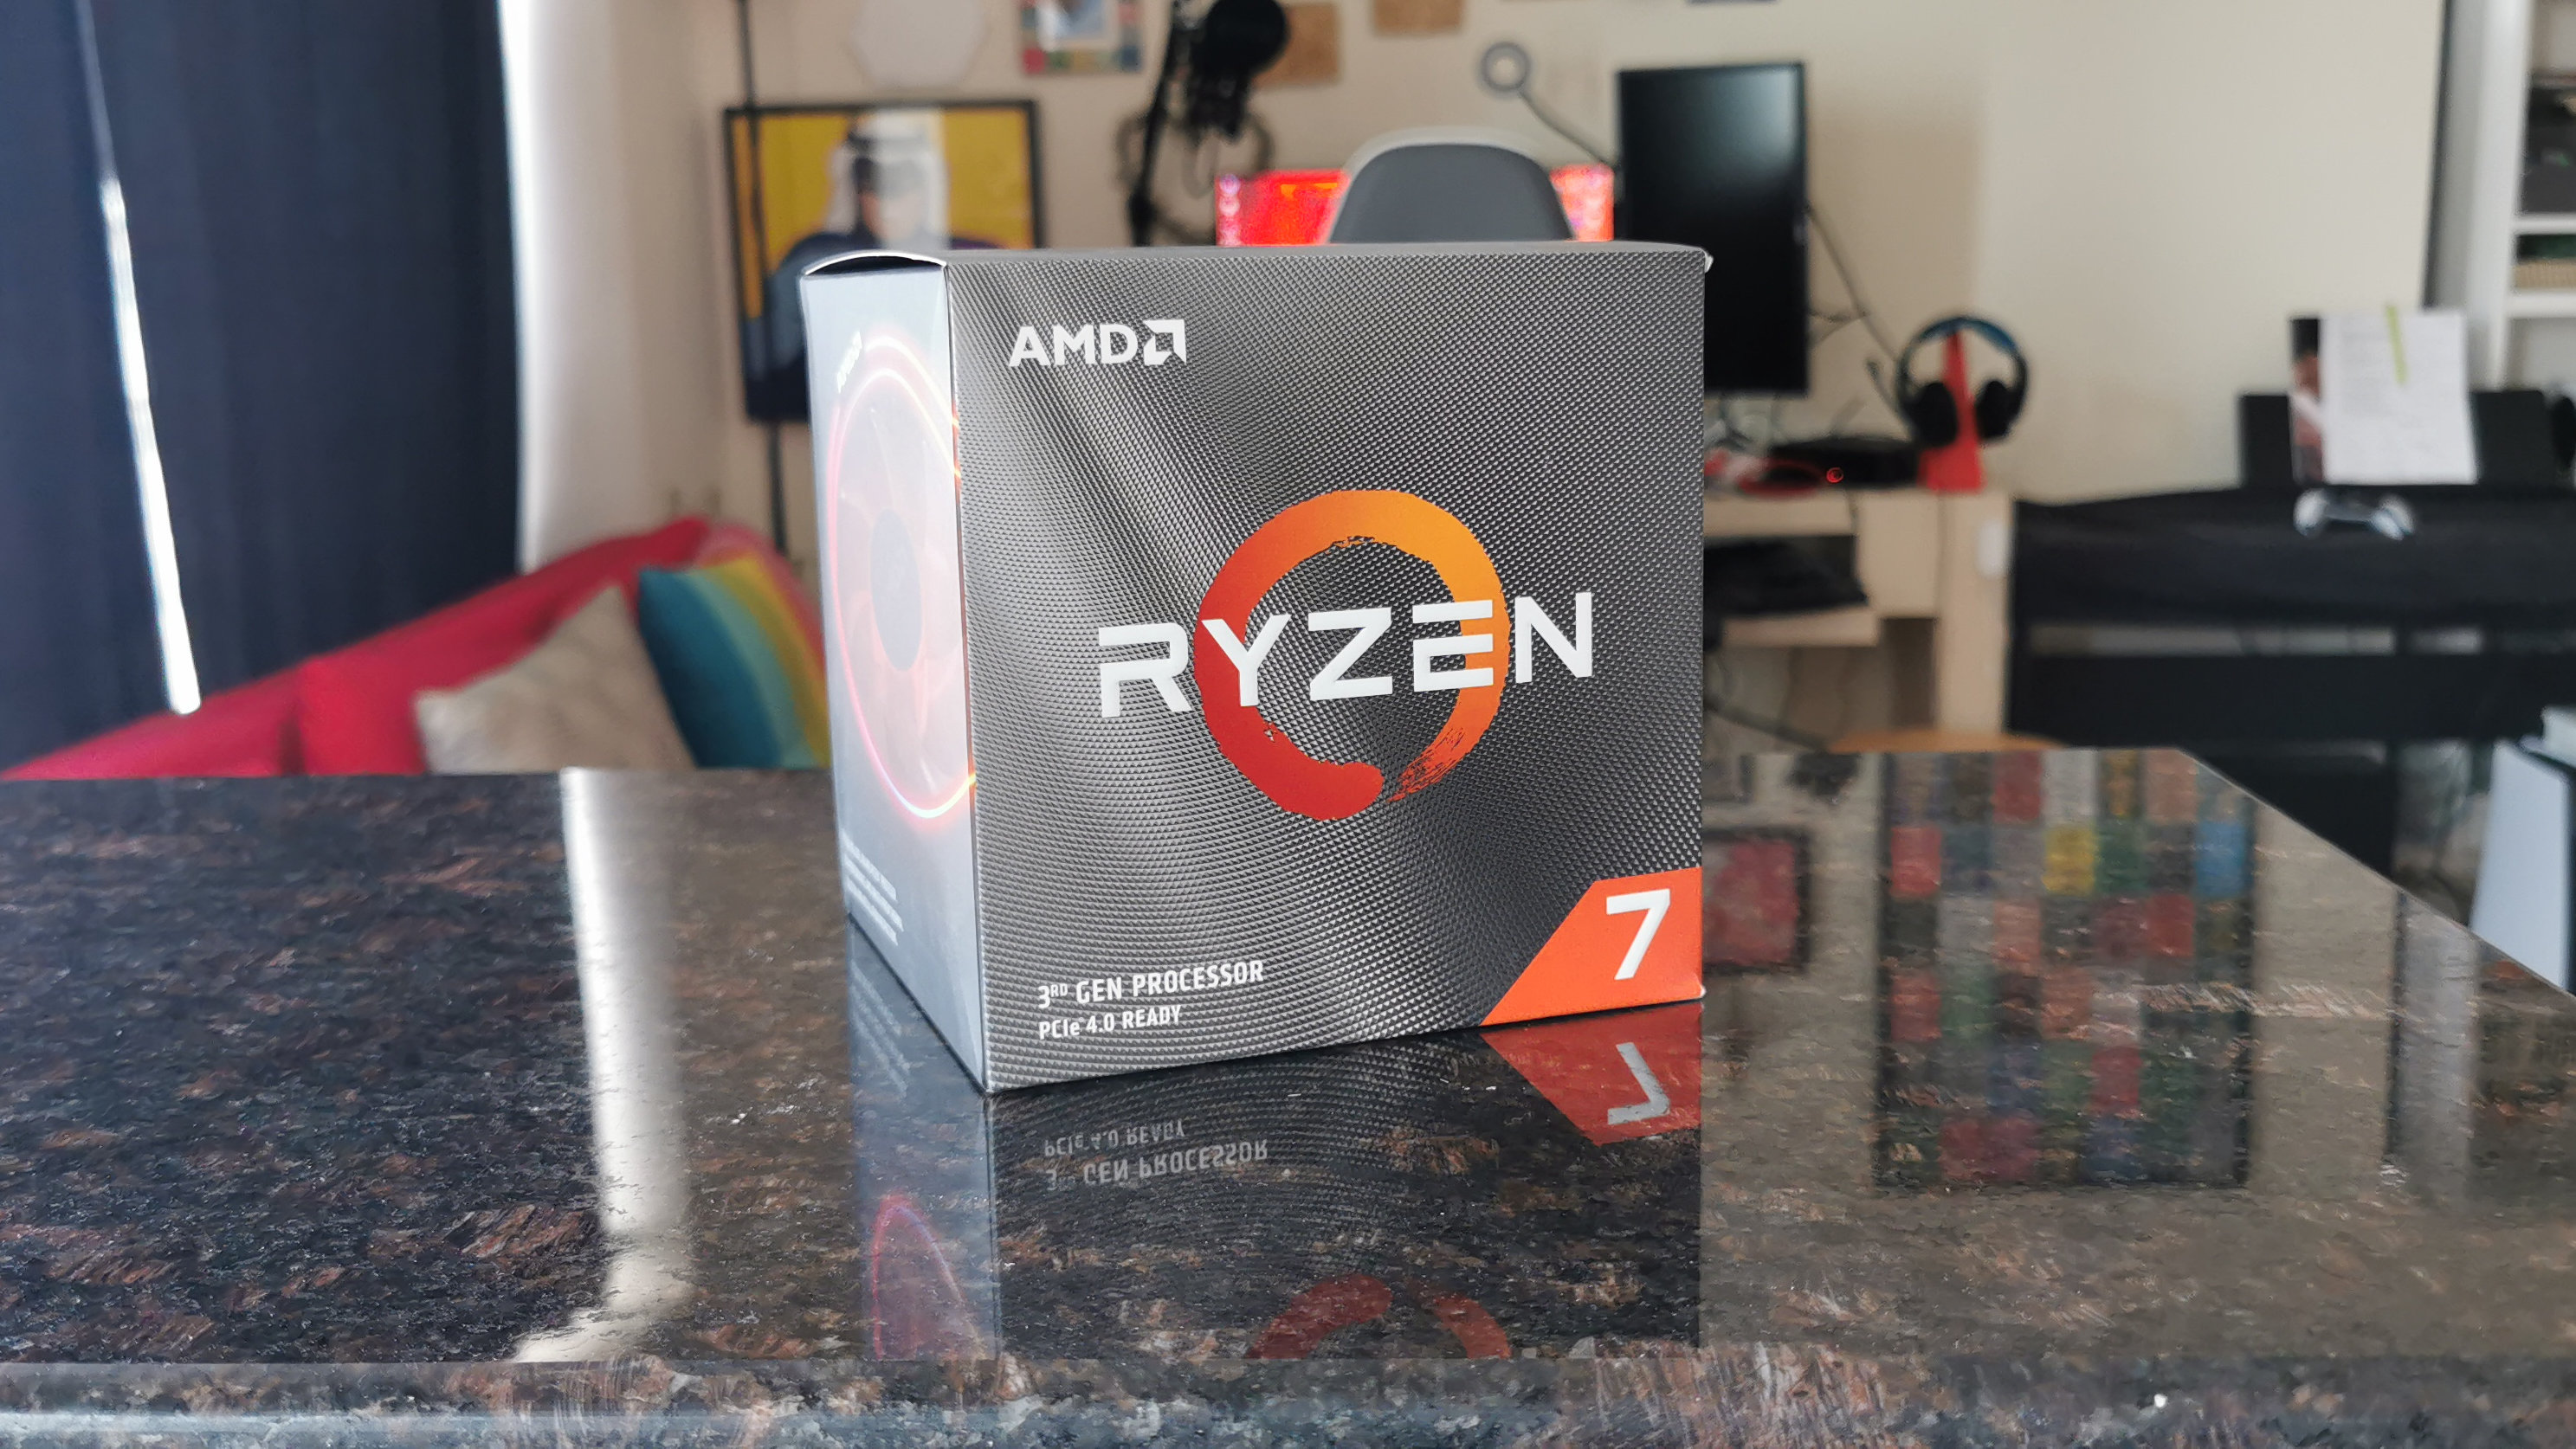
AMD has certainly being making a buzz about its products recently, and truthfully this will be my very first AMD-powered PC. The AMD Ryzen 7 3700X offers great value for performance and pricing, so it was a straightforward choice. While there are slightly cheaper processors that I could have selected, the Ryzen 7 3700X will be more than sufficient for gaming, streaming, and even tackling the occasional video editing project.
Cooling: Lian Li Galahad AIO 360
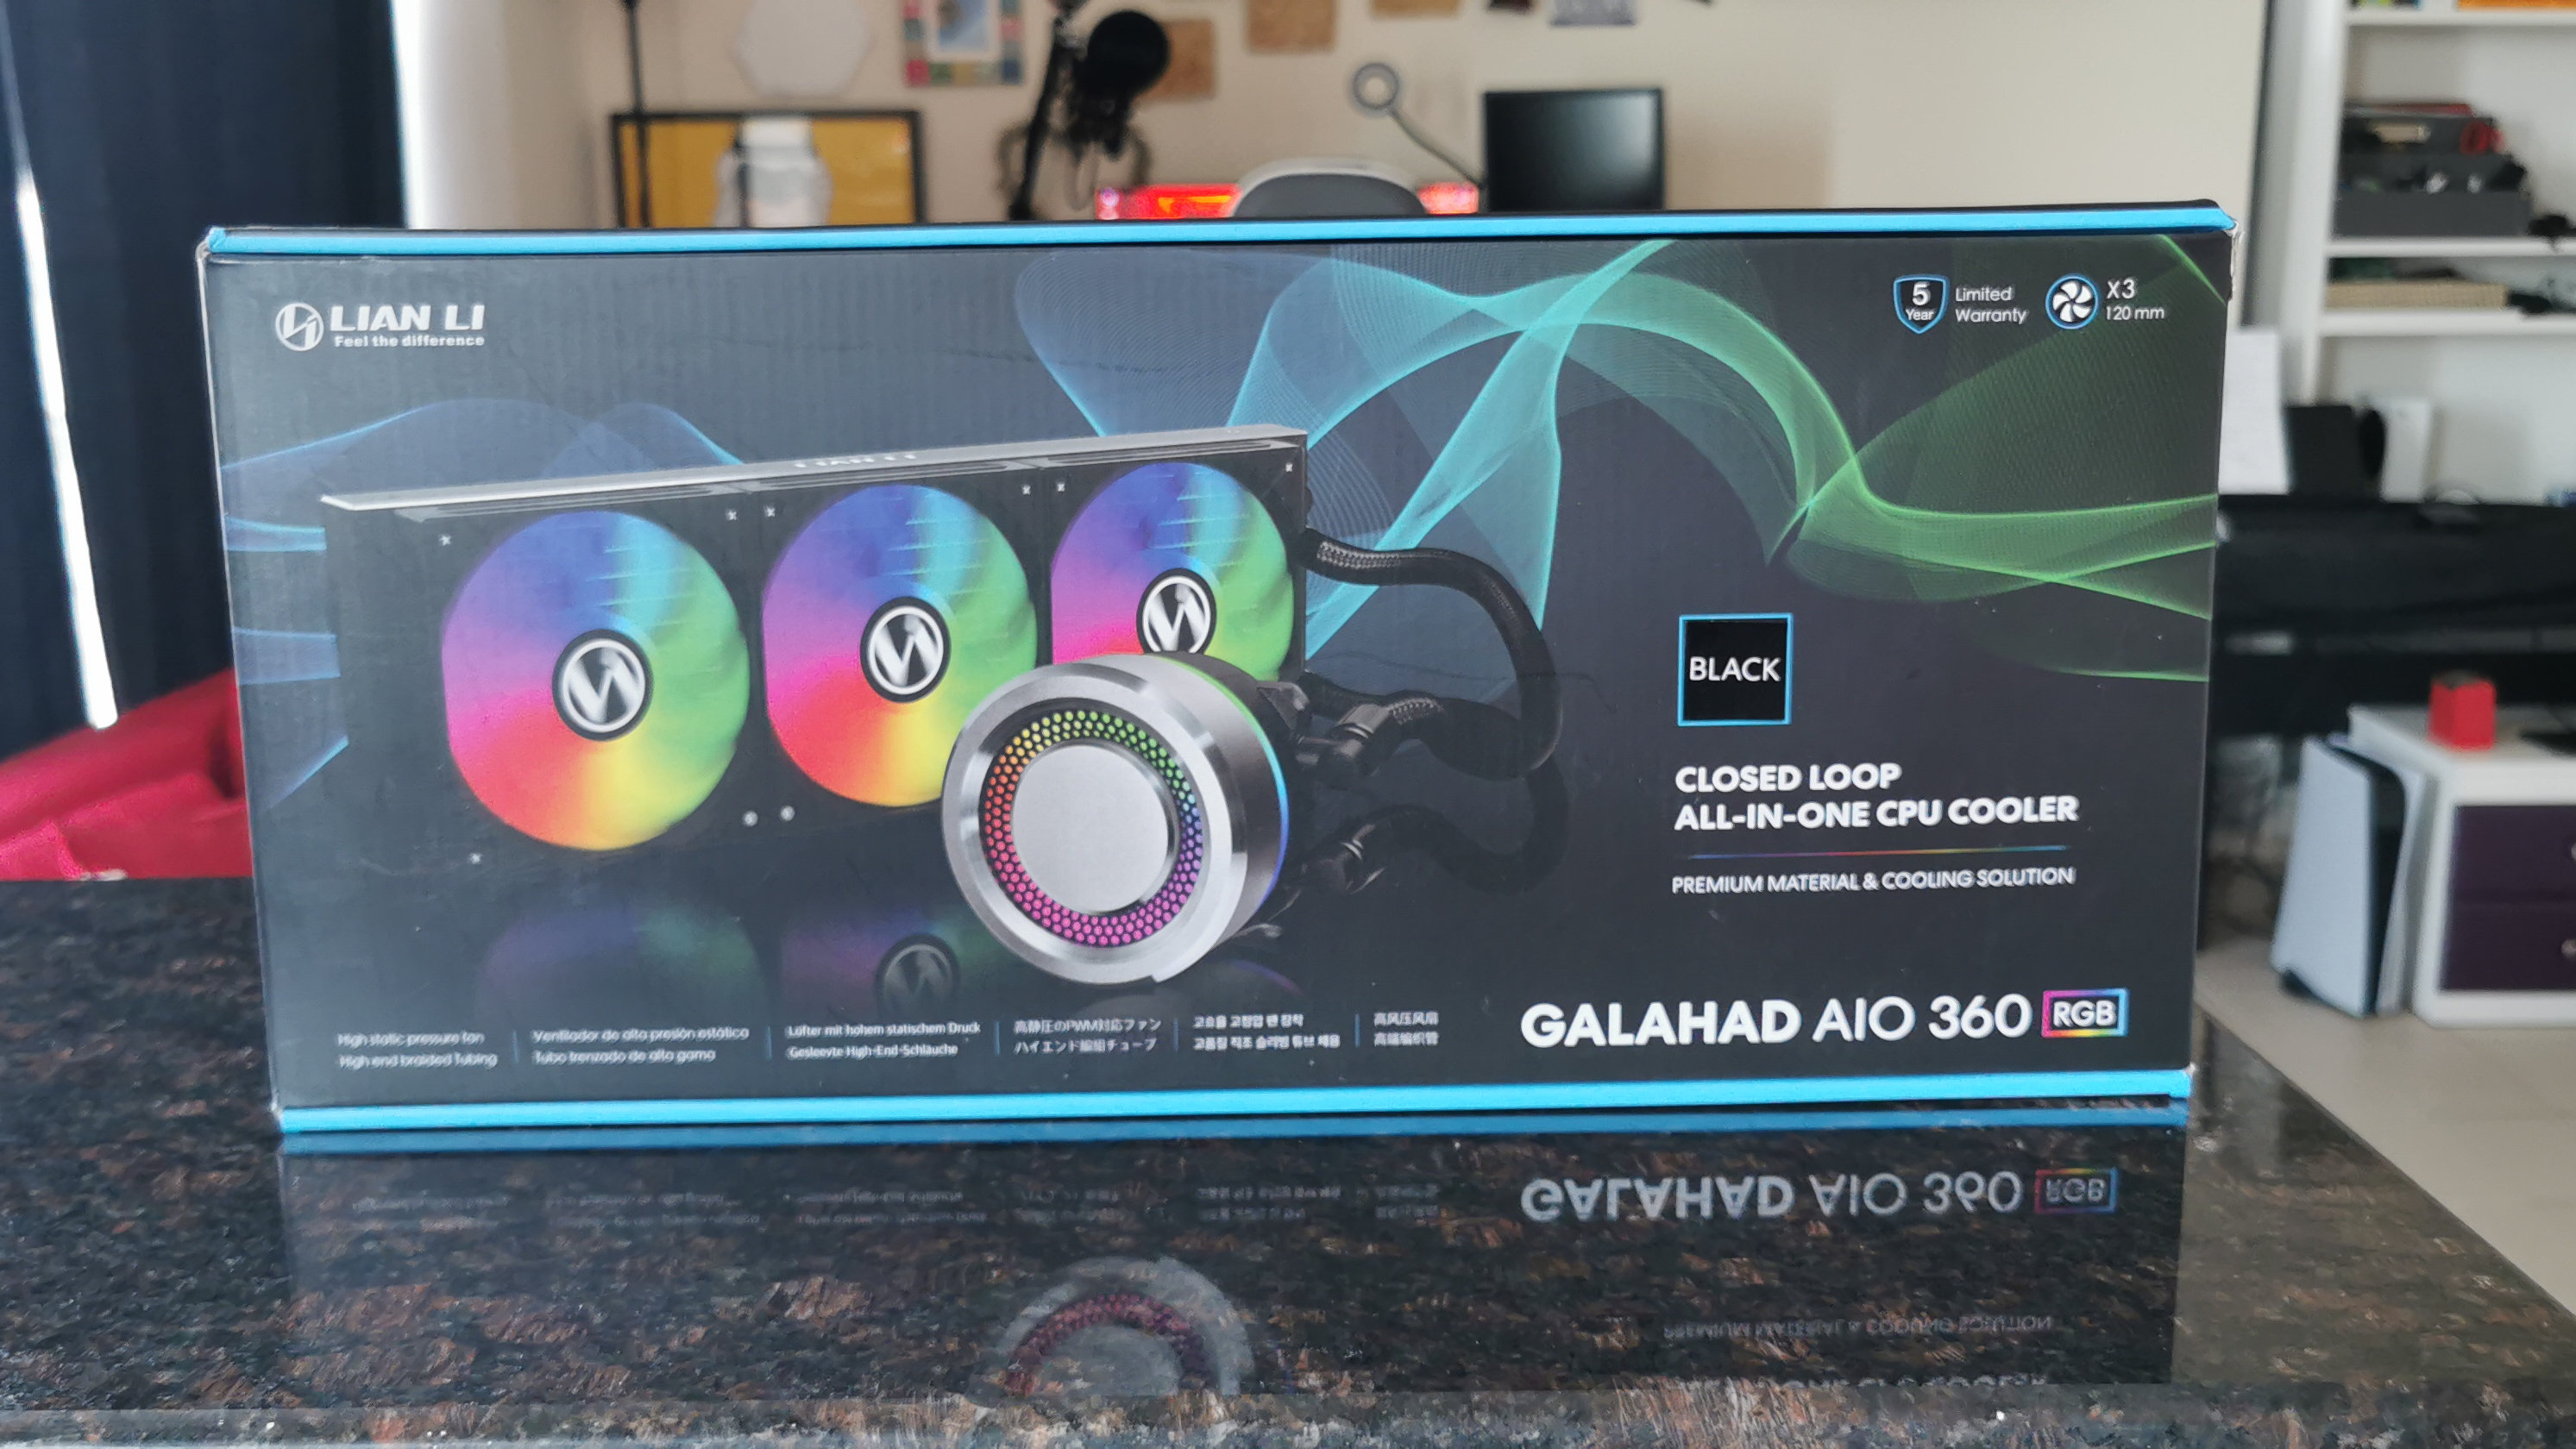
Keeping that processor cool and running efficiently is no easy task, and while the Ryzen 7 3700X comes with a CPU cooler, I wanted to opt for something a bit more effective.
The Lian Li Galahad AIO 360 features three RGB fans and a 360mm radiator, which should more than comfortably fit in my case and keep CPU temperatures running well within their limits. The added bonus of course is the RGB lighting, which can easily be controlled to match any kind of aesthetic I like.
RAM: Mushkin Blackline DDR4-2400 16GB
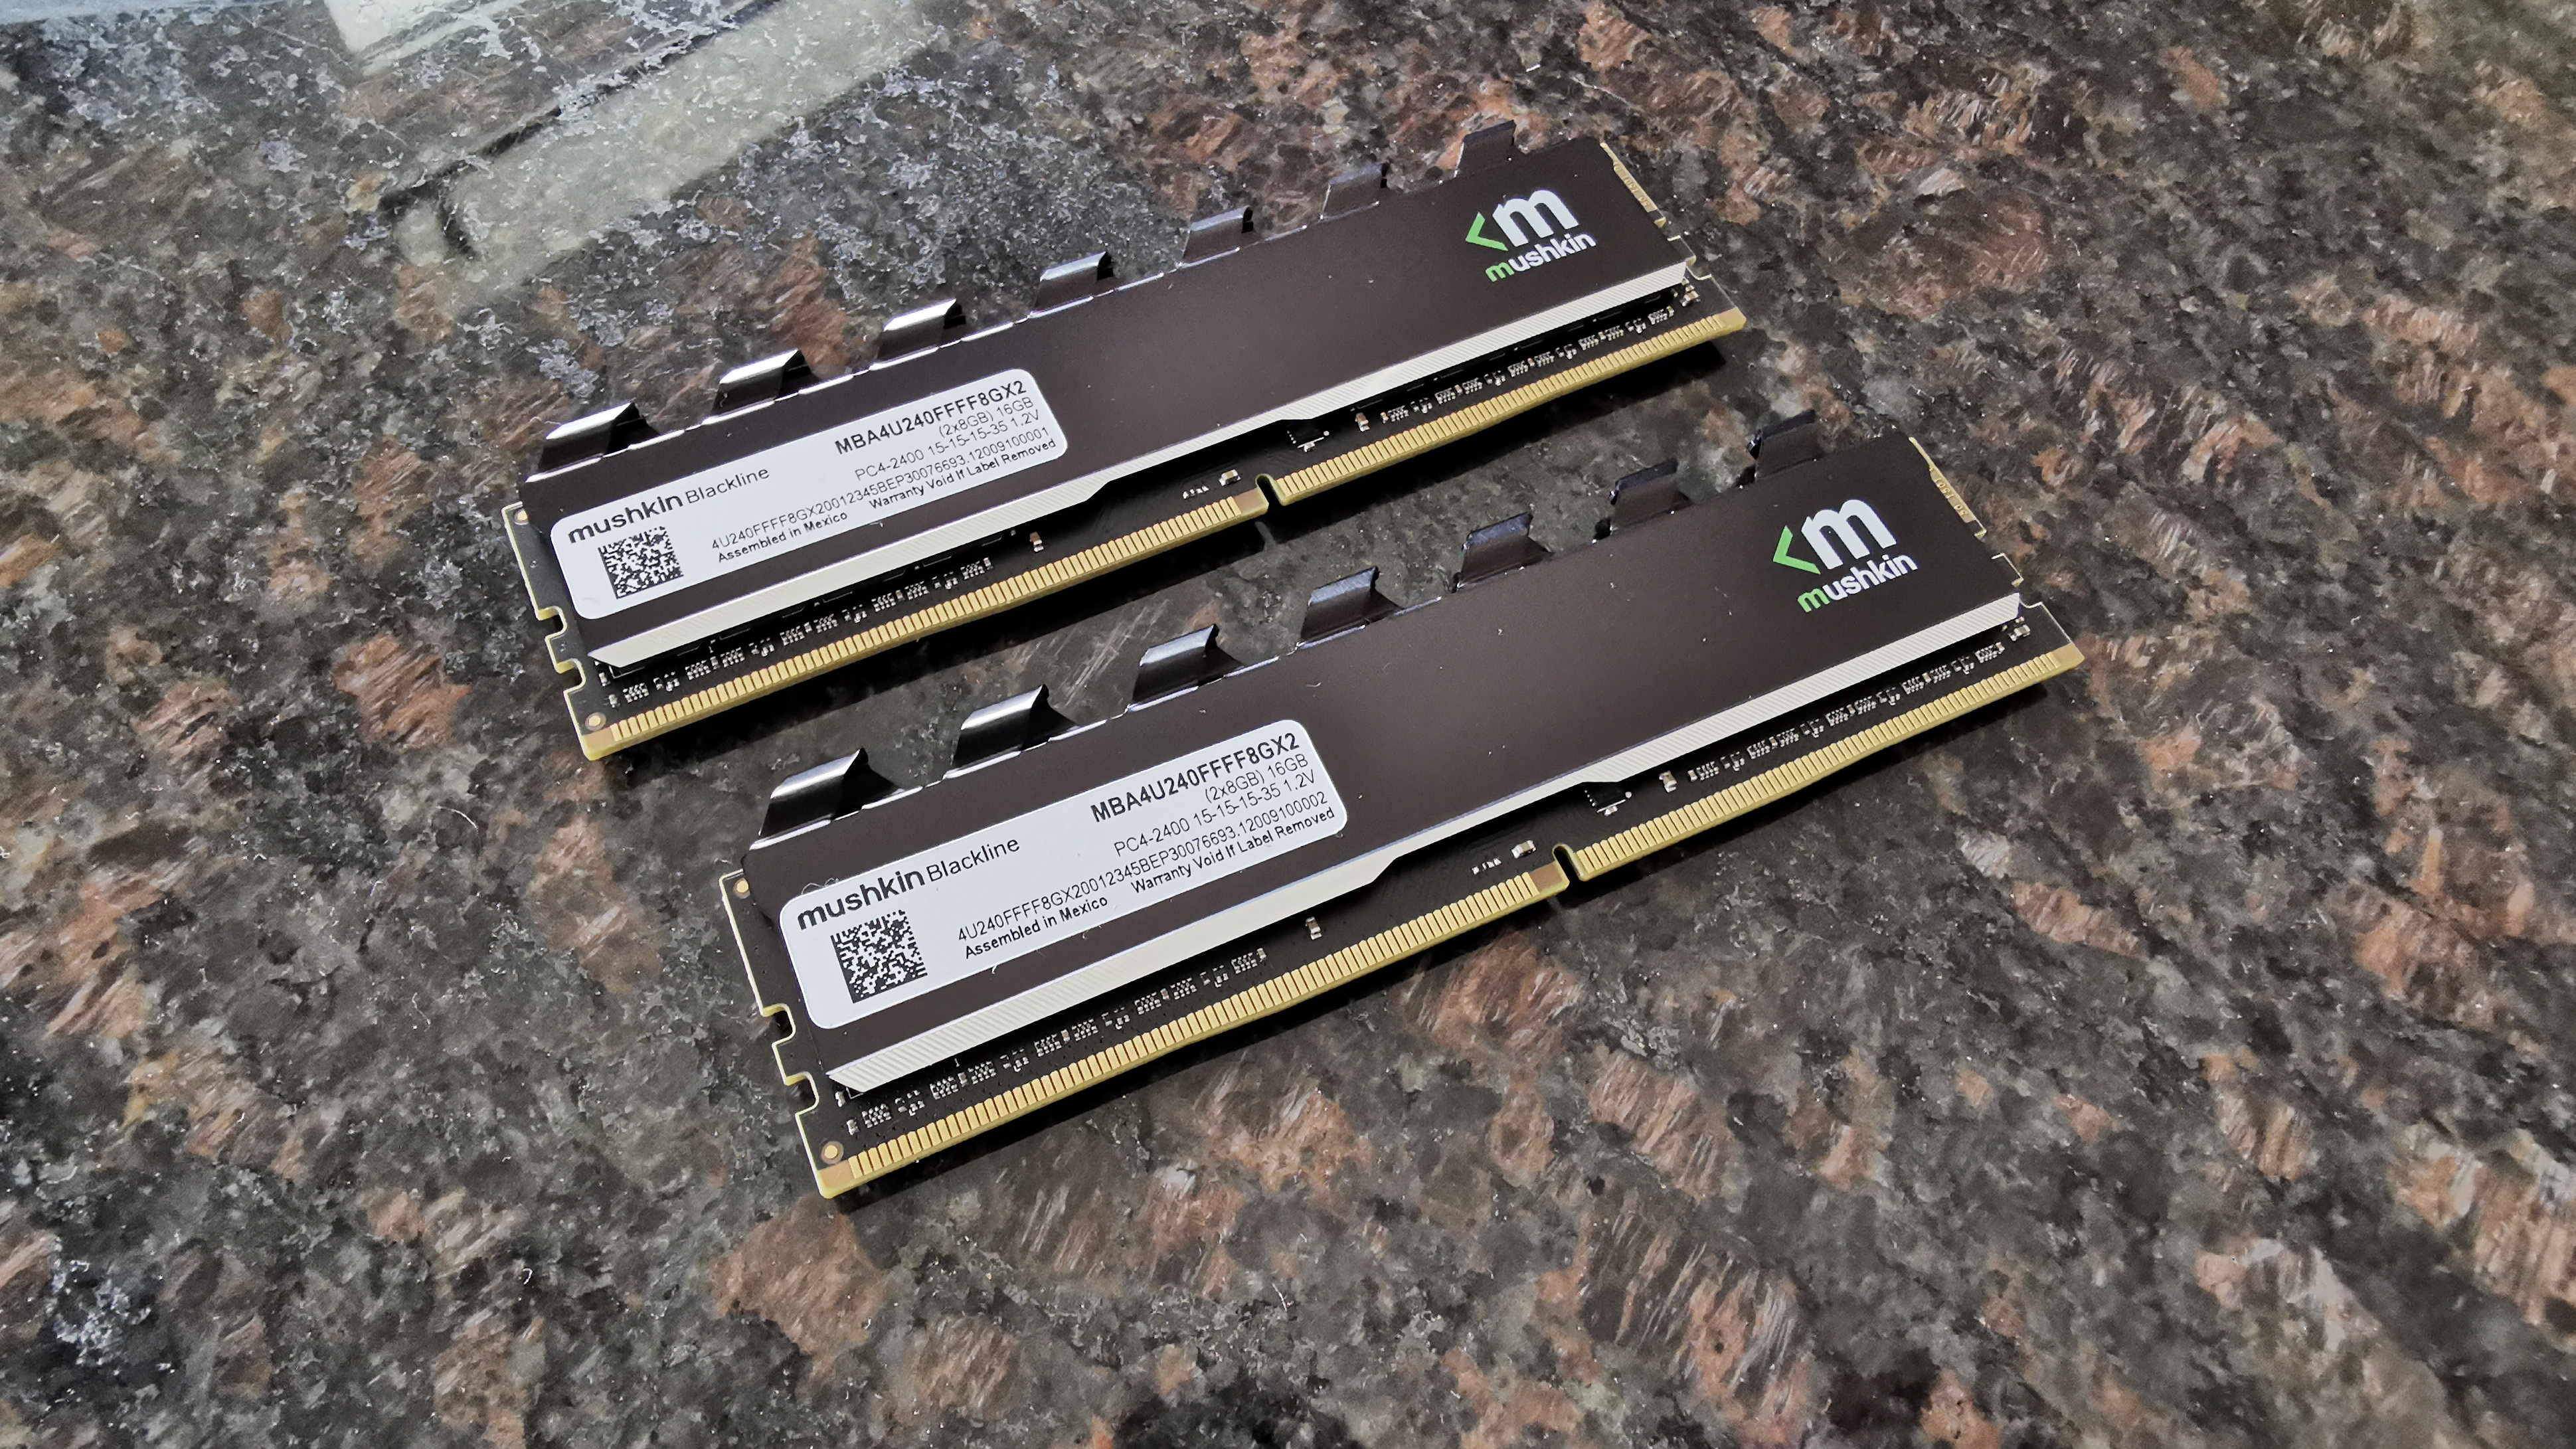
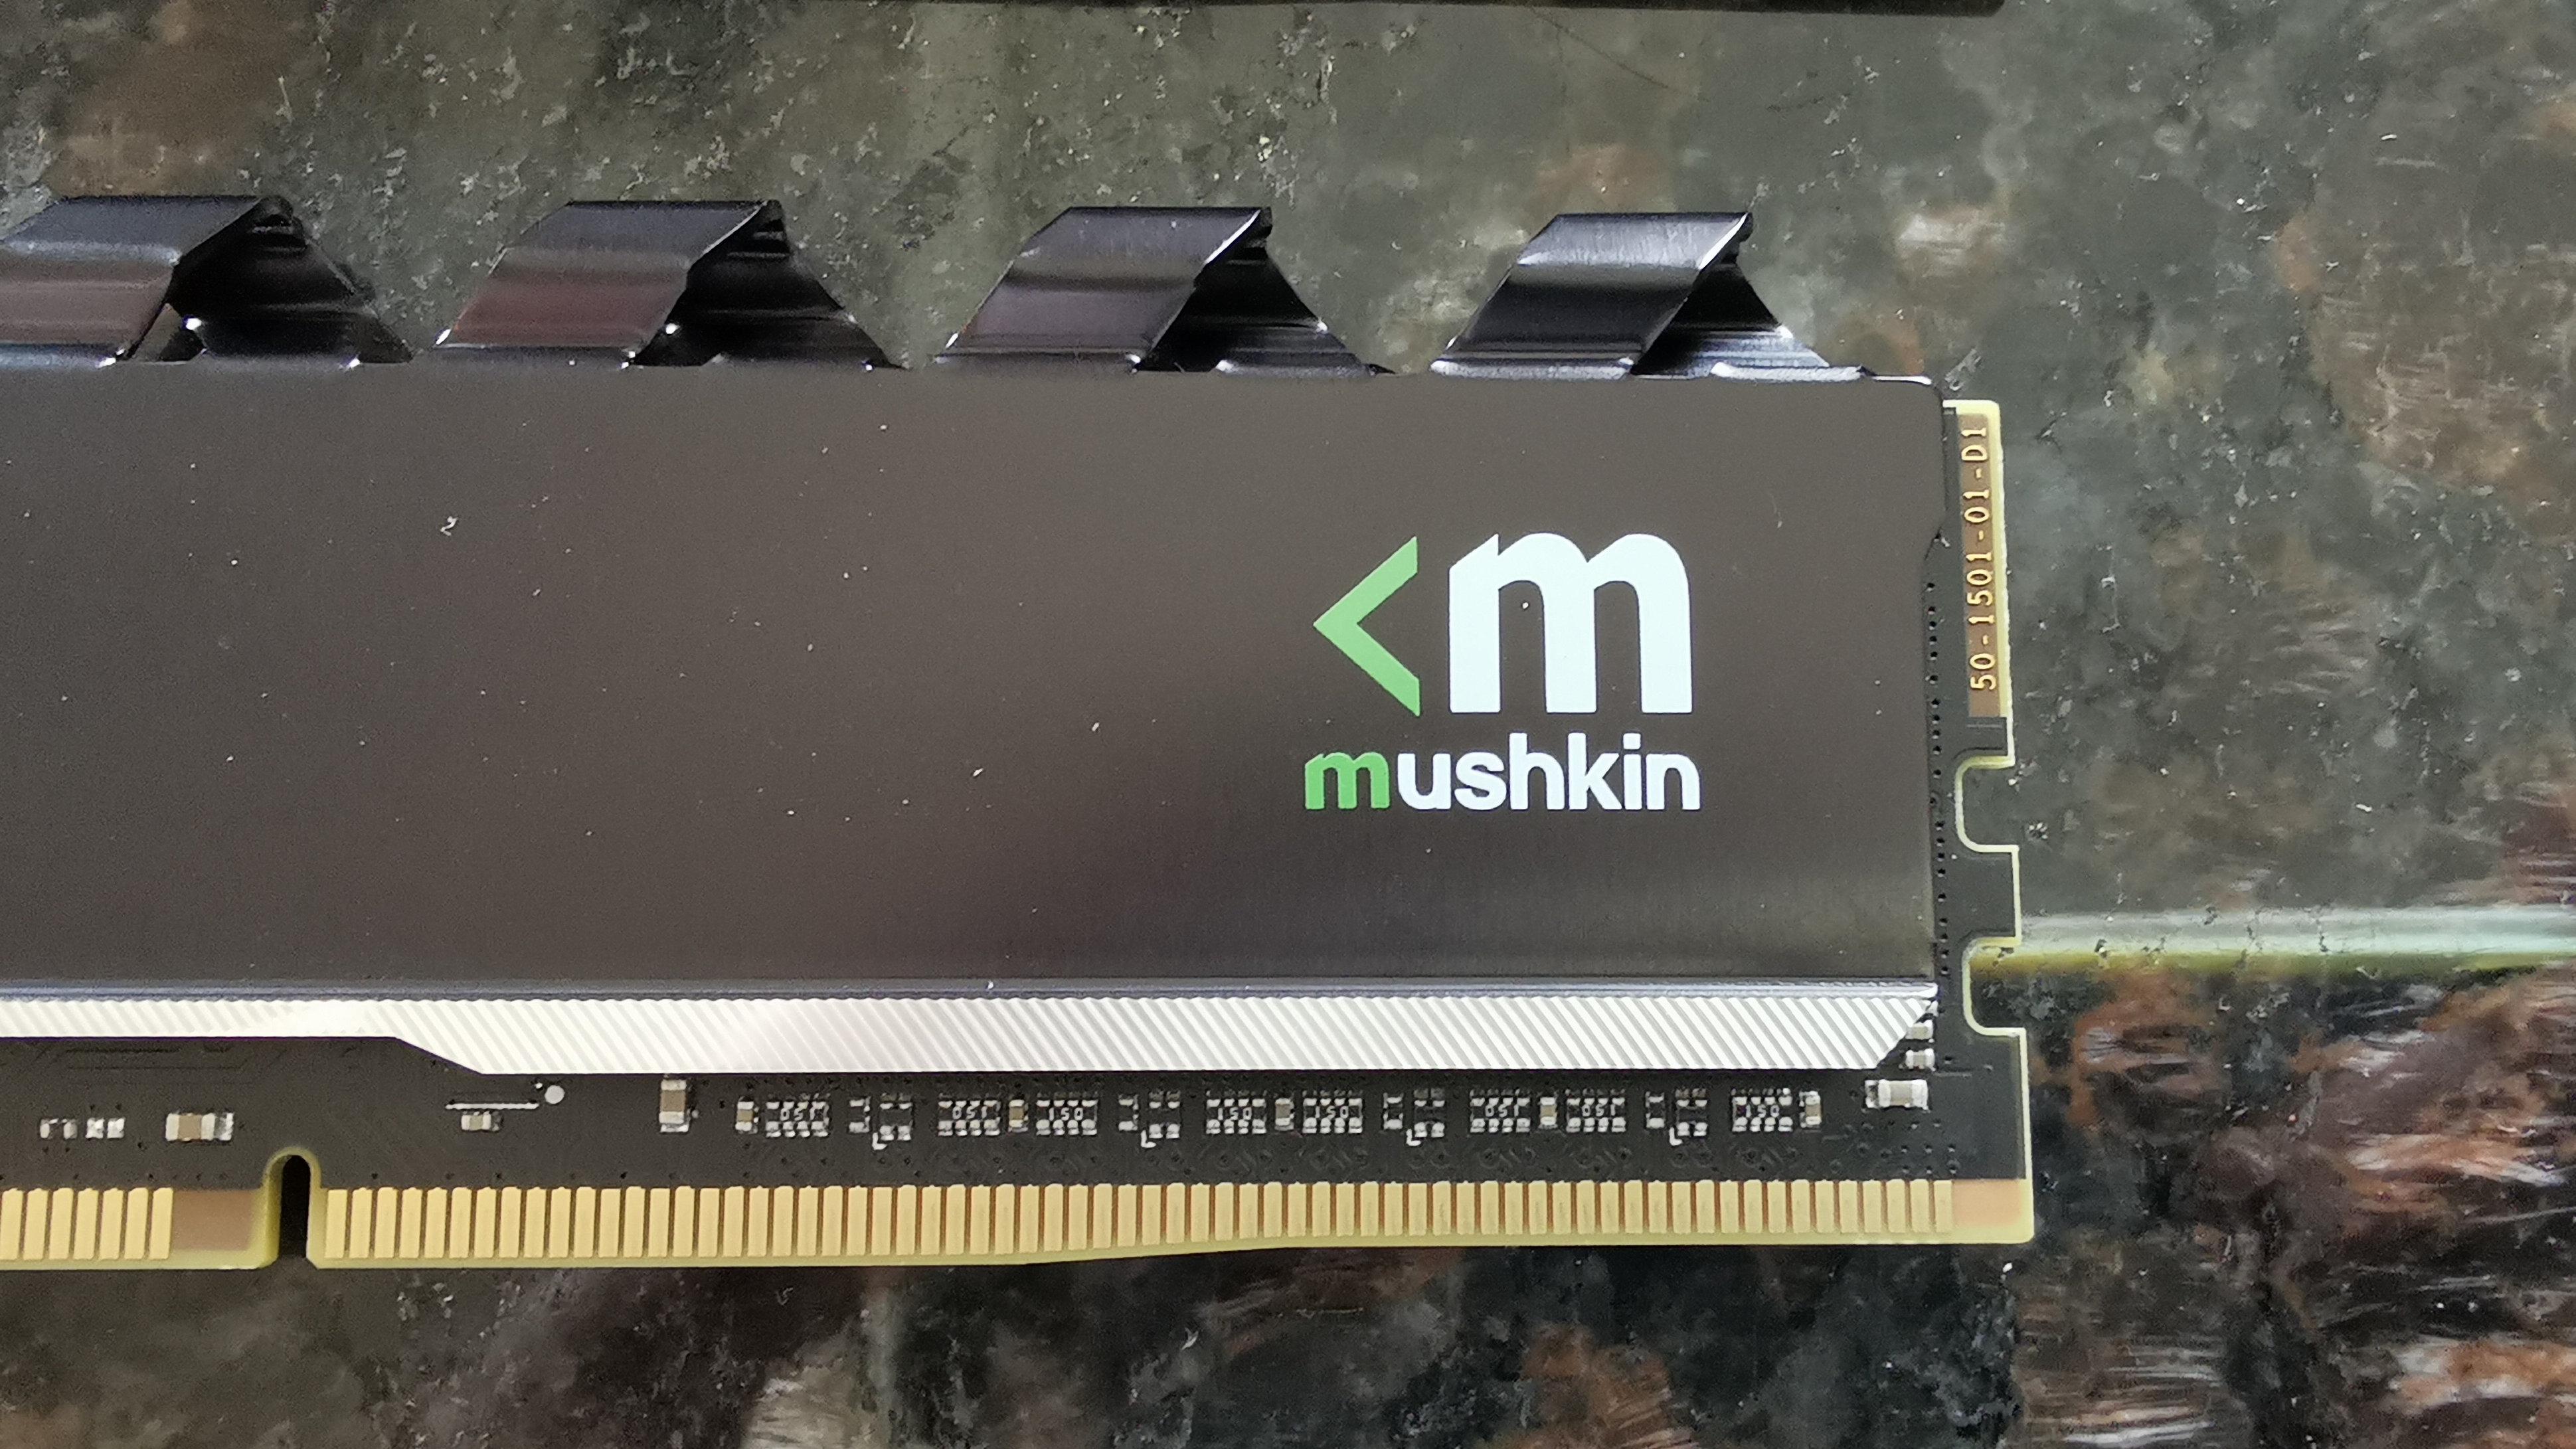
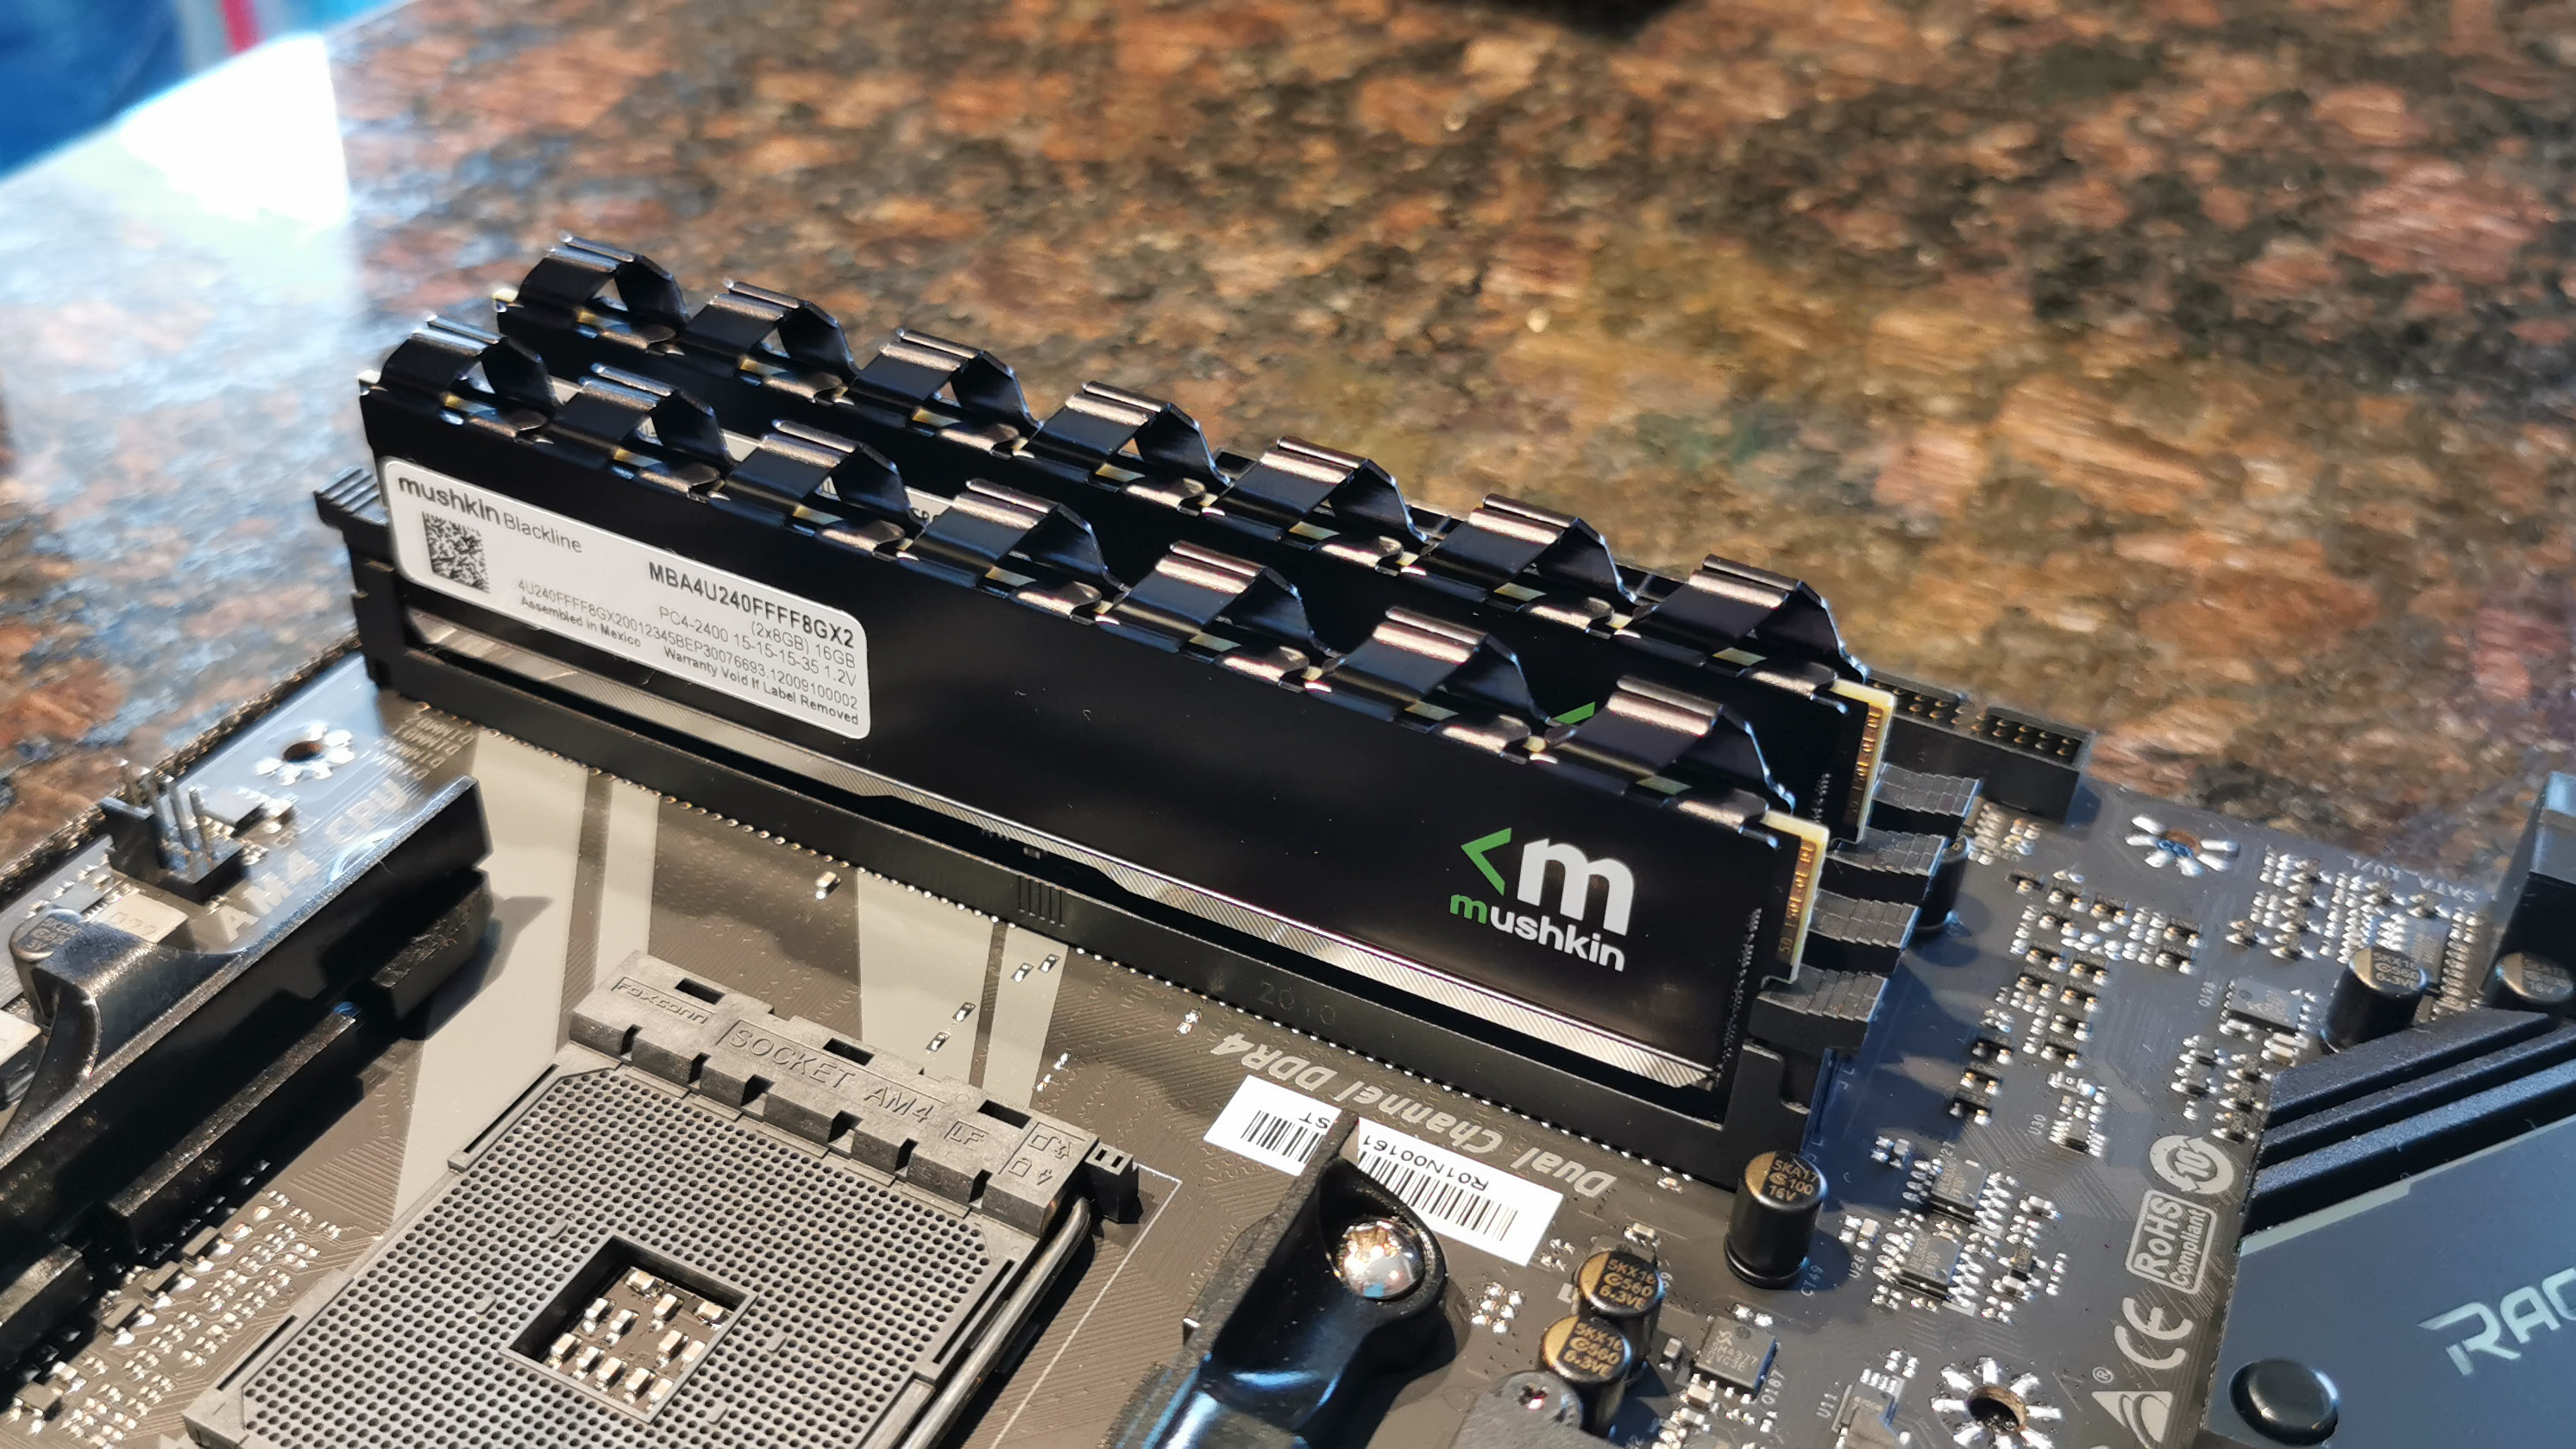
Since the motherboard can support a staggering amount of RAM, I’m going to start small, with 16GB. The RAM I’ve chosen is the Mushkin Blackline DDR4-2400, which comes in two 8GB modules.
That’s a good starting point for most of the games I’ll be playing, and I’ll look to perhaps push this to 32GB in the future with a faster clock speed, if I really feel that I need it. The Mushkin Blackline comes with its own heatsink, which helps keep temperatures consistent during heaving streaming sessions.
GPU: Zotac Gaming GeForce RTX 3070 Twin Edge OC
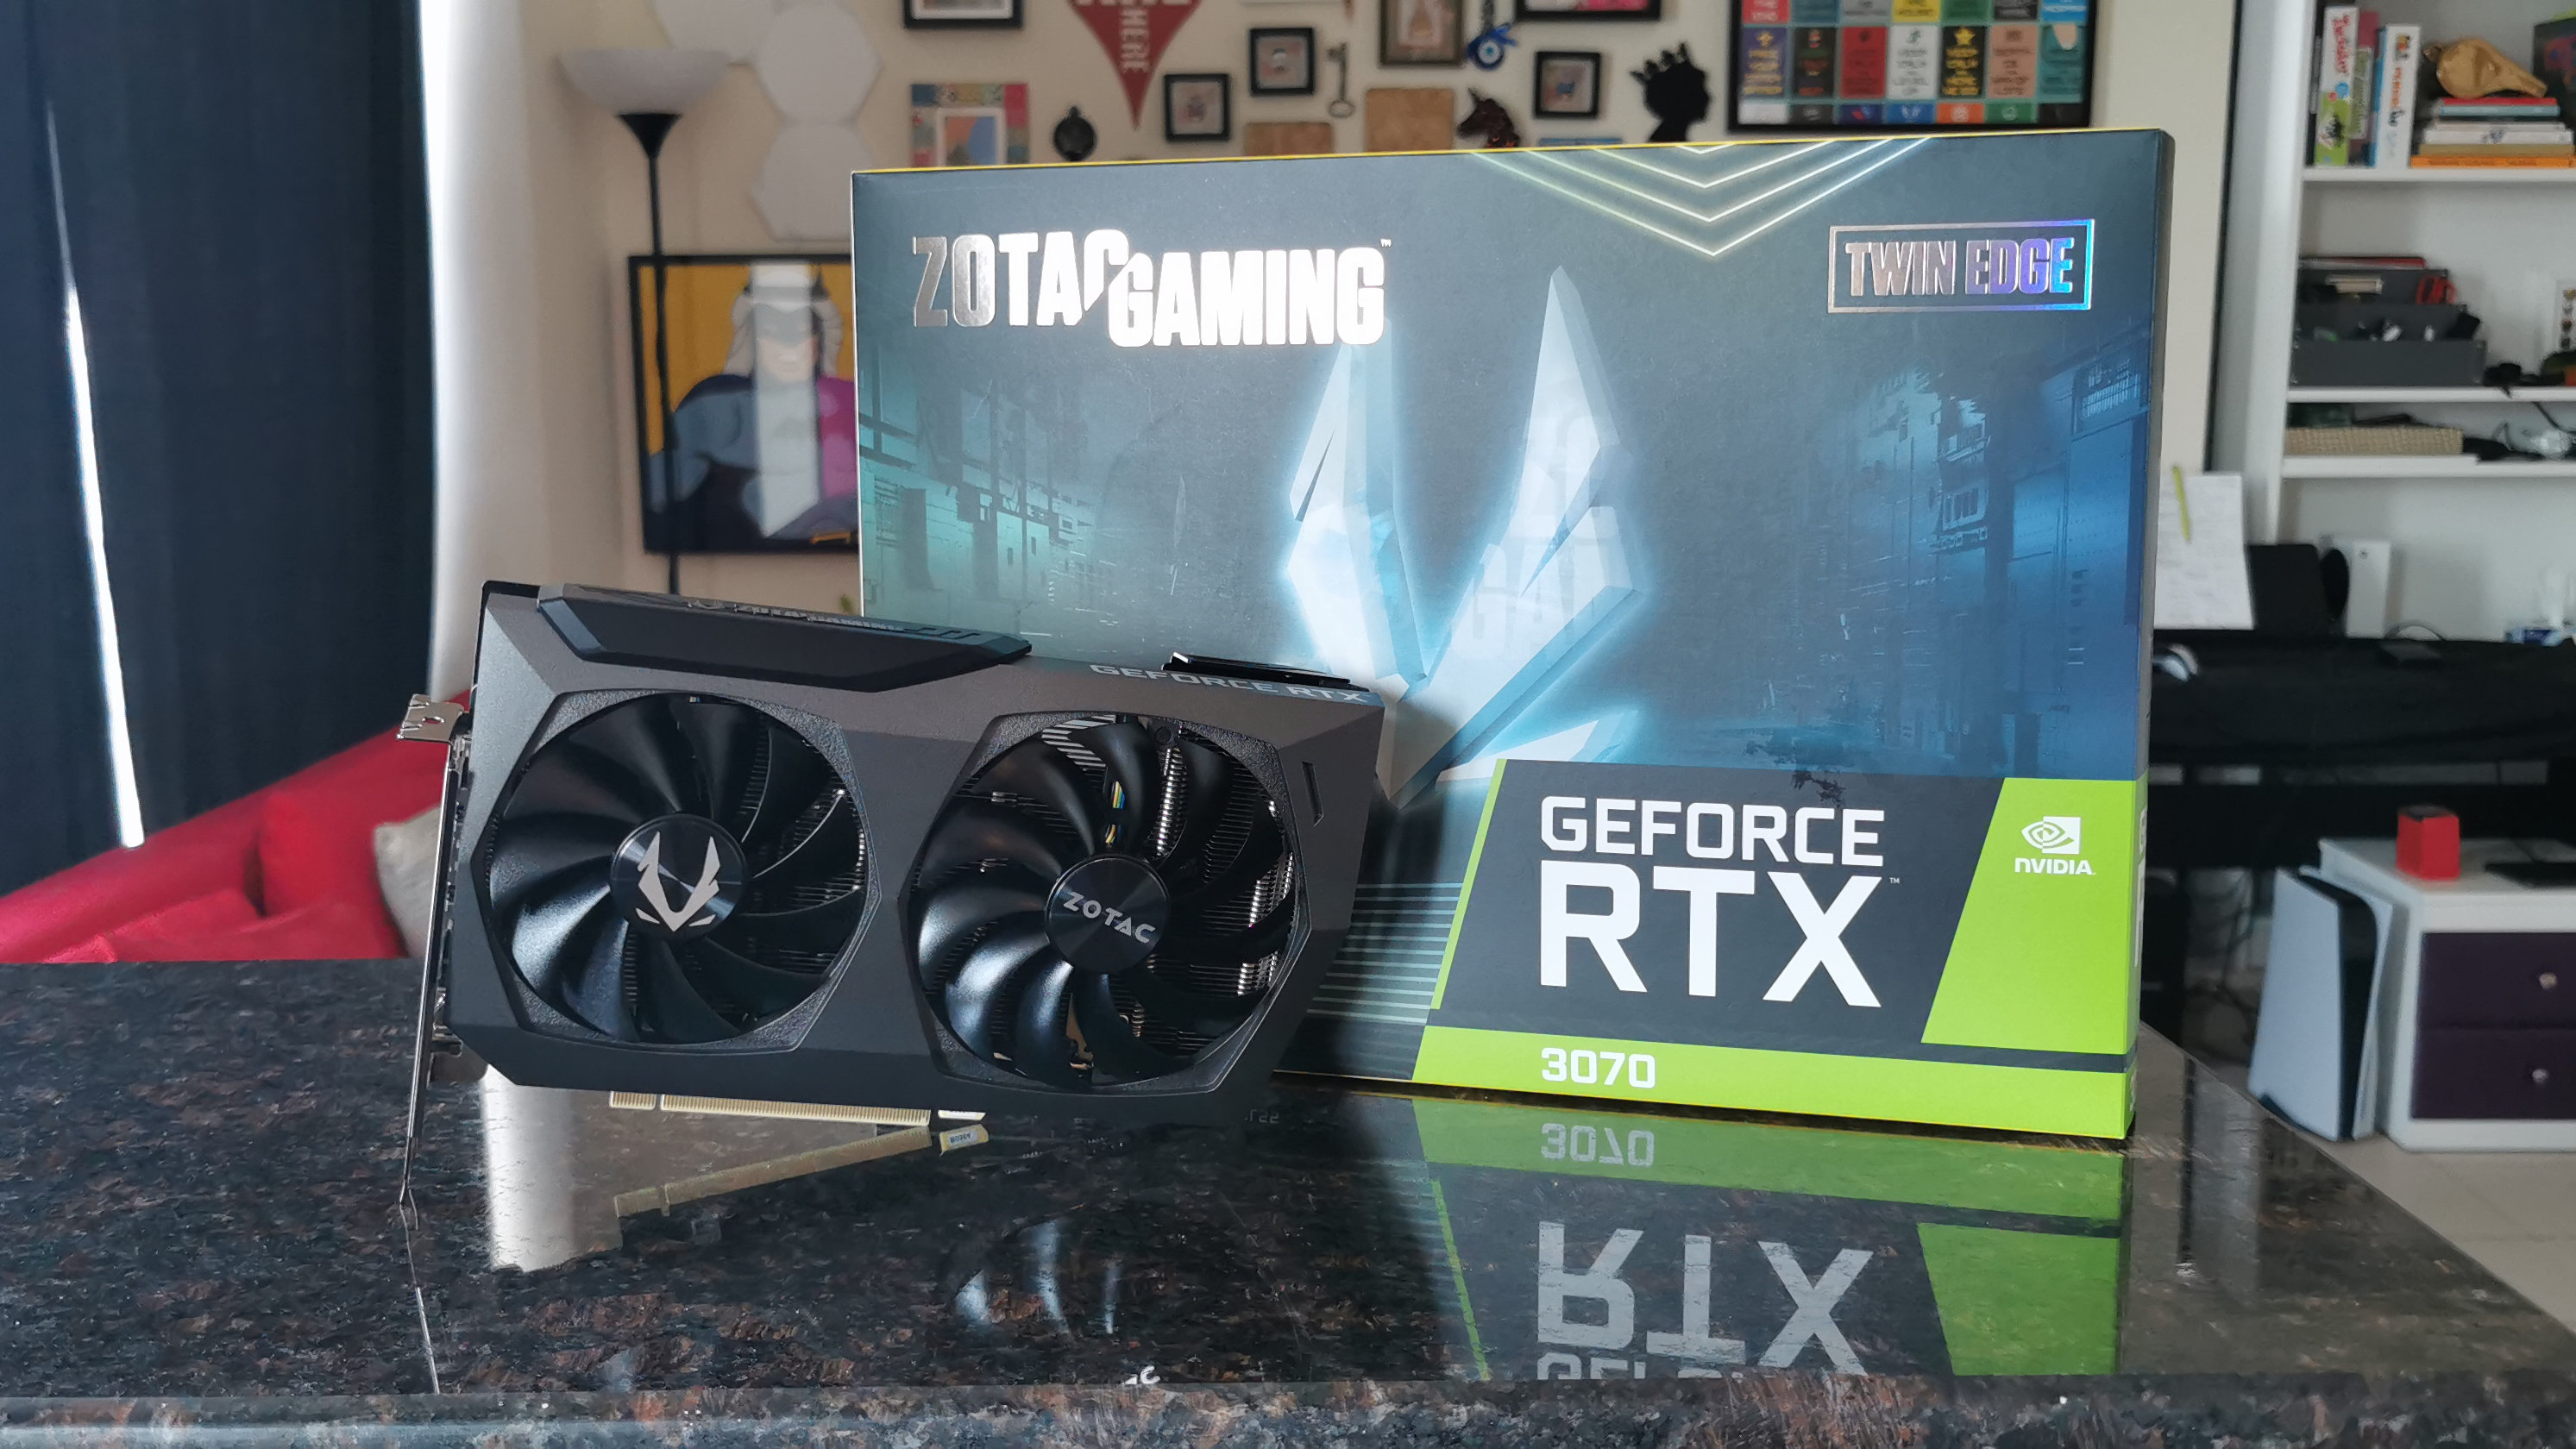
This is probably my most favorite part of my build – the GPU. There have been a slew of great GPUs out this year, and when Nvidia announced the new 30XX series of GPUs, I knew that I wanted one in my new PC build. I settled on the Zotac Gaming GeForce RTX 3070 Twin Edge OC as it’s a lot easier to pick up than some of the other cards, and is also priced a lot better.
It’s still capable of pushing out some great graphical details, and will be great both for gaming as well as handling editing tasks for my Twitch videos.
PSU: FSP Hydro PTM Pro 850W Modular PSU
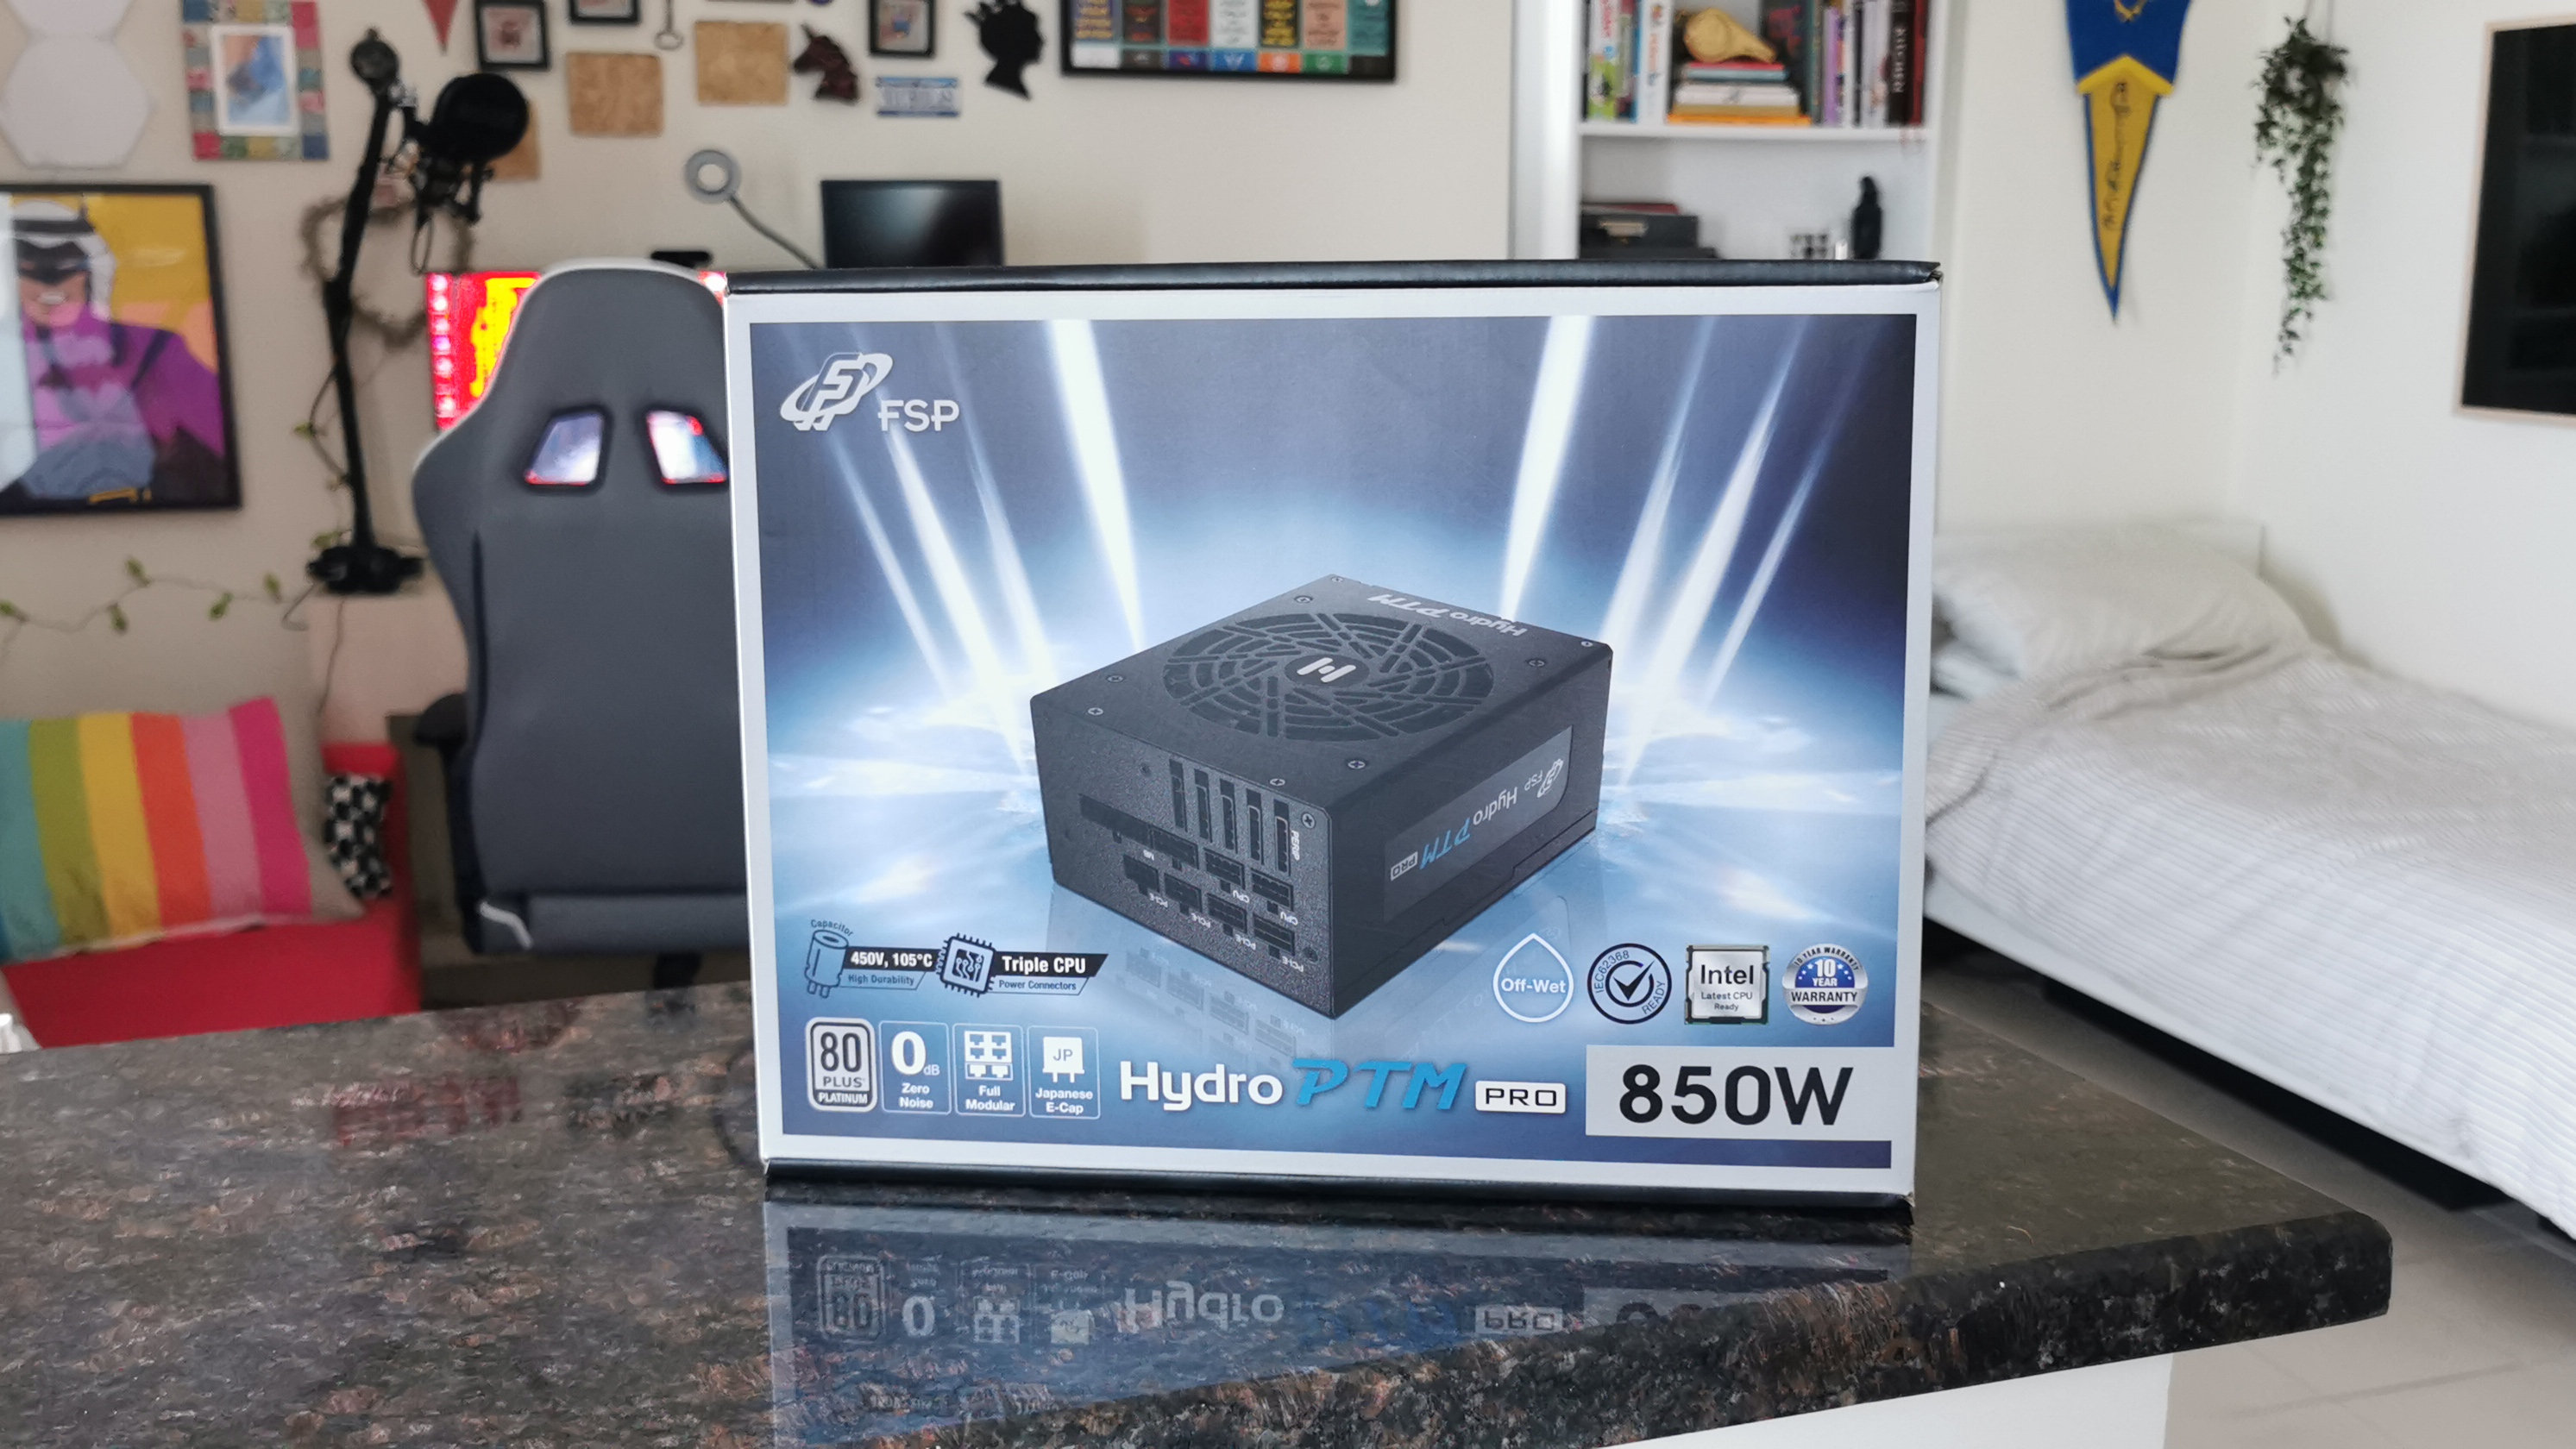
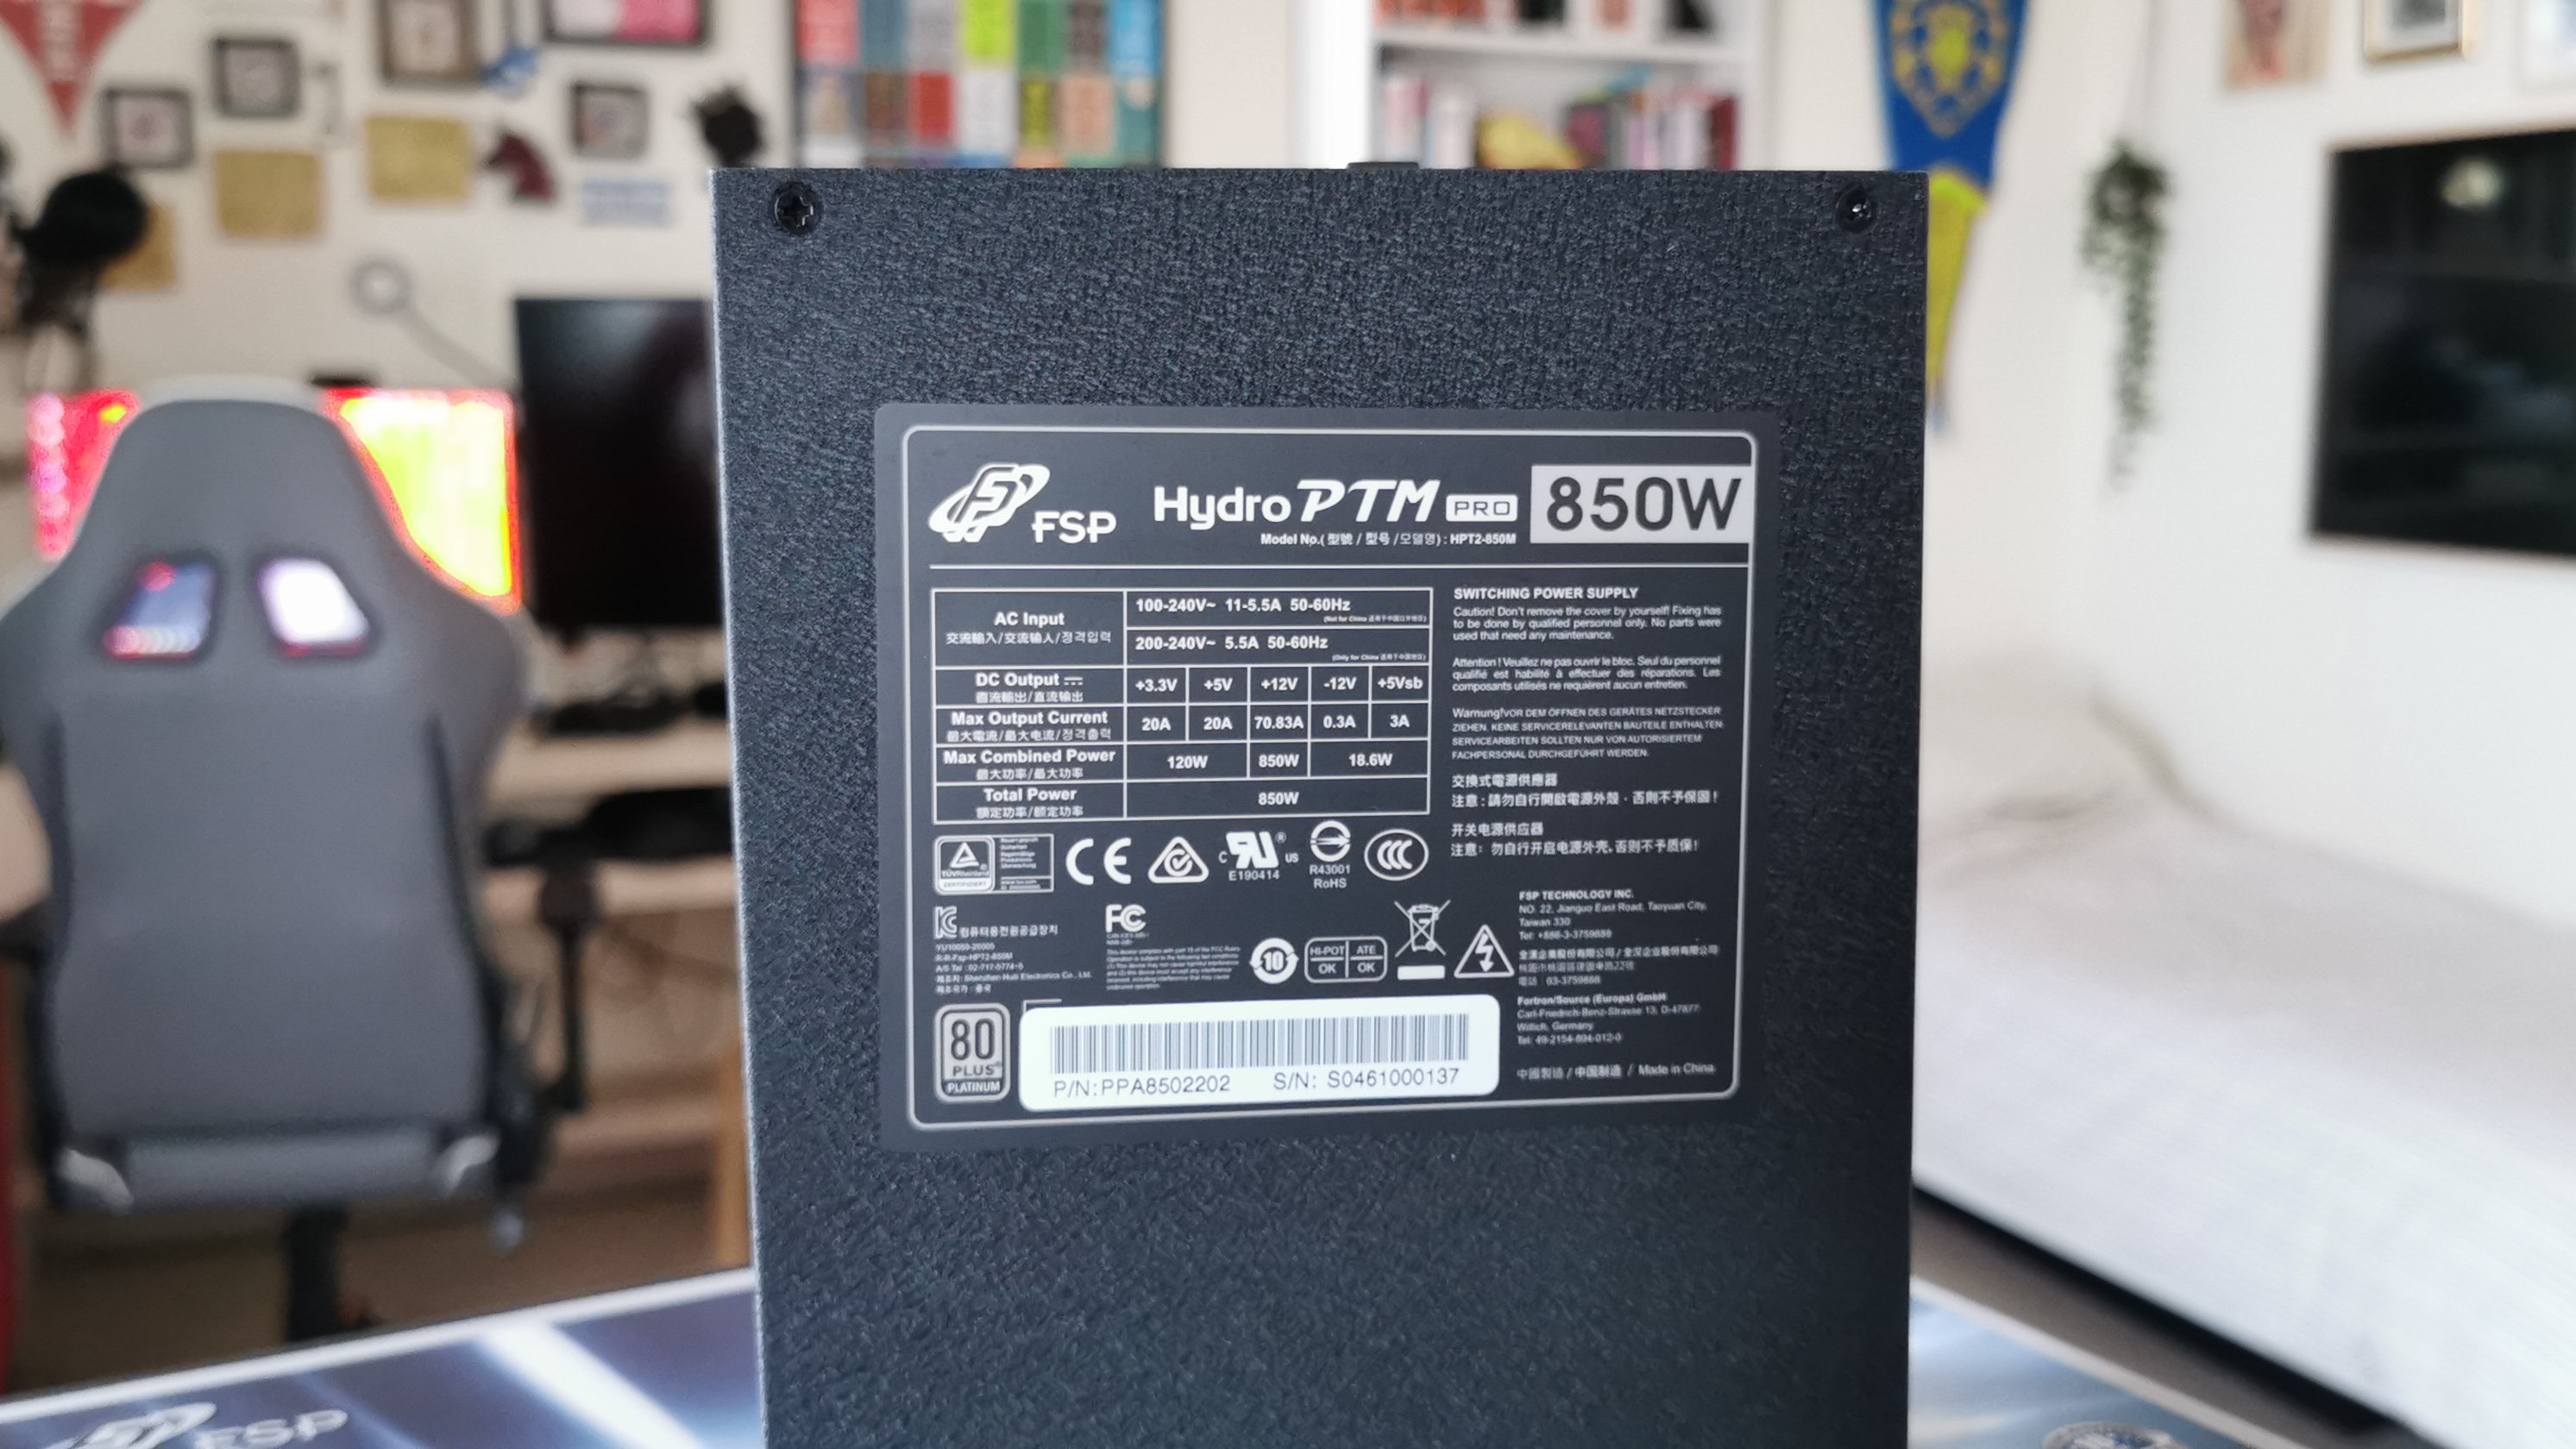
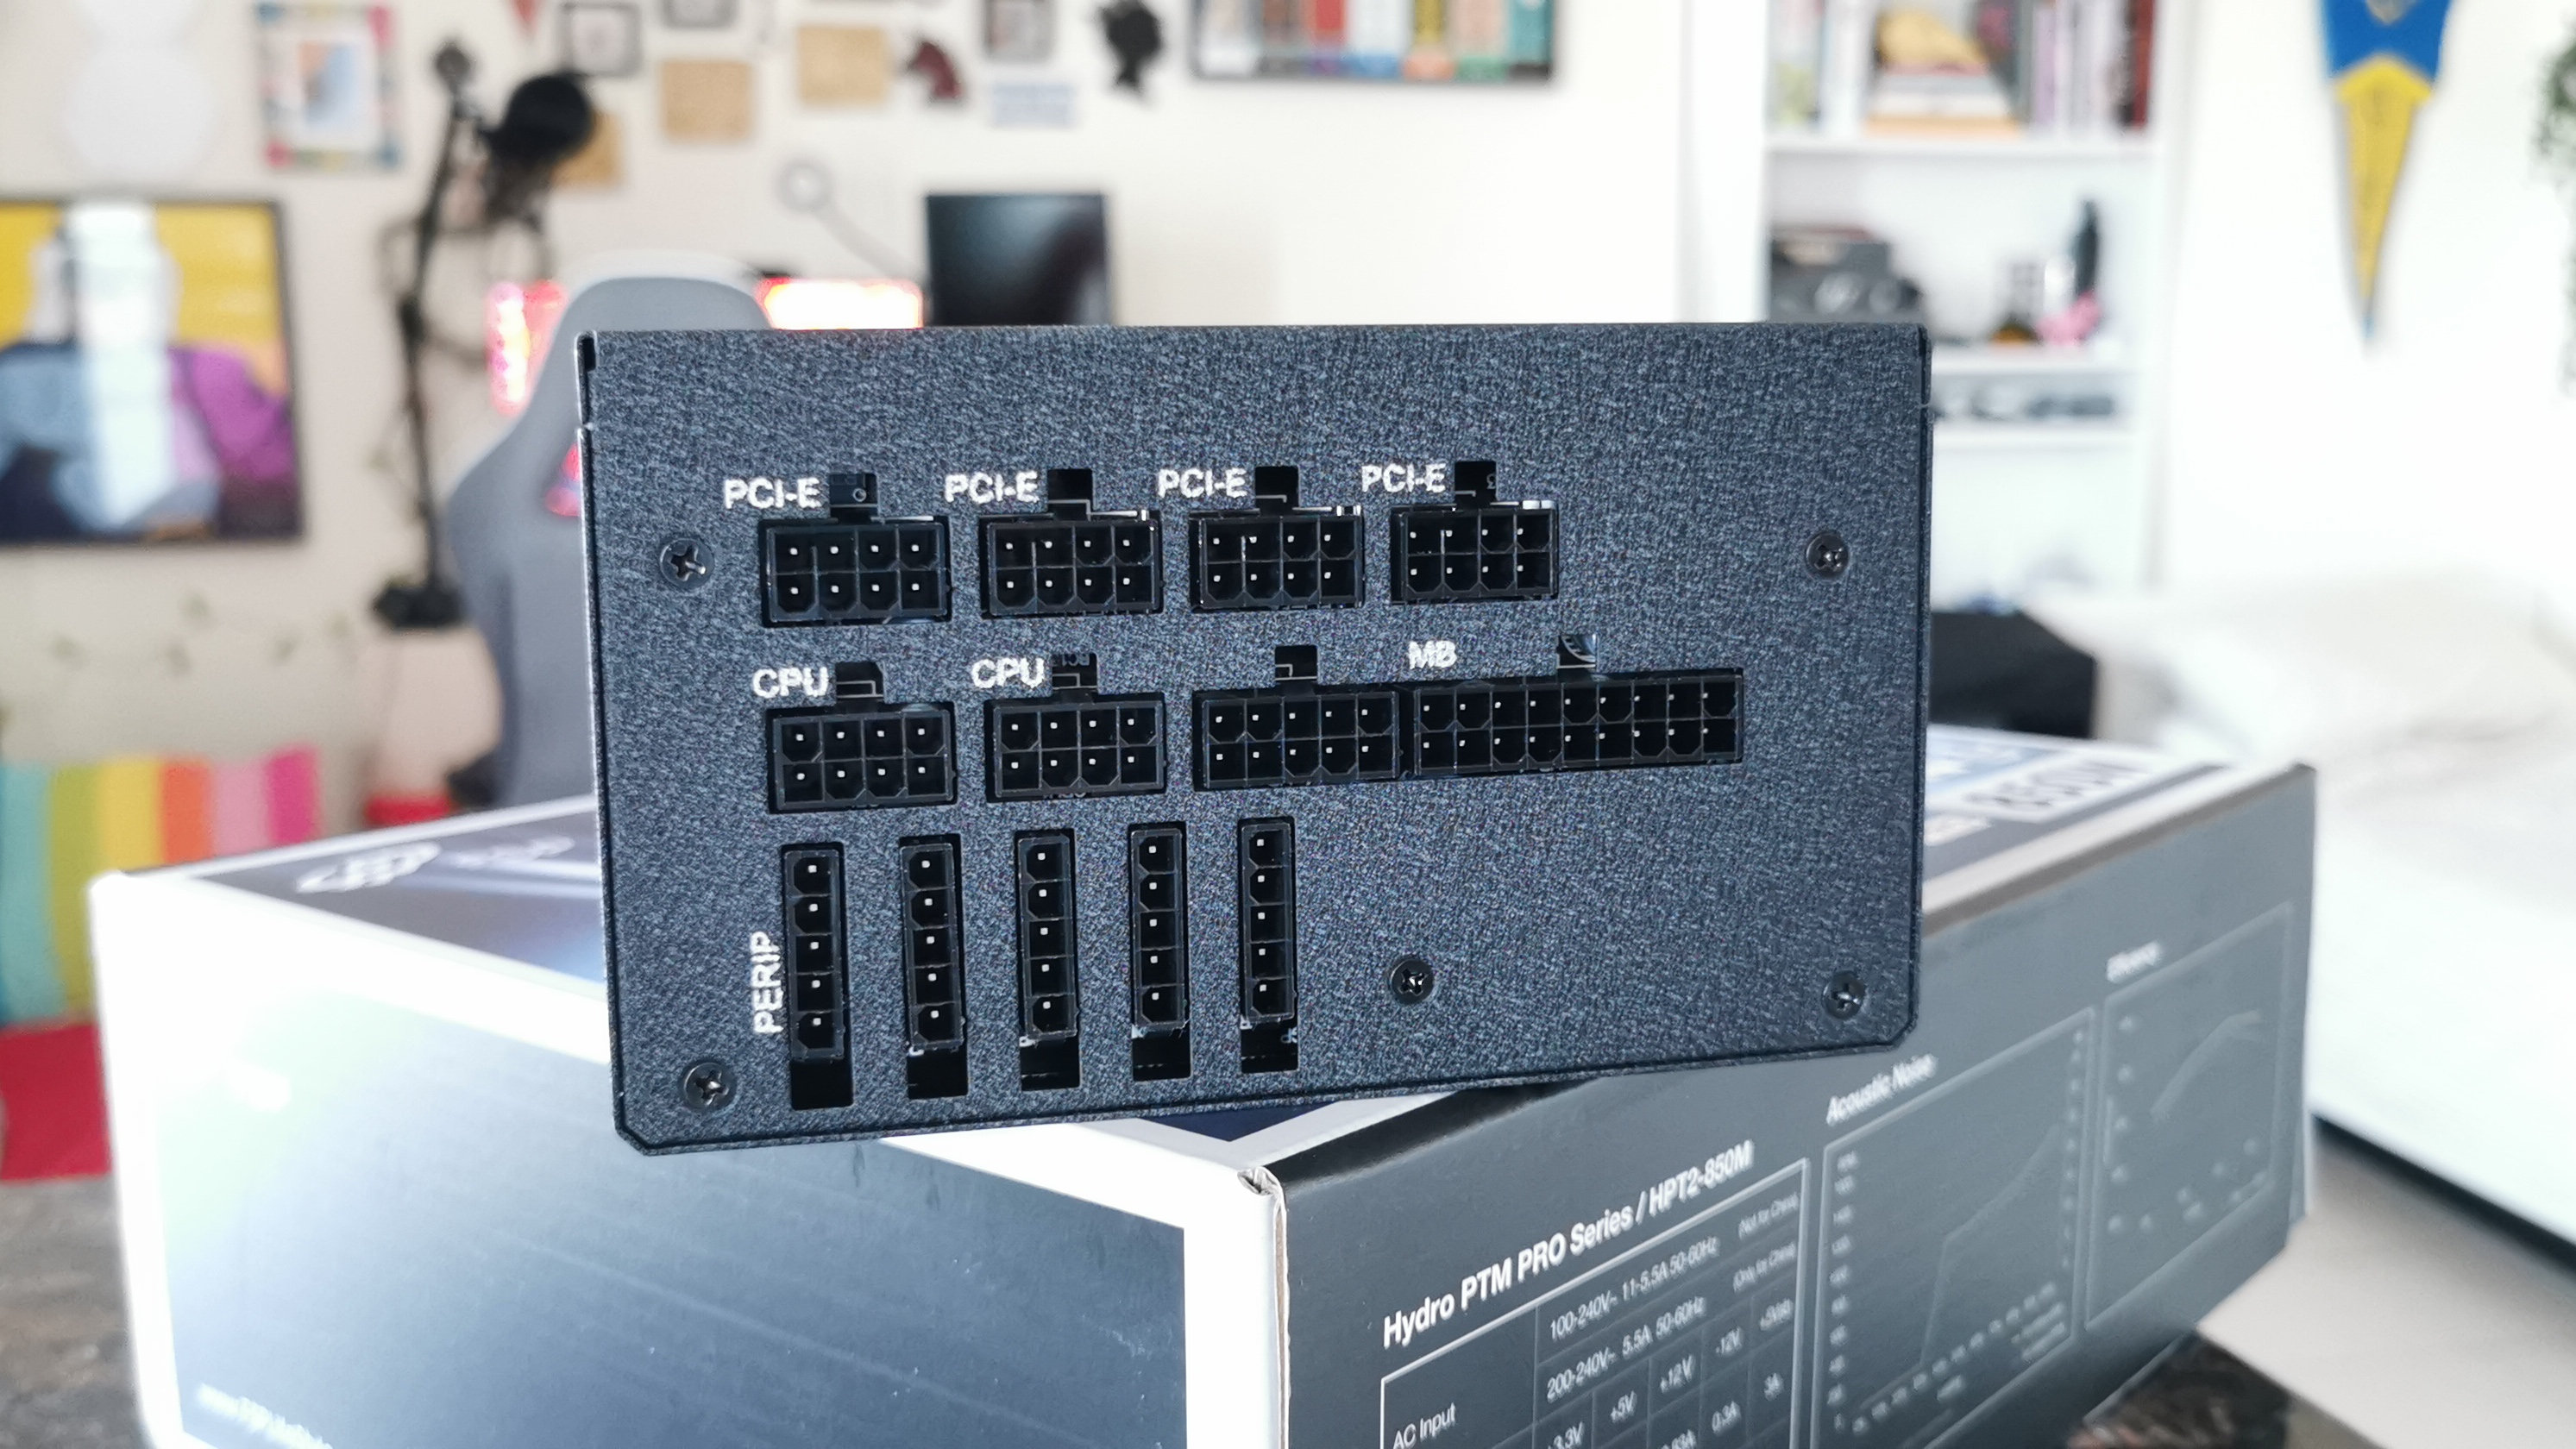
Power is everything when it comes to a good PC build, and the PSU I’ve selected is more than capable of handling what’s in my rig. It’s fully modular, which means that I only have to connect the power cables that I’m actually going to use, which minimizes cable clutter and keeps things tidy.
The FSP Hydro PTM Pro 850W Modular PSU features quiet and durable cooling, as well as Japanese electrolytic capacitors for a long lifespan. There’s even an Eco mode available, which switches off the fan entirely if power consumption falls below 30%.
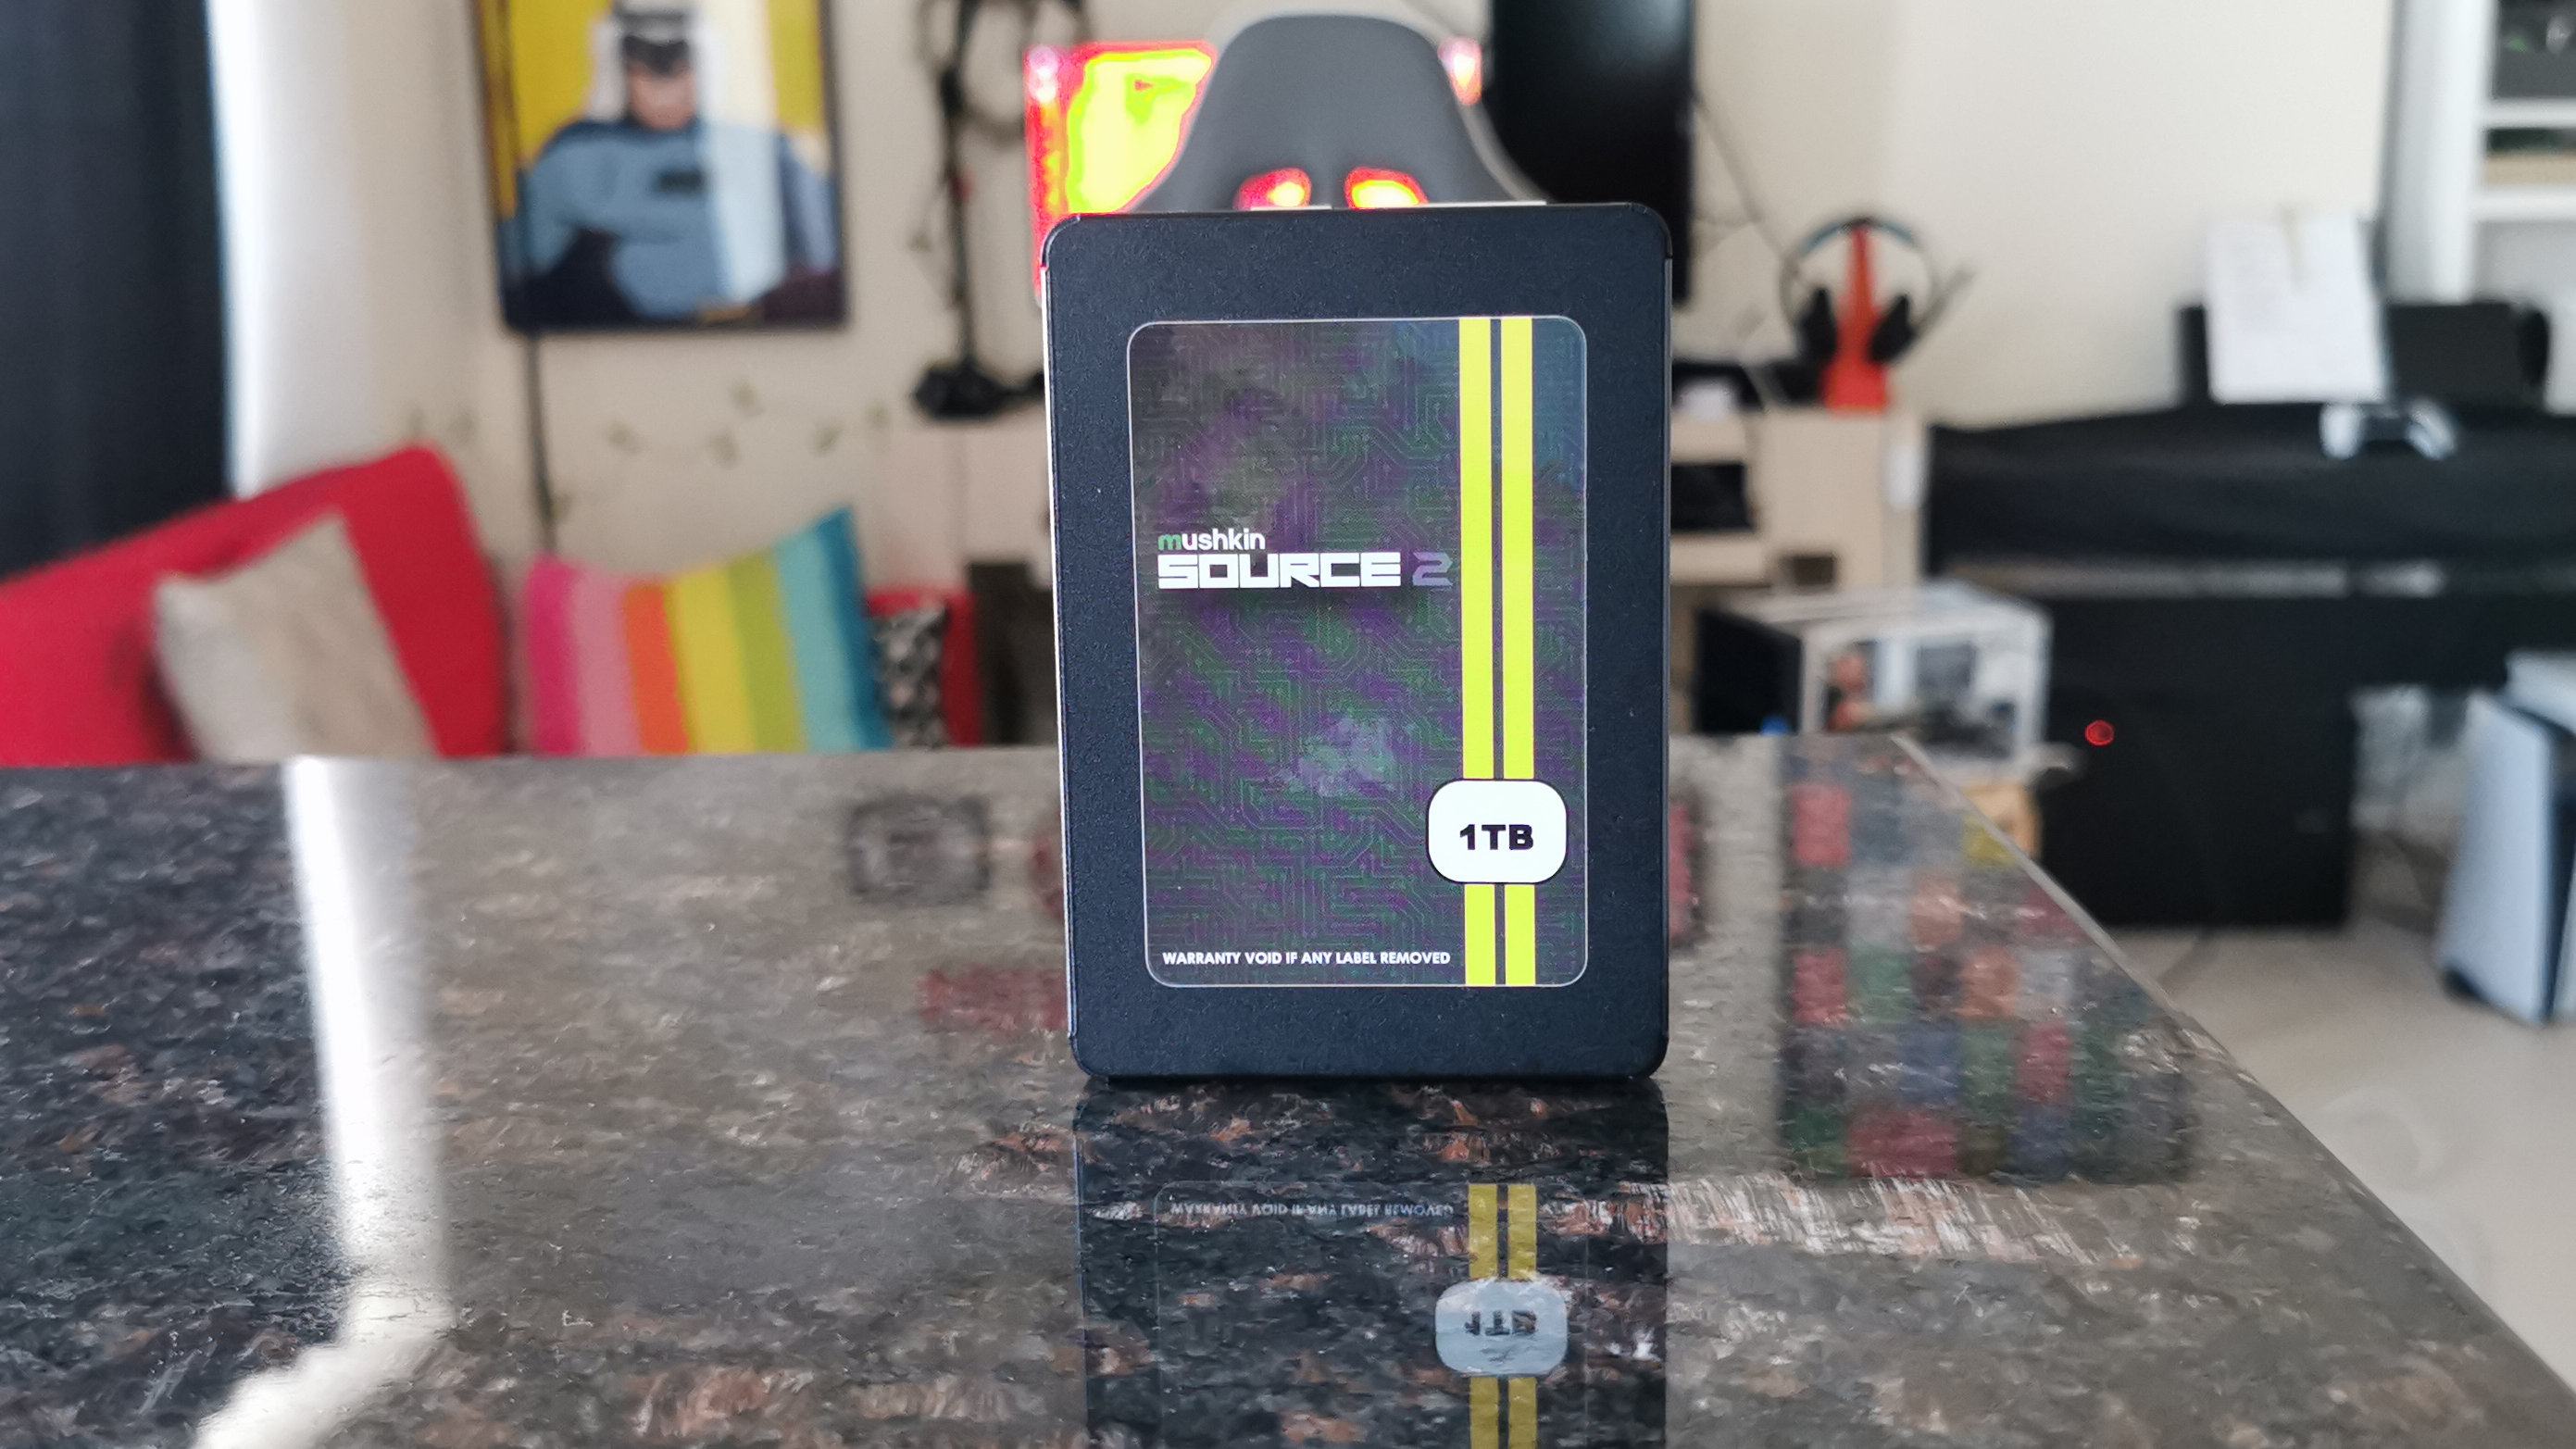
Storage: WD Black SN850 NVMe SSD 1TB / Mushkin Source 2 1TB SSD
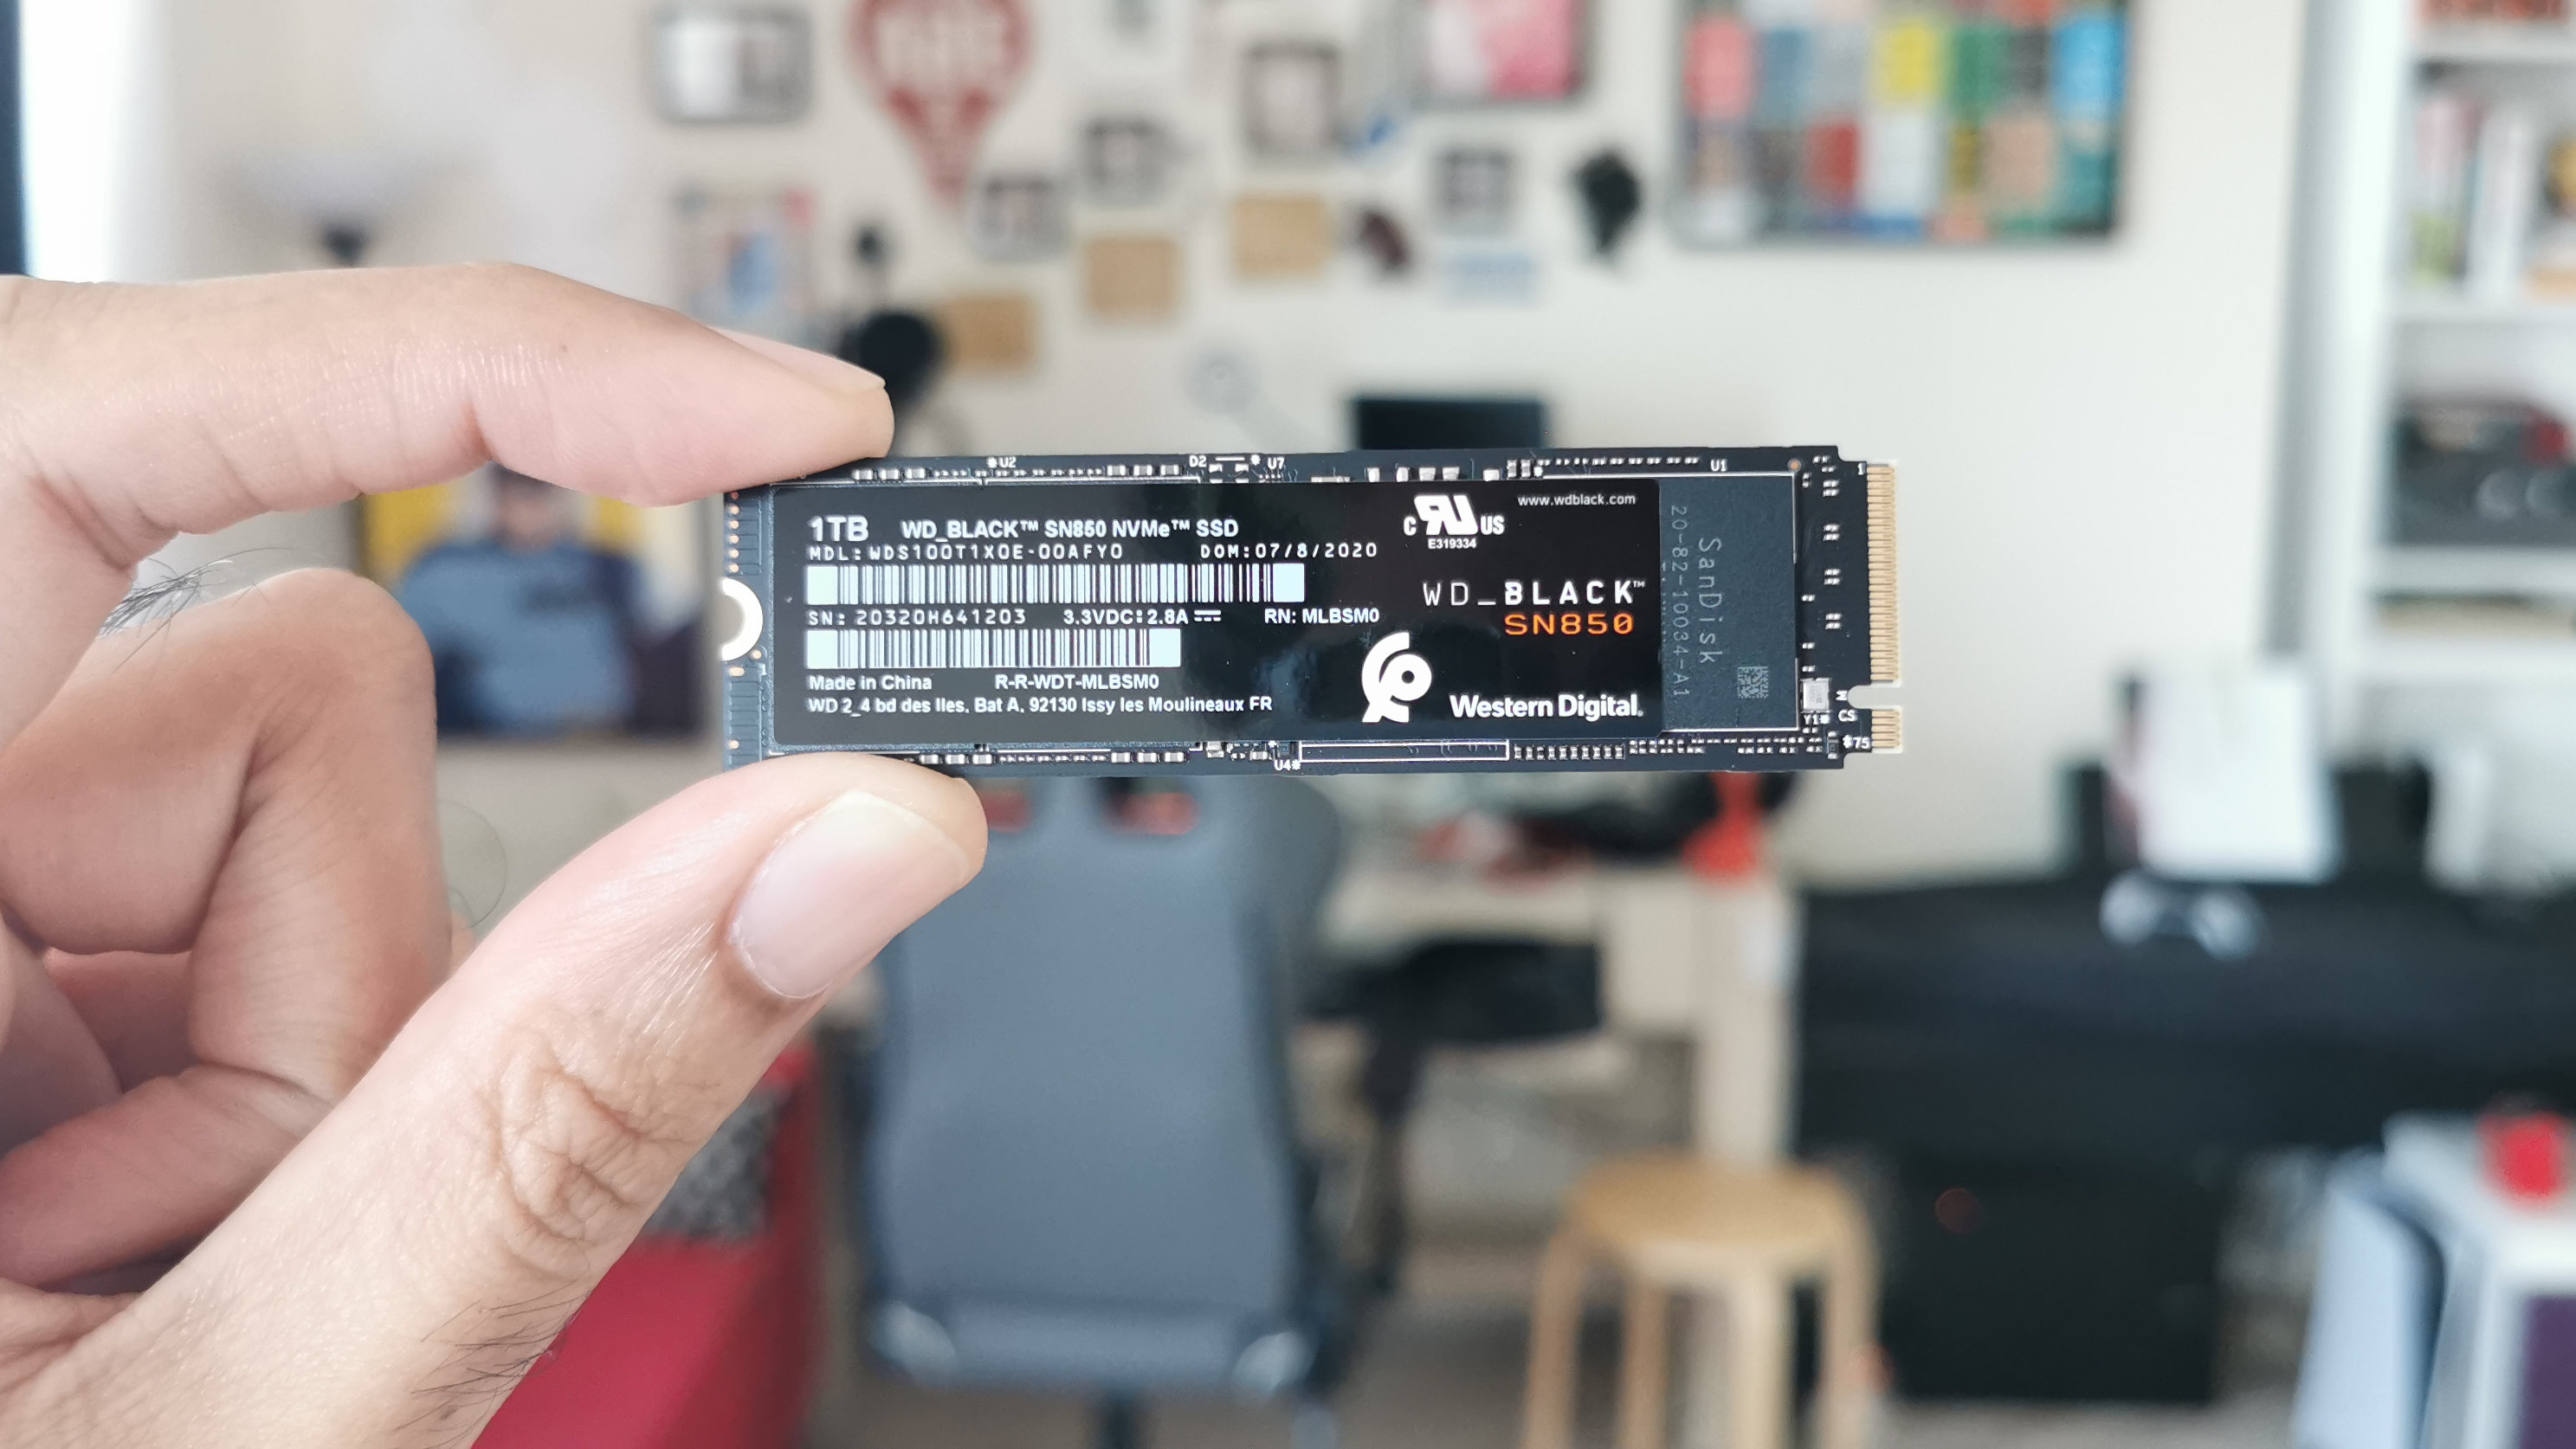
Storage is one of the things that gamers need a lot of. Modern PC games can easily take up 20GB or more, and you’ll soon have to start uninstalling games to make room for new ones. For this build, I chose the new WD Black SN850 NVMe SSD 1TB as my primary drive, so it will be used mainly for installing major applications only. It’s got fantastic read/write speeds to ensure that bootup times are kept low, and will have more than enough space to store non-game data on.
For secondary storage, I’ve gone with the Mushkin Source 2 1TB SSD. This is where I’ll be installing all of my games, as well as storing a few Twitch videos that I can edit later. Again, it’s got more than enough space for me to install the most popular games that I play, and I can always upgrade it to a large drive in the future, should I wish to do so.
Misc items
For a touch more RGB, I’m also using the Lian Li Strimer Plus cabling for the GPU and motherboard power supplies.
These are addressable as well, so I’ll be able to control the colors and patterns within Windows to pretty much anything I feel like. Boring black power cables? Not in this build!
Assembly and benchmarks
Here’s a tip if you’re putting together a PC for the first time (or after an eternity) – go slow. Don’t be in a rush to try and cram everything in as quickly as you can, because you’re bound to do something wrong.
Take the time to plug whatever you can into the motherboard before you actually put it into the case. This includes M.2 storage, RAM, the CPU, and anything else that’s going to be tricky to connect once the board is screwed onto the case. Make sure you’re referring to your manuals to ensure that the right cables are being connected to the right ports, especially when I comes to the fans and LED cables.
BENCHMARKS
Here's how my custom PC build fared in our suite of benchmark tests:
3DMark Fire Strike Ultra: 8,413; Fire Strike: 15,445
VRMark Blue: 3,926; Orange 12,393
Cinebench R15: 2,181
Geekbench 5 Single-Core: 1,313; Multi-Core: 9,527
PCMark 10 Home: 7,370
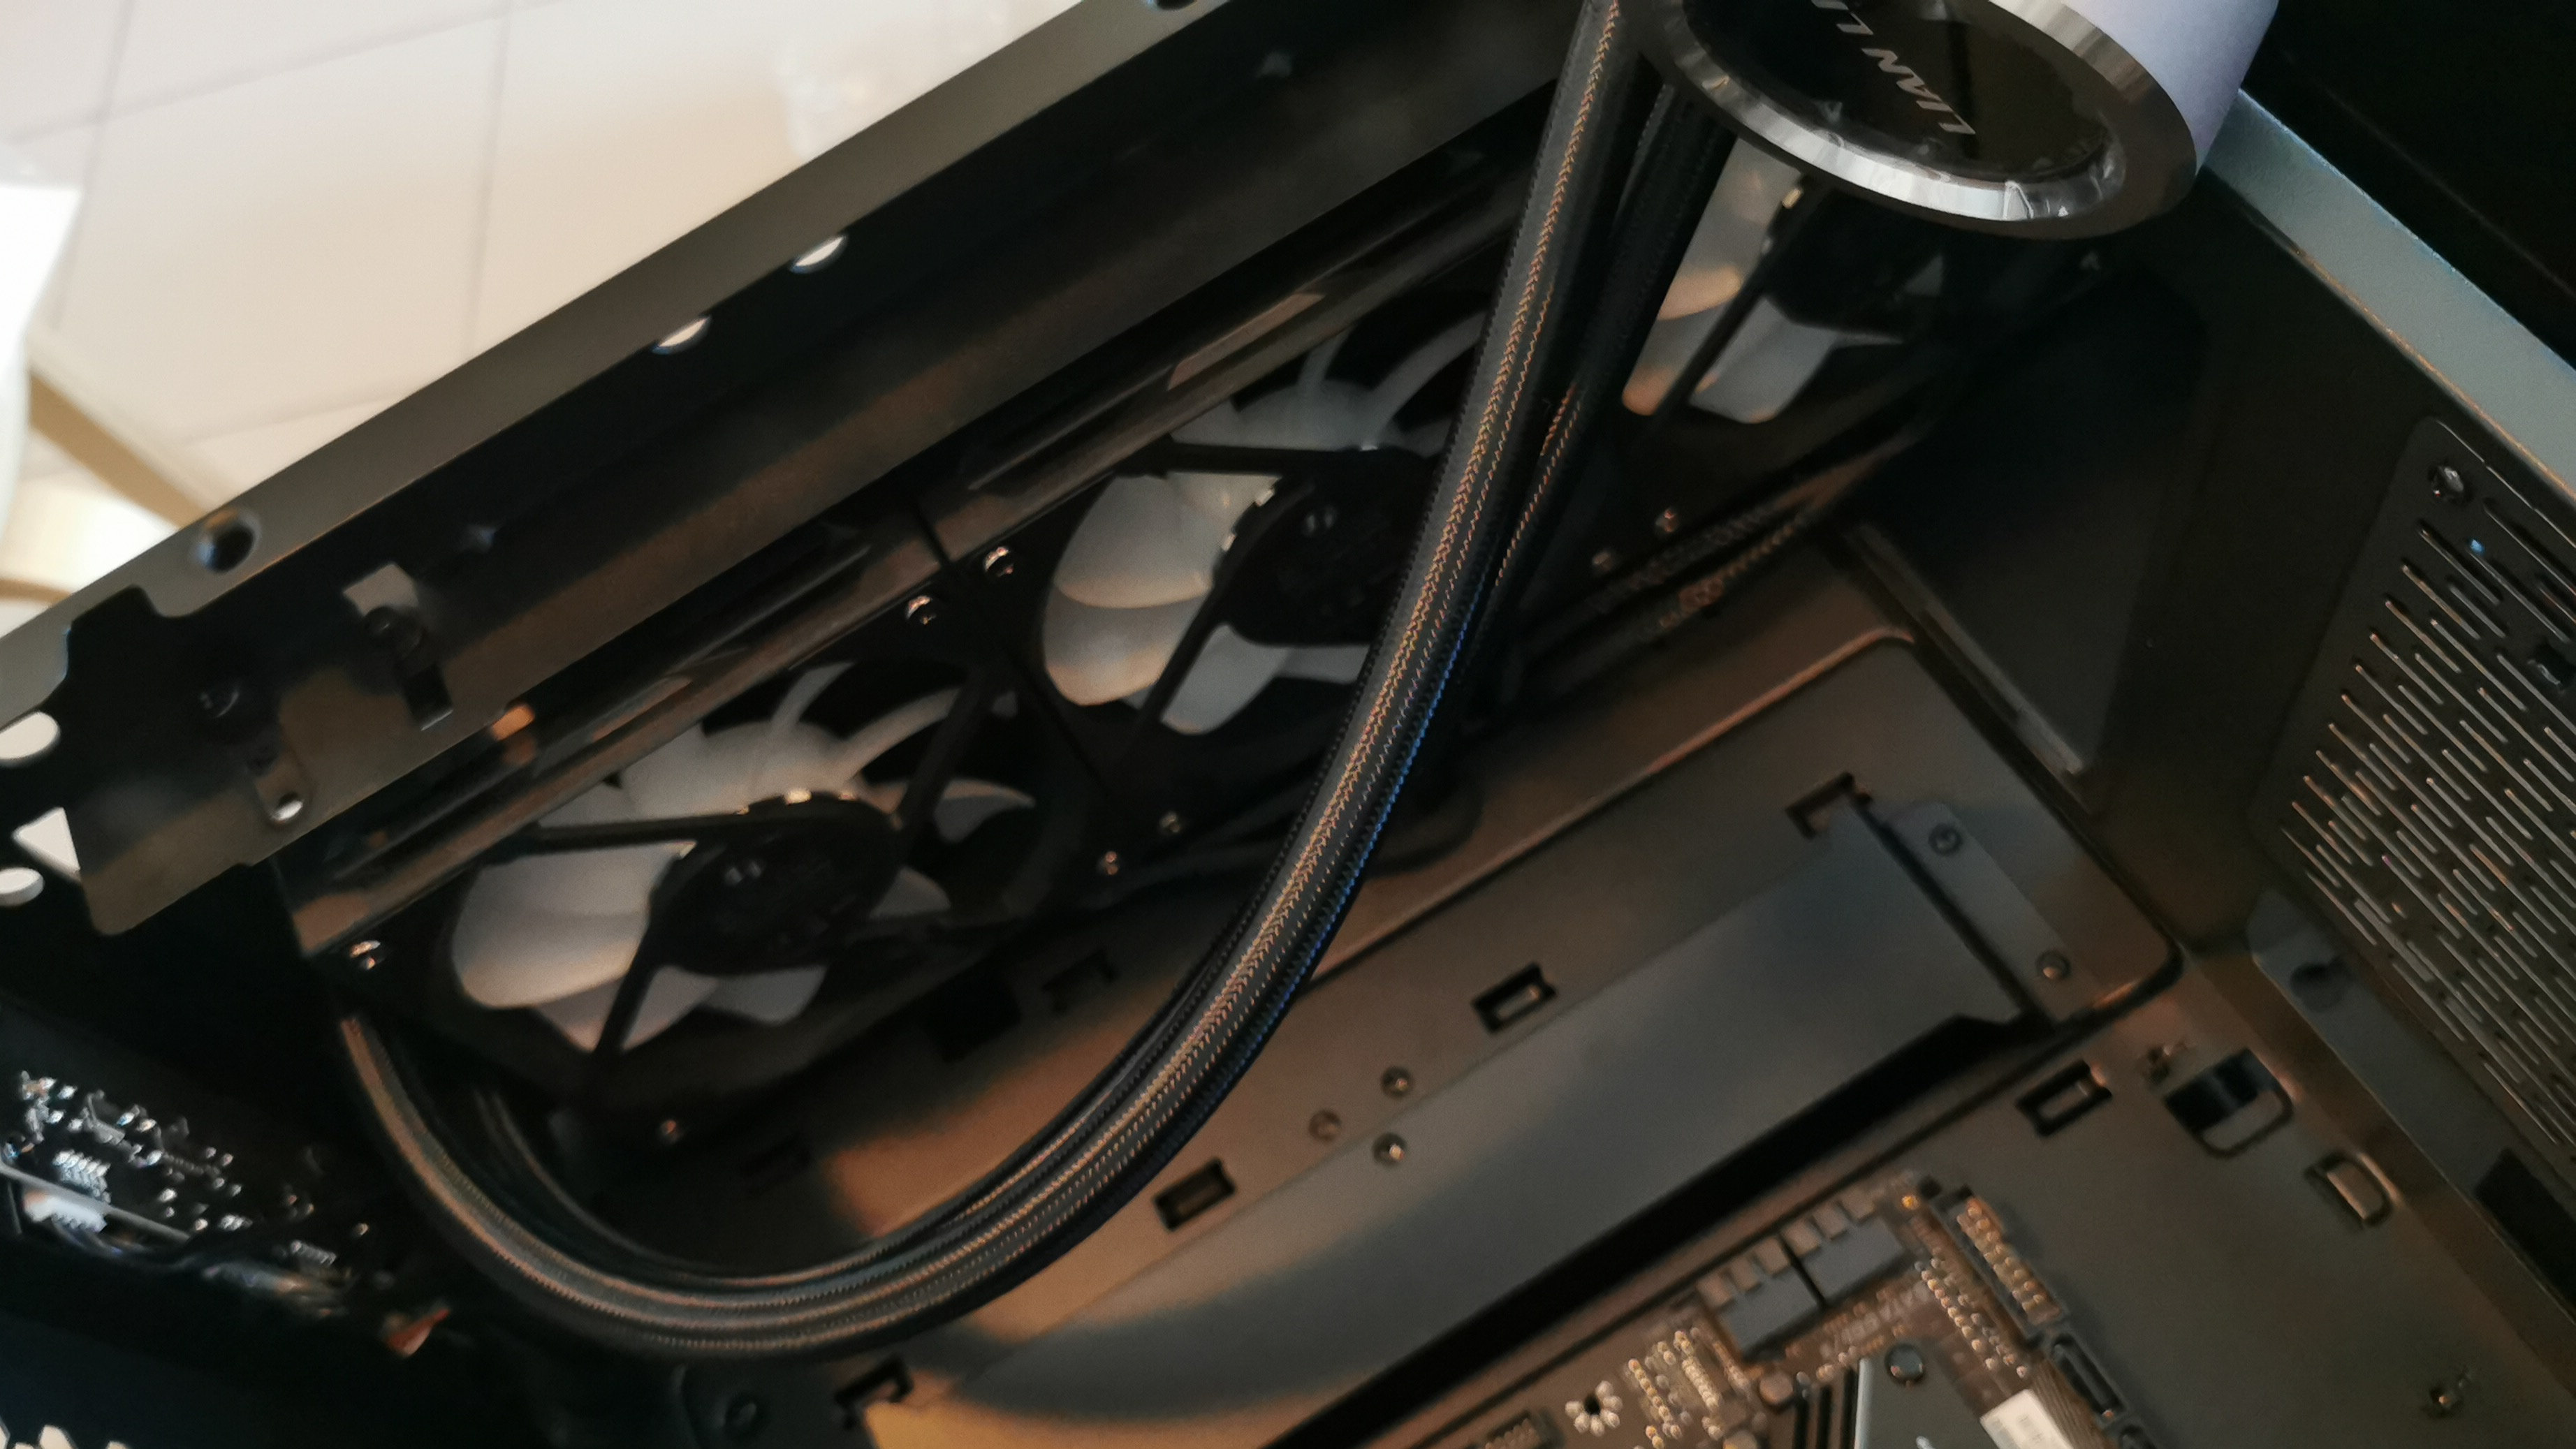
Overall, this build took around 5 hours to finish, because there was a good deal of adjustment that had to be done from my original mounting ideas. The case it turns out only supported my radiator when mounted in the front rather than the top, so I had to relocate the front fans to the top instead to make room.
It was also a mini challenge to get the LEDs to all sync up properly, which was a question of connecting cables, powering it on to see what worked, and then powering it off and adjusting it again.
Eventually though, everything was connected and secured properly, Window 10 was installed and updated, and it all worked like a dream. I ran our usual suite of benchmarks to see how my PC would perform, and it was so great to see those consistent framerates across all of our tests.
The first game I fired up of course was Overwatch, which easily hit 250-300fps, but would display at 144fps due to my monitor’s limitations. Frankly, that’s still miles ahead of the 70fps I used to get on my old PC. Other games like World of Warcraft, Destiny 2, and Neverwinter Nights all looked so different with the graphics turned up, and I was noticing details in the levels that were non-existent before.

Of course the real test would be to see how games performed when I was also streaming them to Twitch, but it turned out I was worried for nothing. All my games continued to run smoothly while OBS ran in the background, staying well within my acceptable framerates.
The one change I’ll look at in the near future is repositioning the AIO to a more comfortable position, so that air bubbles don’t build up and reduce the lifespan of the unit. I can’t invert the radiator with the pipes at the bottom like I wanted to do as this puts a strain on the pipes, so I’ll figure out a solution soon or even swap out for another AIO unit at a later time.
Final thoughts
It’s been a long journey to finally be able to get a PC built together that I can depend on for any upcoming games. The appeal of small-factor PCs is still something to acknowledge, but sometimes you need to just upsize your expectations in order to make for the best possible PC experience.
I’ll continue to play around with parts in the months to come and look at new ways to adjust my system settings to really get the best out of it, but for now it’s an absolutely fantastic upgrade to my gaming and streaming needs.
from TechRadar - All the latest technology news https://ift.tt/2X5J9zH
via IFTTT


COMMENTS